- Physical Examination
- Surgical Examination
- Ophthalmology
- Clinical Skills
- Orthopedics
- Surgery Videos
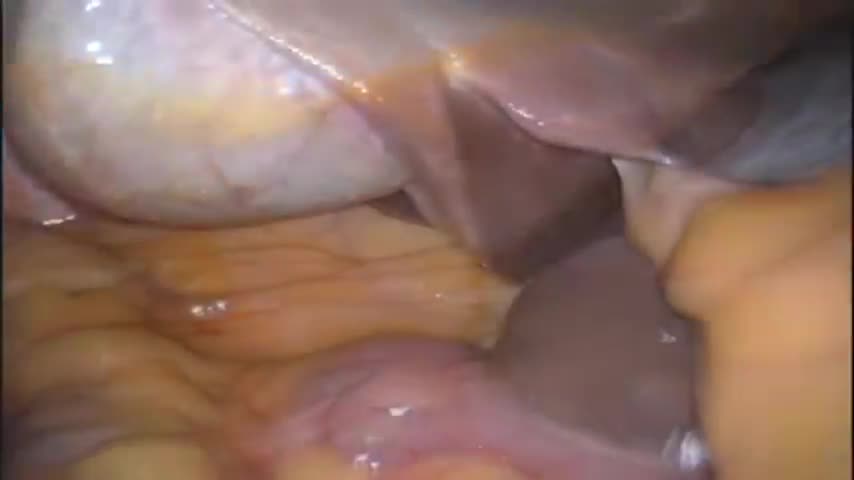
- Laparoscopy
- Pediatrics
- Funny Videos
- Cardiothoracic Surgery
- Nursing Videos
- Plastic Surgery
- Otorhinolaryngology
- Histology and Histopathology
- Neurosurgery
- Dermatology
- Pediatric Surgery
- Urology
- Dentistry
- Oncology and Cancers
- Anatomy Videos
- Health and Fitness
- Radiology
- Anaesthesia
- Physical Therapy
- Pharmacology
- Interventional Radiology
- Cardiology
- Endocrinology
- Gynecology
- Emergency Medicine
- Psychiatry and Psychology
- Childbirth Videos
- General Medical Videos
- Nephrology
- Physiology
- Diet and Food Health
- Diabetes Mellitus
- Neurology
- Women Health
- Osteoporosis
- Gastroenterology
- Pulmonology
- Hematology
- Rheumatology
- Toxicology
- Nuclear Medicine
- Infectious Diseases
- Vascular Disease
- Reproductive Health
- Burns and Wound Healing
- Other
Surgery Videos
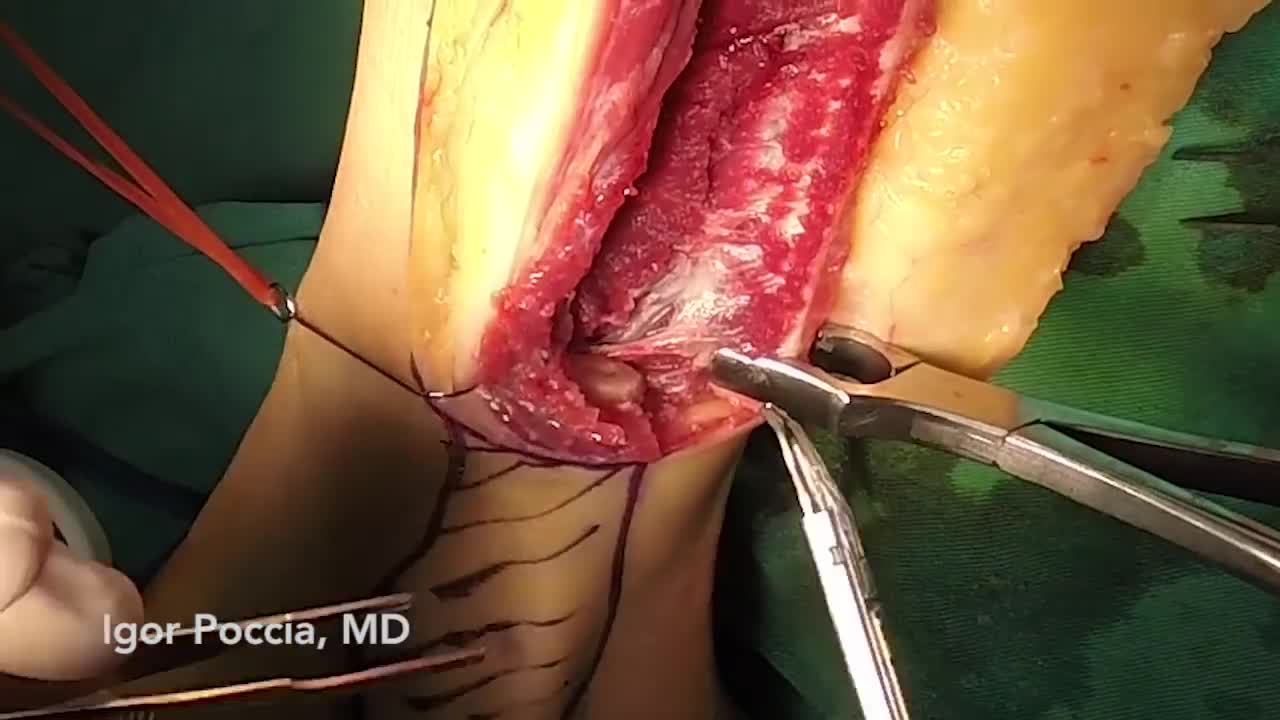
Both lower extremities must be evaluated to determine the presence or extent of any disease and to ascertain the pulse status of the patient. The feet are examined for signs of peripheral vascular disease and the anterior and posterior tibial pulses are palpated. Because an intact arch can supply retrograde flow to the major vessels of the foot, it can be helpful to put pressure on the anterior tibial artery when detecting the presence of a posterior tibial pulse and visa-versa. This "modified Allen's test" may detect proximal vessel obstruction masked by an intact foot arch. The need for preoperative angiography in young, healthy patients with a normal physical examination has been hotly debated. Our tendency has been to obtain preoperative angiograms as a guide. Although rare, we have seen lower extremities with a dominant peroneal artery nourishing the foot and distal anterior and posterior vessels, contraindicating sacrifice of the peroneal artery. MRI or CT angiography can also be used in many circumstances.
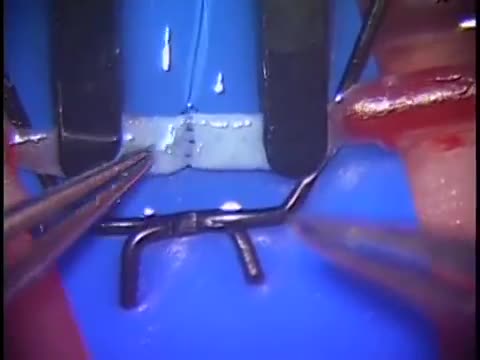
Simple microinstruments and a medical school laboratory microscope were used for anastomosis training. Chicken blood vessels were used as a material for this study. A long segment of blood vessel from the proximal brachial artery to the distal radial artery was used for training. End-to-side anastomosis was practiced first, and the training continued with end-to-end anastomosis of the appropriate segments.
The needle should pass through the tissue at a perpendiculaPlace the tips of the left-hand forceps on the underside of the tissue at the point where the needle will enter, and gently push the edge upward. With the right hand, bring the needle into contact with the tissue, and press downward. These movements create eversion. Pass the needle through. Do not grab the tissue with your left hand forceps since it will damage the intima. If needed, you can pick up adventitia or a nearby suture to help with exposure and eversion. r.The needle must pass through the other side at a perpendicular, too. Bring the tip of the needle to the place where you intend to bring it out on the other side. Put the tip of your left-hand forceps on the upper surface of the tissue at the intended exit point. Press down with the left-hand forceps and push up with the needle to give you the correct eversion. The width of the bite should be about three times the thickness of the needle. The bites on both sides must be equal, and the needle should cross exactly in a straight line (not diagonally). Pull the needle through the tissue following the curve of the needle

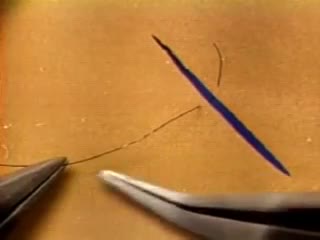
At first, grasping the needle is difficult because it will have a tendency to want to jump around. What can oftentimes help is to get hold of the thread with the left-hand forceps at a point 2 to 3 cm away from the needle. Dangle the needle until it just comes to rest on the surface. This will then allow you to use the angulated needle holder to grab the needle easily. Your needle is in a stable position if it is set up to 90 degrees to the axis of the tips of the forceps. You can make minor corrections by touching the needle with your left-hand forceps, or by partially relaxing your grip and nudging the needle tip against another firm object. You should hold the needle just behind its midpoint (If you hold it too near the tip, it will point downward. If you hold it too near the thread end, it will point upward.).

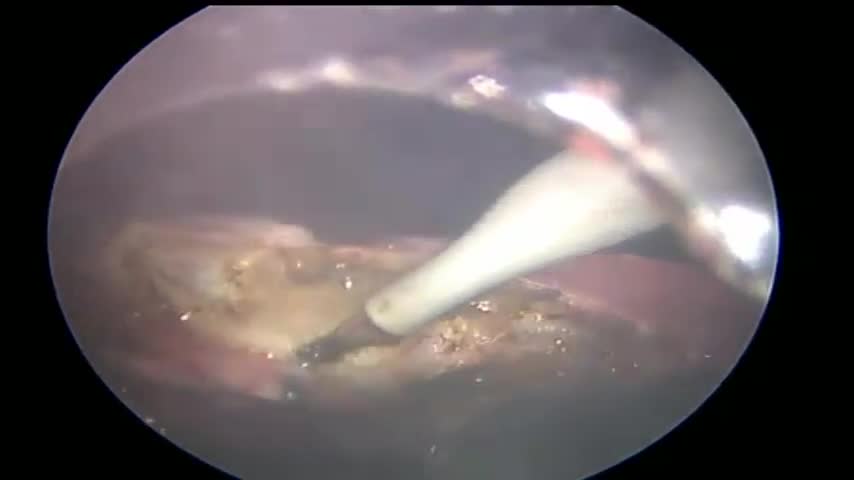
This video show the steps in a total parotidectomy with VII nerve preservation. The patient had a malignant parotid tumor without VII nerve compromise.
TRANSUMBILICAL SINGLE SITE LAP CHOLYCYSTECTOMY
Cholecystectomy without General Anesthesia video
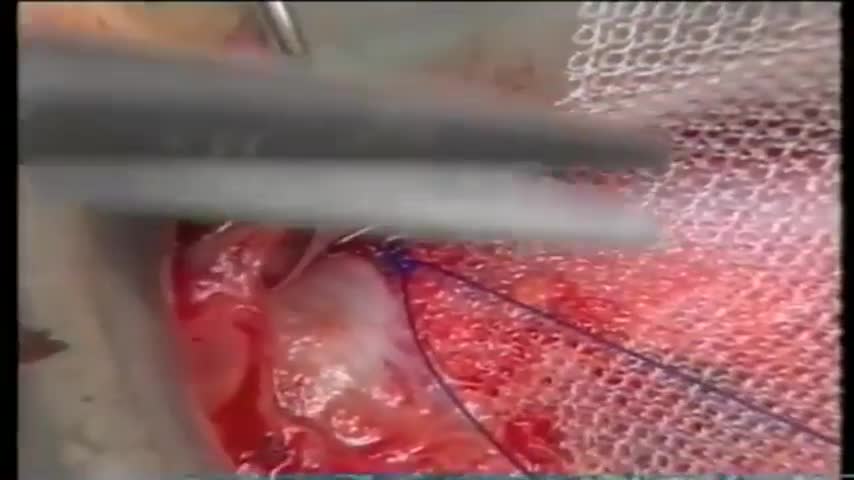
LICHTENSTEIN TENSION FREE HERNIOPLASTY FOR INDIRECT INGUINAL HERNIA
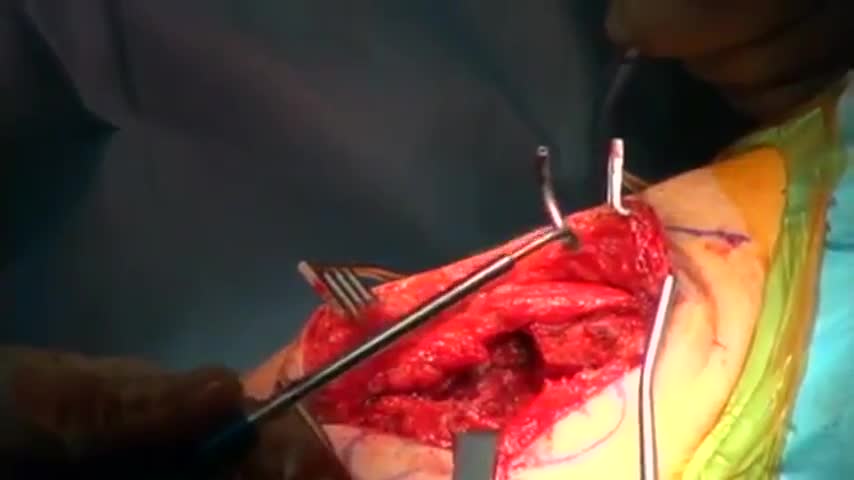
Reconstruction of a shoulder separation or acromio-clavicular dislocation.
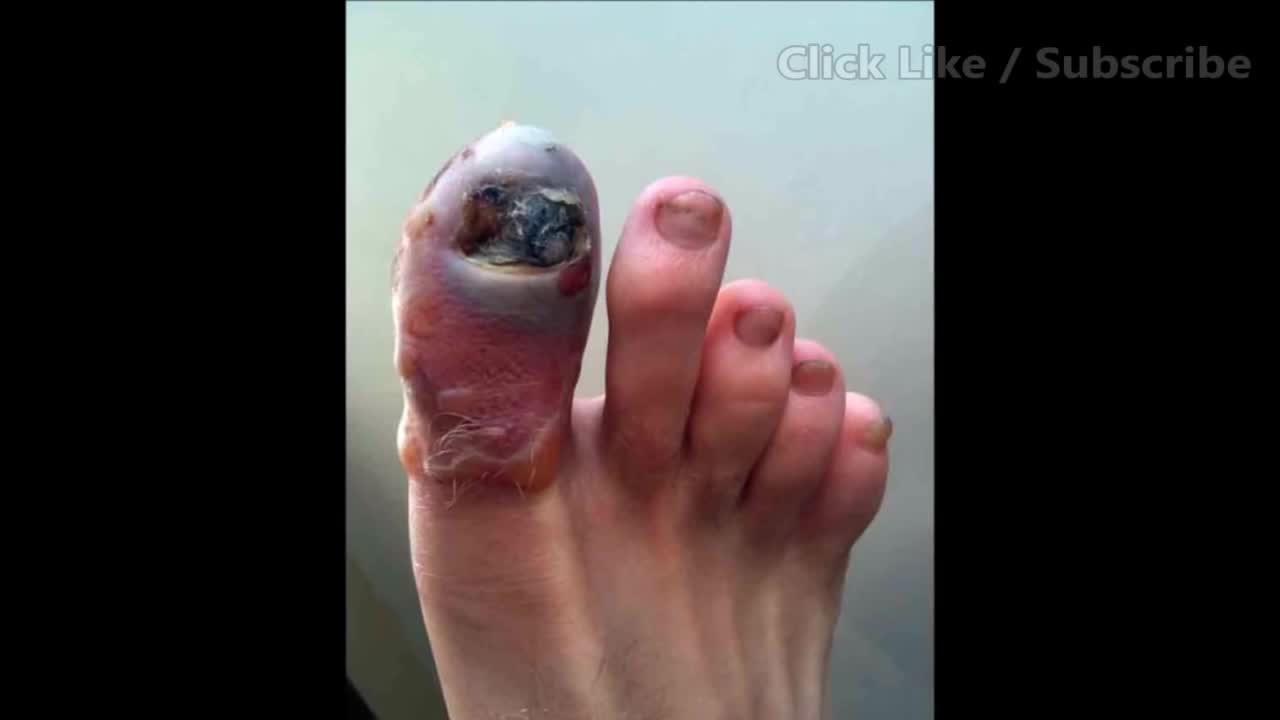
Worst Ingrown Toenail! What Caused It?
Sebaceous Cyst, Hematoma and Growth Removal
A doctor pops a giant cyst on a boy's eye and films the whole thing. As the big cyst pops, puss oozes out.
Grape Jelly Abscess on the Butt
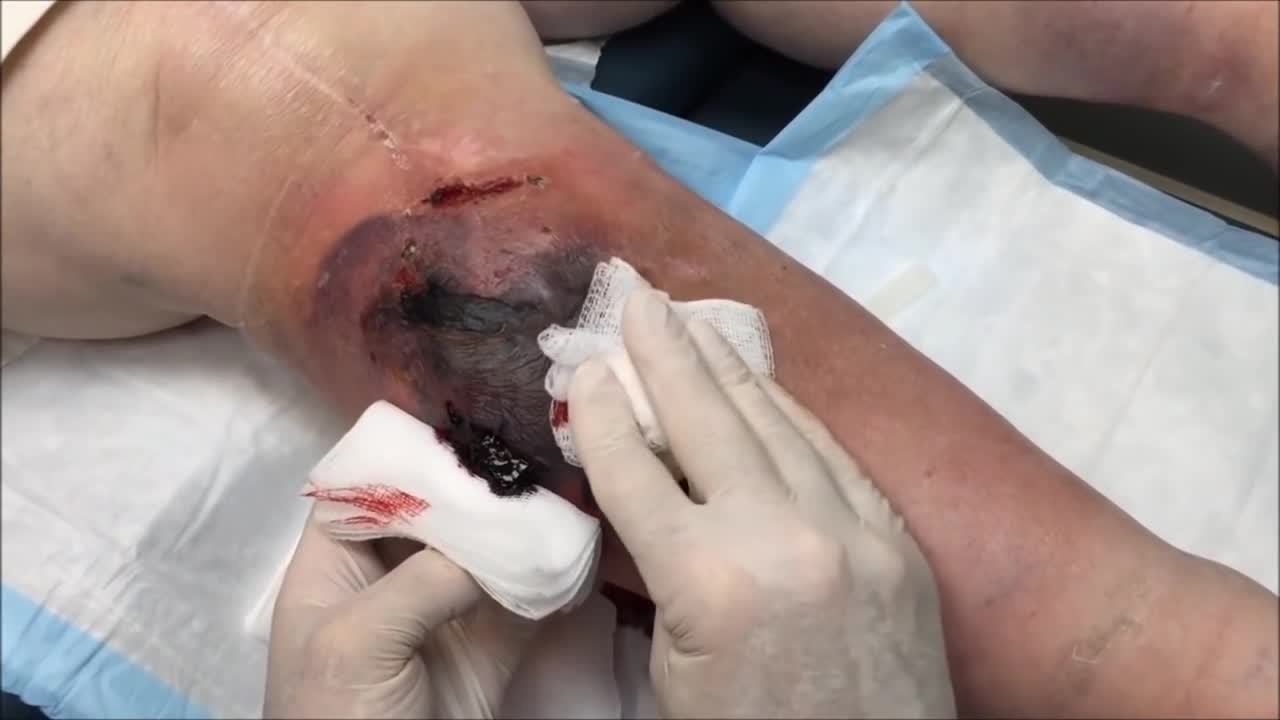
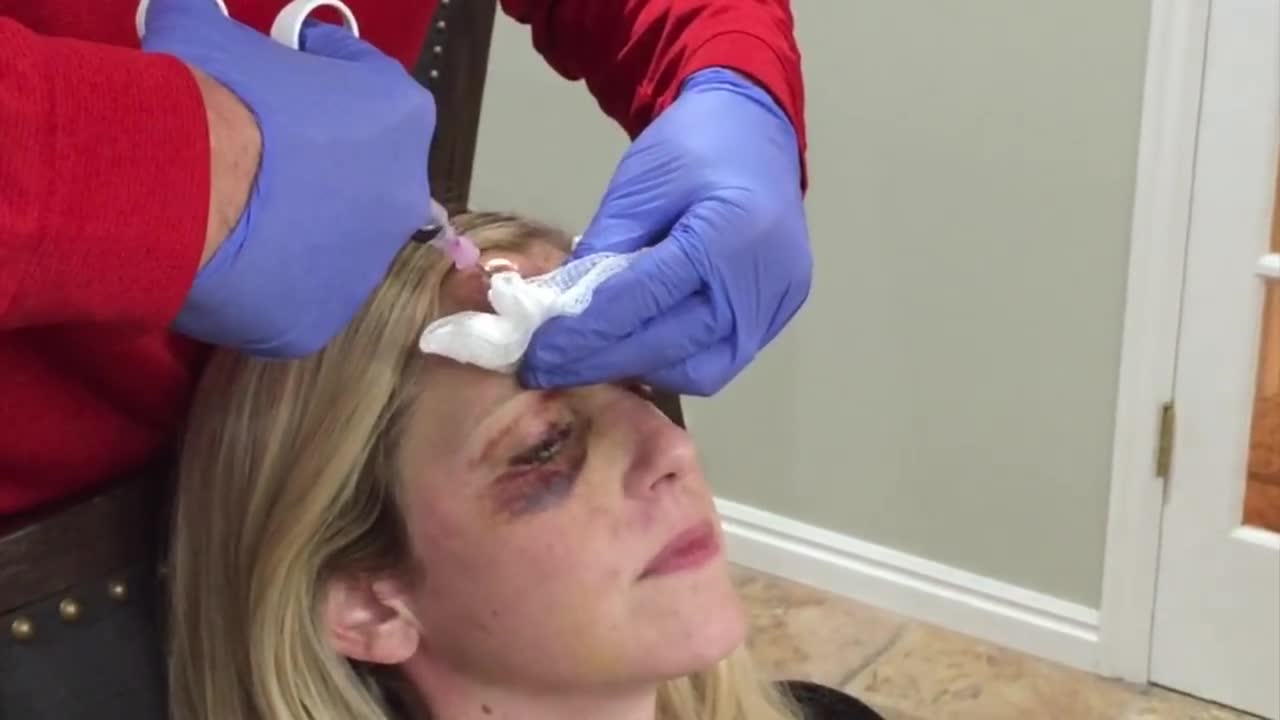
There are several types of hematomas and they are often described based on their location. Examples of hematomas include subdural, spinal, under the finger or toenail bed (subungual), ear, and liver (hepatic).
A hematoma is a common complication of surgical procedures. A large, expanding hematoma can result in necrosis of the overlying skin (1,2) or adjacent subcutaneous fat, increased incidence of infection, scarring, skin hyperpigmentation, tissue edema and a prolonged convalescence.
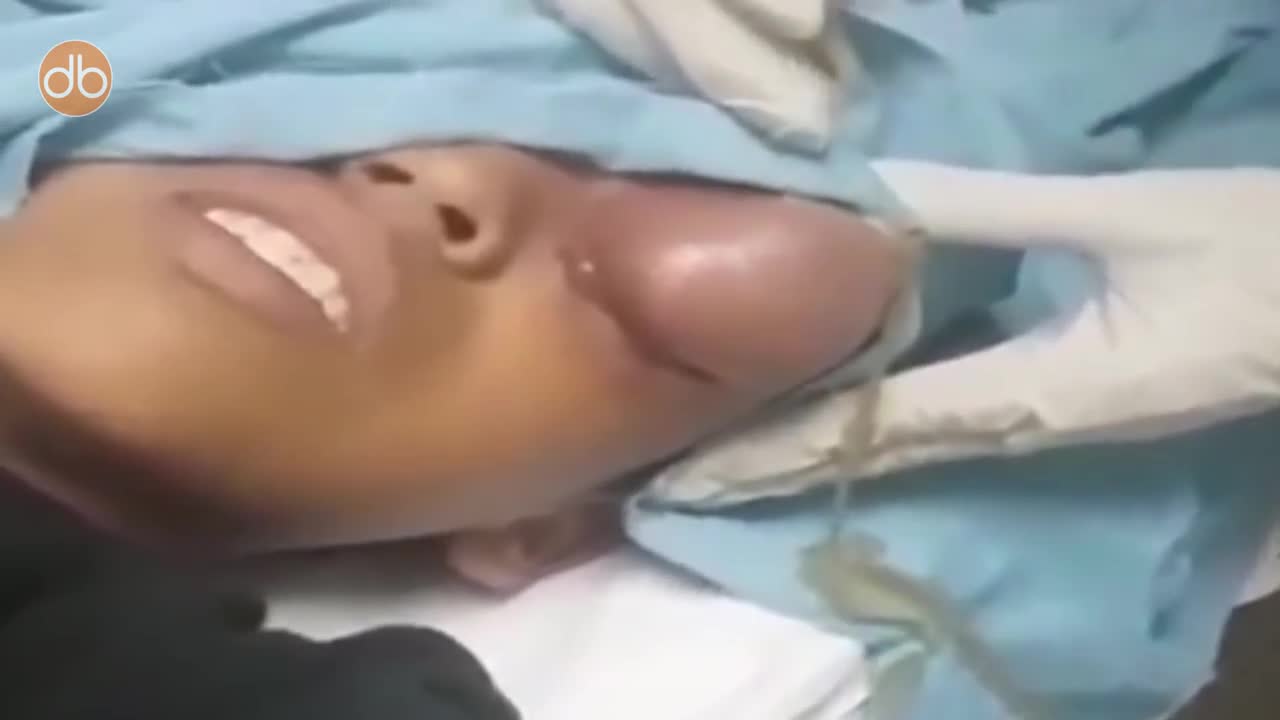
MASSIVE Goose Egg Drained
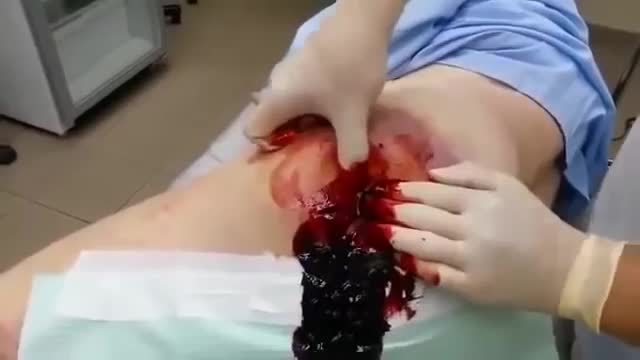
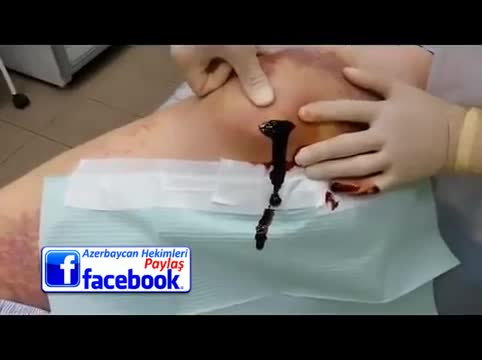
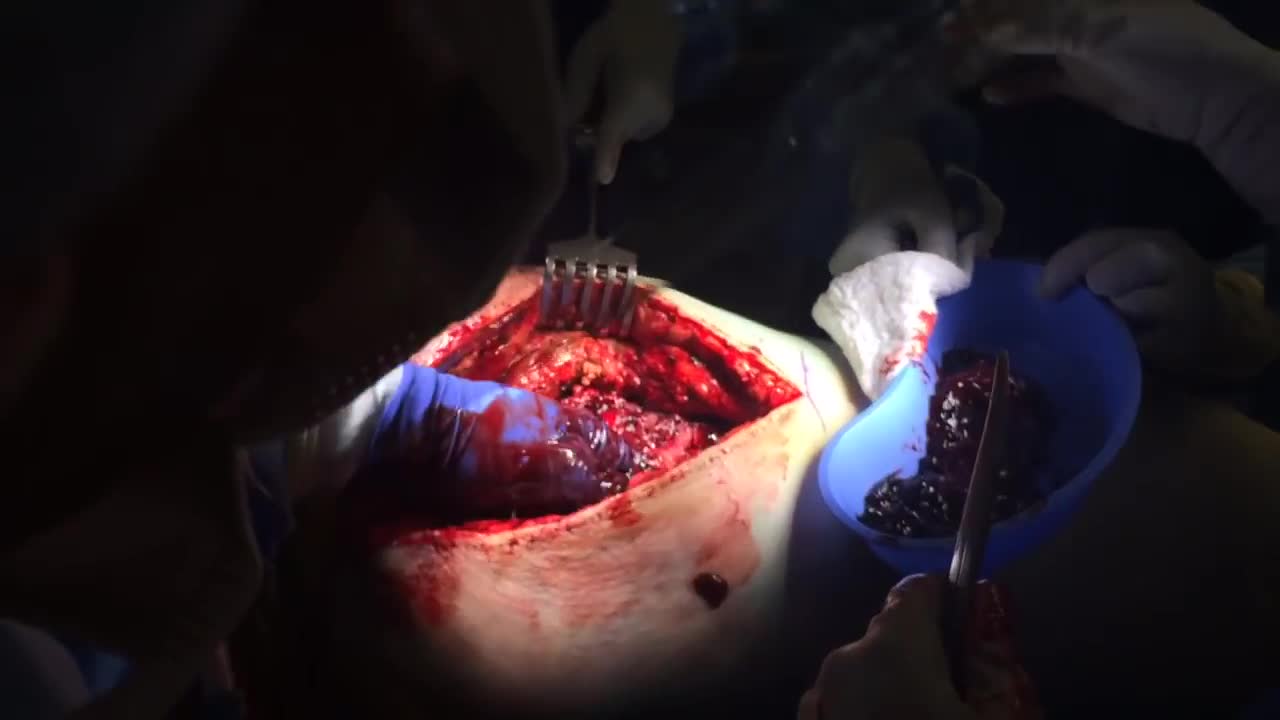
Hematoma Removal! Surgery, Blood, Popping
Simple interrupted suturing is the most basic and most important of the suturing techniques.
Head Cyst watch to see more

Huge Abscess On Man's Jaw surgery
