- Physical Examination
- Surgical Examination
- Ophthalmology
- Clinical Skills
- Orthopedics
- Surgery Videos
- Laparoscopy
- Pediatrics
- Funny Videos
- Cardiothoracic Surgery
- Nursing Videos
- Plastic Surgery
- Otorhinolaryngology
- Histology and Histopathology
- Neurosurgery
- Dermatology
- Pediatric Surgery
- Urology
- Dentistry
- Oncology and Cancers
- Anatomy Videos
- Health and Fitness
- Radiology
- Anaesthesia
- Physical Therapy
- Pharmacology
- Interventional Radiology
- Cardiology
- Endocrinology
- Gynecology
- Emergency Medicine
- Psychiatry and Psychology
- Childbirth Videos
- General Medical Videos
- Nephrology
- Physiology
- Diet and Food Health
- Diabetes Mellitus
- Neurology
- Women Health
- Osteoporosis
- Gastroenterology
- Pulmonology
- Hematology
- Rheumatology
- Toxicology
- Nuclear Medicine
- Infectious Diseases
- Vascular Disease
- Reproductive Health
- Burns and Wound Healing
- Other
Top videos

Lack of sunshine causes skin cancer, according to Andreas Moritz. In this video from 2009, he explains why being in the sun is actually good for you and your skin. Find out why your sunscreen is doing more harm than good. Also, you need vitamin D to prevent cancer, and sunscreen may interfere with your exposure to vitamin D from the sun.
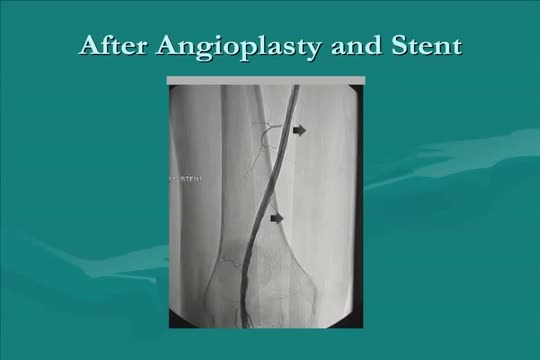
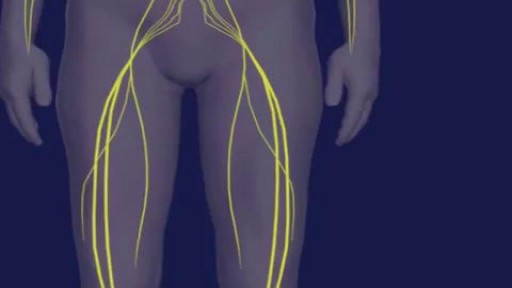
Roman Nowygrod, MD, a surgeon at NewYork-Presbyterian/Columbia University Medical Center, explains the different surgical approaches to treat Peripheral Arterial Disease (PAD).
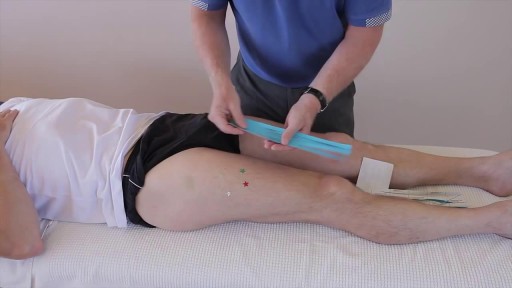

Examination of the knee joint from the USMLE collection
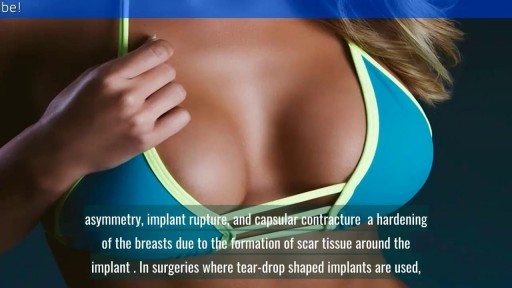
reast Augmentation: From Cost to Complications || Common gynaecological problems in women Breast augmentation (aka augmentation mammaplasty) is one of the most popular cosmetic procedures performed in the U.S. today. Despite controversy over the use of silicone breast implants, women have shown a continuing and growing eagerness to surgically enhance the size and shape of their breasts. If you are a healthy, non-smoking women who are at or near their ideal weight, with enough of their own breast tissue to cover and support an implant adequately, then you are a good candidate for breast augmentation surgery.

Cognitive impairment is seen in over half of people with multiple sclerosis. In this video I review factors that can contribute to multiple sclerosis brain fog, ways to assess cognition, and tips to improve thinking and memory.

Minor burns can typically be treated at home -- but it's important to know when you need to seek treatment.

Extradural approach via Orbito-Zygomatic Craniotomy

Mitral valve surgery is surgery to either repair or replace the mitral valve in your heart. Blood flows from the lungs and enters a pumping chamber of the heart called the left atrium. The blood then flows into the final pumping chamber of the heart called the left ventricle. The mitral valve is located between these two chambers. It makes sure that the blood keeps moving forward through the heart. You may need surgery on your mitral valve if: The mitral valve is hardened (calcified). This prevents blood from moving forward through the valve. The mitral valve is too loose. Blood tends to flows backward when this occurs. Minimally invasive mitral valve surgery is done through several small cuts. Another type of operation, open mitral valve surgery requires a larger cut.
Smoking causes: Chronic obstructive pulmonary disease (COPD), a disease that gets worse over time and causes wheezing, shortness of breath, chest tightness, and other symptoms. Emphysema, a condition in which the walls between the air sacs in your lungs lose their ability to stretch and shrink back.

A videos of cataract surgery
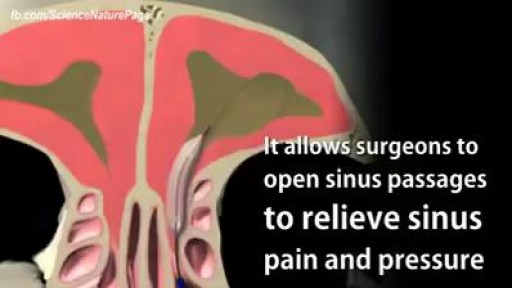
Balloon Sinuplasty for Sinus Infection
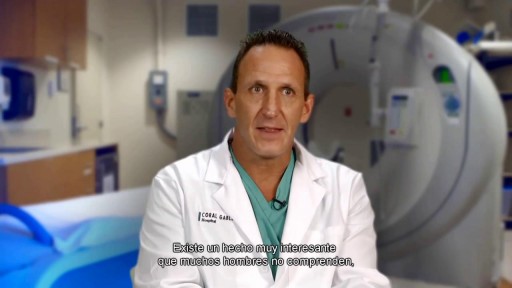
The inflatable penile prosthesis consists of two attached cylinders -- a reservoir and a pump -- which are placed surgically in the body. The two cylinders are inserted in the penis and connected by tubing to a separate reservoir of saline. The reservoir is implanted under the rectus muscles in the lower abdomen. A pump is also connected to the system and sits under the loose skin of the scrotal sac, between the testicles. This penile prosthesis is referred to as a 3-piece inflatable penile prosthesis, due to the three different components. A 2-piece inflatable penile prosthesis consists of only two components: the attached cylinders and the combined reservoir and pump unit. Instead of the reservoir being placed behind the groin, it is combined with the pump into one housing unit that fits comfortably within the scrotum. The advantage of a 2-piece prosthesis in that the surgery is shorter and less complicated and there is no device parts in the abdomen. The disadvantage of the 2-piece prosthesis is that the smaller reservoir may not result in adequate erections in some men. To inflate the prosthesis, the man presses on the pump. The pump transfers saline from the reservoir to the cylinders in the penis, inflating them and causing an erection. Pressing on a deflation valve at the base of the pump returns the fluid to the reservoir, deflating the penis and returning it to the normal flaccid state.
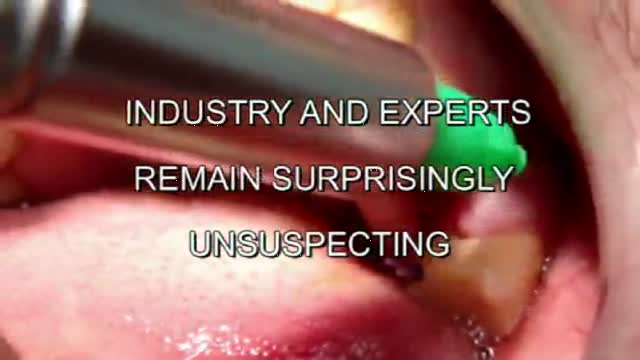
NOVEL METHOD: REAL ANATOMIC CUSTOM-MADE IMMEDIATE ZIRCONIA IMPLANT. YOUR DENTAL ROOT IS MILLED IN ZIRCONIA AND IN JUST 2 MINUTES SEATED, NO DRILLING, NO AUGMENTATION, NO MEMBRANES, FLAPLESS, NO 3D PLANNING, NO CAD/CAM SPLINTS OR GUIDED SURGERY REQUIRED! EASY AND CONSEQUENTIAL SYSTEM. NO MORE INCONGRUOUS AND UGLY SILVER-COLORED TITANIUM IMPLANTS IN TIME CONSUMING, PAINFUL AND COSTLY PROCEDURES. IT`S HIGH TIME TO RESPECT THE ANATOMY NOT ALTER IT BY DRILLING AND AUGMENTATION. BIOIMPLANT
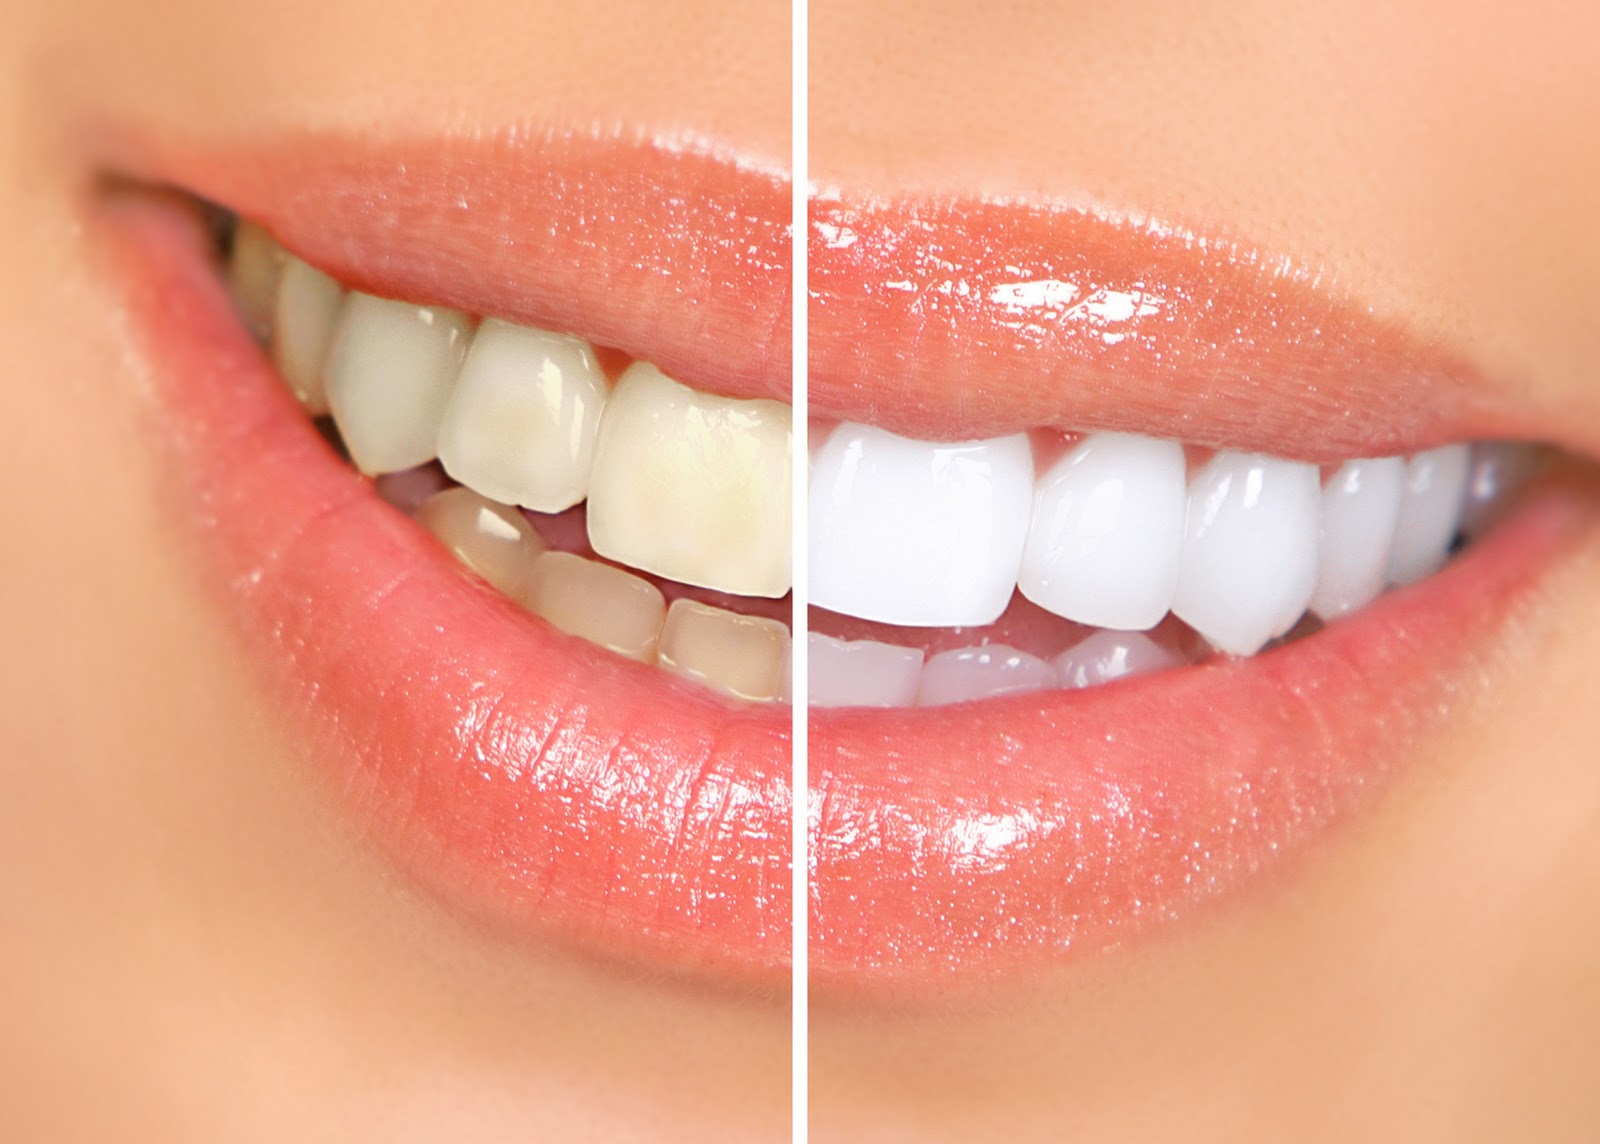
Watch that video to know the Natural Ways to Whiten Teeth at Home

Renal artery stenosis is the narrowing of one or more arteries that carry blood to your kidneys (renal arteries). Narrowing of the arteries prevents normal amounts of oxygen-rich blood from reaching your kidneys. Your kidneys need adequate blood flow to help filter waste products and remove excess fluids. Reduced blood flow may increase blood pressure in your whole body (systemic blood pressure) and injure kidney tissue.

allux valgus is considered to involve the following: Medial deviation of the first metatarsal Lateral deviation and/or rotation of the hallux Prominence, with or without medial soft-tissue enlargement of the first metatarsal head
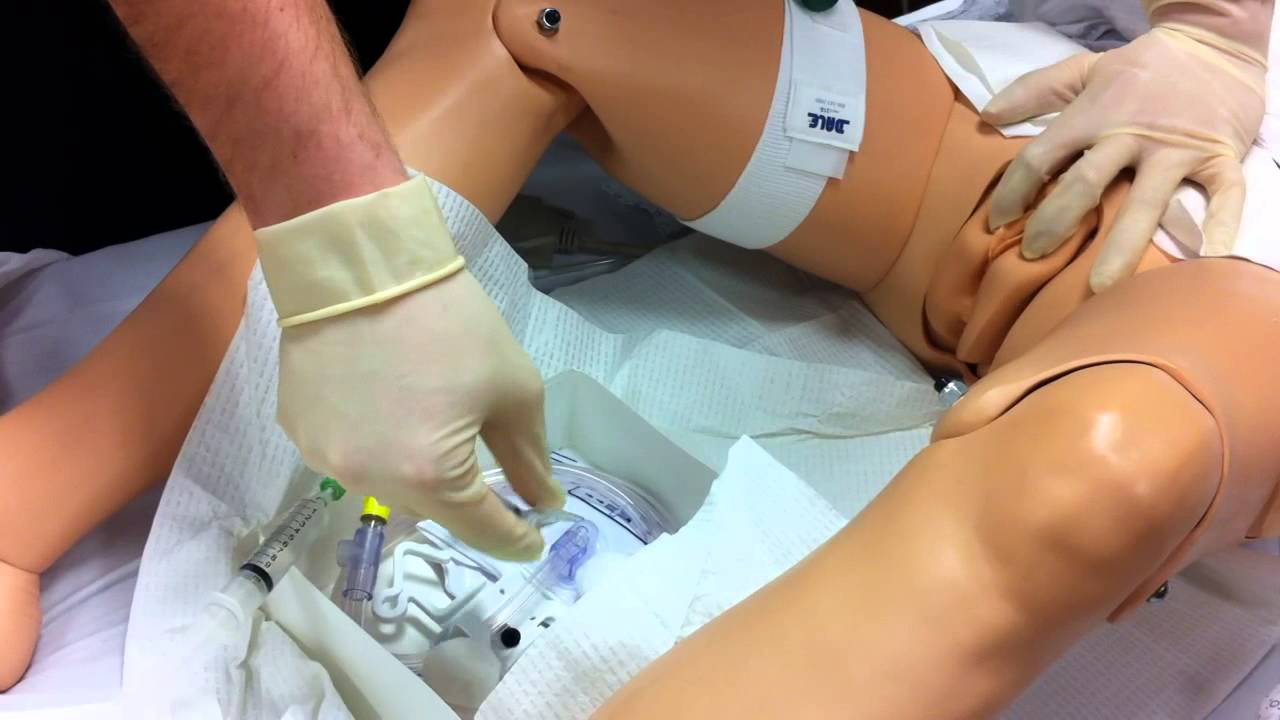
Watch that Female Foley Genital Catheter Insertion Procedure
