- Physical Examination
- Surgical Examination
- Ophthalmology
- Clinical Skills
- Orthopedics
- Surgery Videos
- Laparoscopy
- Pediatrics
- Funny Videos
- Cardiothoracic Surgery
- Nursing Videos
- Plastic Surgery
- Otorhinolaryngology
- Histology and Histopathology
- Neurosurgery
- Dermatology
- Pediatric Surgery
- Urology
- Dentistry
- Oncology and Cancers
- Anatomy Videos
- Health and Fitness
- Radiology
- Anaesthesia
- Physical Therapy
- Pharmacology
- Interventional Radiology
- Cardiology
- Endocrinology
- Gynecology
- Emergency Medicine
- Psychiatry and Psychology
- Childbirth Videos
- General Medical Videos
- Nephrology
- Physiology
- Diet and Food Health
- Diabetes Mellitus
- Neurology
- Women Health
- Osteoporosis
- Gastroenterology
- Pulmonology
- Hematology
- Rheumatology
- Toxicology
- Nuclear Medicine
- Infectious Diseases
- Vascular Disease
- Reproductive Health
- Burns and Wound Healing
- Other
Top videos
Minor burns can typically be treated at home -- but it's important to know when you need to seek treatment.

This surgical procedure helps children defeat bone cancer.
How we went from super species to the sickest. What gravity has to do with it.
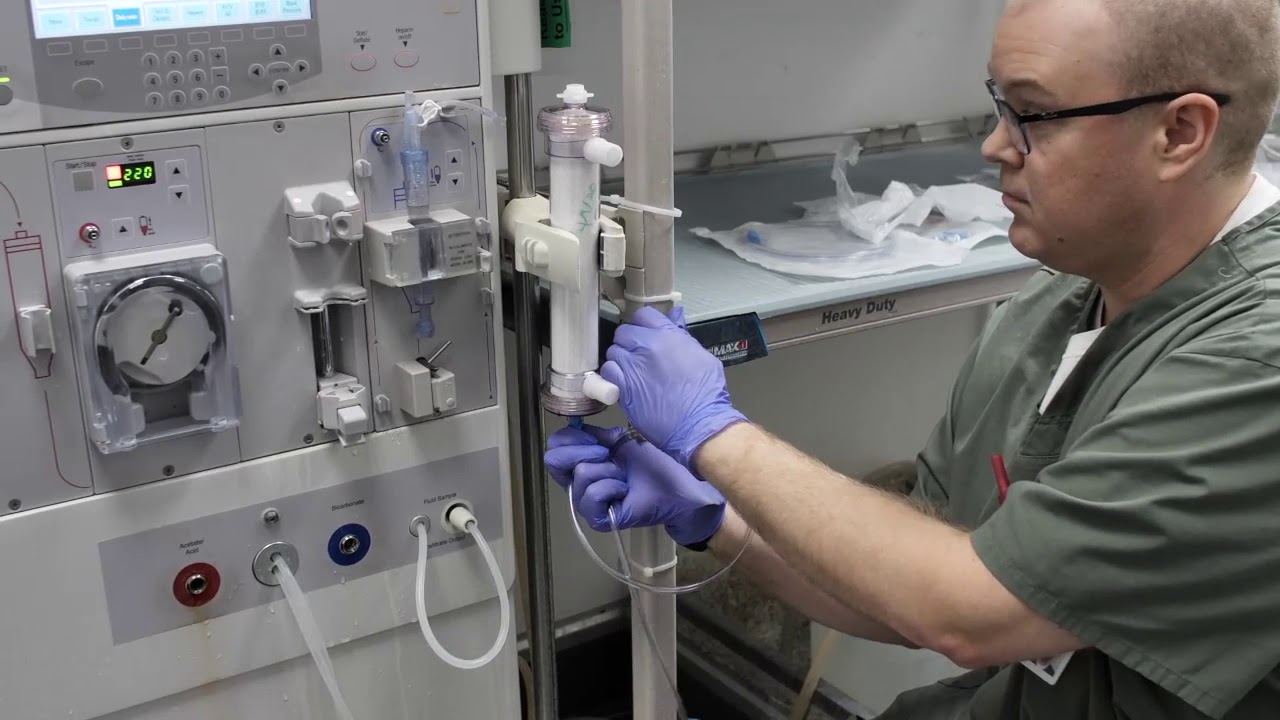
In this instructional video, Director of Critical Care Nephrology, Sevag Demirjian, MD goes over the steps for in-hospital production of ultra-pure continuous hemodialysis fluid.
By using the information in this video and/or any other materials made available by Cleveland Clinic related to the dialysate solution, you agree to comply with and be bound by the terms of the Permissive Use Agreement, a copy of which is available at https://bit.ly/3f9lN4j
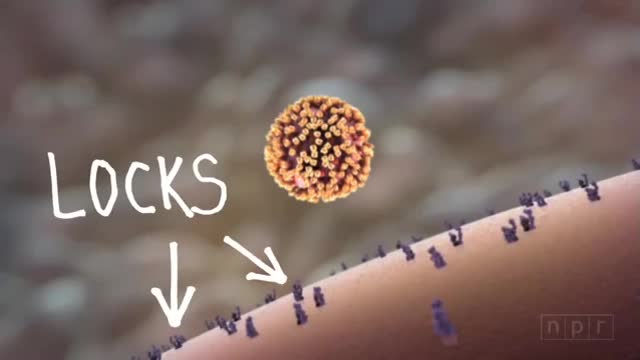
There are two main types of influenza (flu) virus: Types A and B. The influenza A and B viruses that routinely spread in people (human influenza viruses) are responsible for seasonal flu epidemics each year. Influenza A viruses can be broken down into sub-types depending on the genes that make up the surface proteins. Over the course of a flu season, different types (A & B) and subtypes (influenza A) of influenza circulate and cause illness.

The most reliable clinical sign to detect ascites is checking for bilateral flank dullness. If a patient with ascites is lying supine, fluid accumulates in the flank regions, leading to dullness on percussion. At the same time, the air-filled bowel loops are forced upwards by the free fluid due to buoyancy, resulting in tympanitic percussion. To locate specifically where dullness shifts to tympany, or the air-fluid level, percussion should be performed from the sides towards the middle. To confirm that the dullness is caused by ascites, ask the patient to switch to a lateral decubitus position. If ascites is present, the air-filled bowel loops will shift accordingly and remain at the surface of the fluid. As a result, the air-fluid level will shift as well. This is known as shifting dullness.
Subscribe to AMBOSS YouTube for the latest clinical examination videos, medical student interviews, study tips and tricks, and live webinars!
Free 5 Day Trial: https://go.amboss.com/amboss-YT
Instagram: https://www.instagram.com/amboss_med/
Facebook: https://www.facebook.com/AMBOSS.Med/
Twitter: https://twitter.com/ambossmed
Blog: https://blog.amboss.com/us
#AMBOSSMed #ClinicalExamination
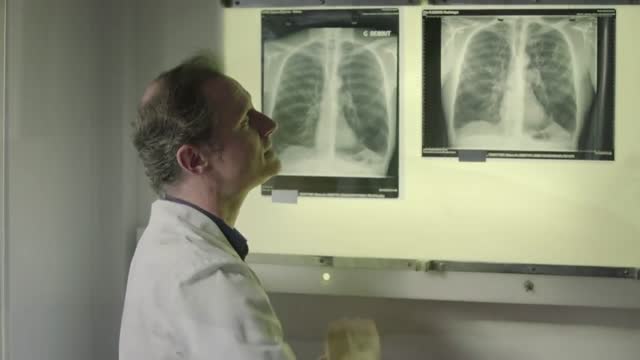
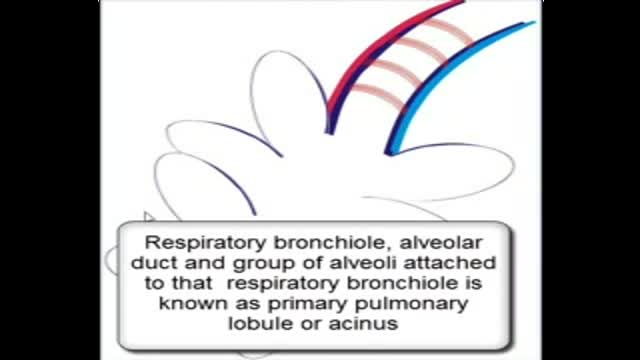
Emphysema gradually damages the air sacs (alveoli) in your lungs, making you progressively more short of breath. Emphysema is one of several diseases known collectively as chronic obstructive pulmonary disease Smoking is the leading cause of emphysema. Your lungs' alveoli are clustered like bunches of grapes. In emphysema, the inner walls of the air sacs weaken and eventually rupture — creating one larger air space instead of many small ones. This reduces the surface area of the lungs and, in turn, the amount of oxygen that reaches your bloodstream. When you exhale, the damaged alveoli don't work properly and old air becomes trapped, leaving no room for fresh, oxygen-rich air to enter. Treatment may slow the progression of emphysema, but it can't reverse the damage.

A tummy tuck is a surgical process that removes excess fat and skin. Learn more about the procedure by watching this video!
Looking to book a consultation? Call Zuri Plastic Surgery now at 786-804-1603 or DM us today to schedule a complimentary consultation with Dr. Z.
Un tummy tuck es un procedimiento quirúrgico que elimina el exceso de grasa y piel. ¡Aprenda más sobre este procedimiento viendo este video!
¿Quiere agendar una consulta? Llame a Zuri Plastic Surgery ahora al 786-804-1603 o envíenos un DM hoy para programar una consulta gratuita con el Dr. Z.

Plastic Surgery Disasters
World's first osteotomy for spine deformity

Watch that Full Real Human Body Decomposition Process

some knowledge
As above. Please see disclaimer on my website. www.academyofprofessionals.com
Watch that video of Removing Worms and Parasites From Girl's Mouth
assessment of the extra-ocular muscles
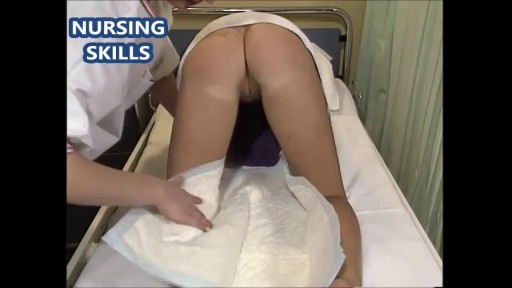
Watch that video to learn How to Insert Enema
A closure device and method to close the abdomen between surgical procedures and maintain a normal physiologic tension on the fascia to prevent undue retraction. In one embodiment, the closure device includes a “needled carabiner” attached to a rubberband of specific tension. The rubberband mimics the physiologic tension the abdominal wall normally experiences during daily activities and allows the abdominal compartment to expand as needed to maintain a healthy intra-abdominal pressure. The bands contract to maintain the intra-abdominal pressure and slowly pull the abdominal fascia back to the midline to facilitate surgical closure of the abdomen. In one embodiment, the “needled carabiner” includes a hinged surgical needle with a protected cap. The hinged needle is placed outside the normal suture line, thereby limiting the amount of surgical trauma the fascia endures. The strength of the rubberbands may be varied to accommodate differently sized individuals.
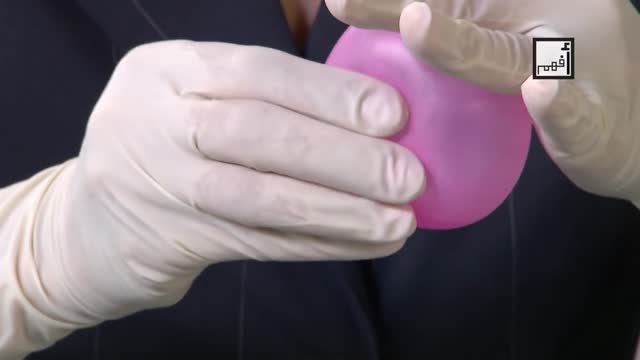
Testicular Self Exam
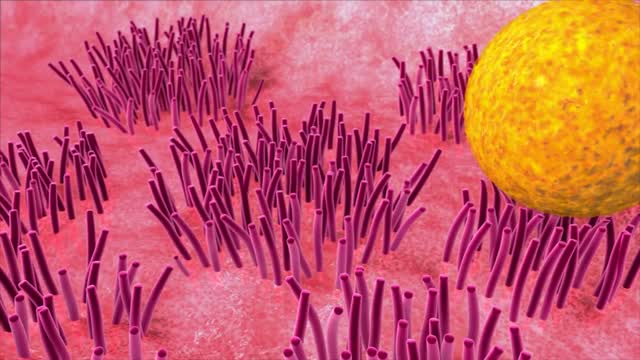
Sperm Meets Egg: Weeks 1 to 3 of Pregnancy. Something magical is about to happen! Watch as the ovulation process occurs, and then millions of sperm swim upstream on a quest to fertilize an egg. ... The egg travels down the fallopian tube, pushed by tiny hairs and awaits the arrival or sperm.
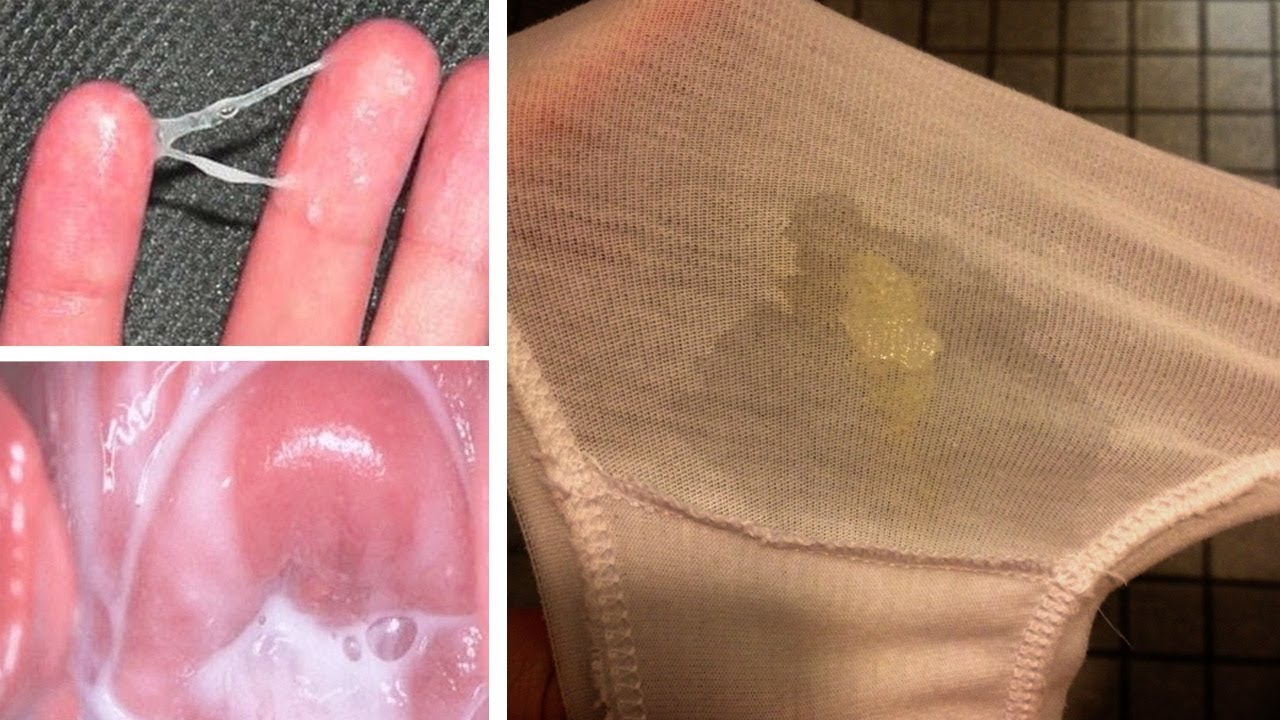
Watch that video to know What is Vaginal Discharge and how to Get Rid of it ?
