- Physical Examination
- Surgical Examination
- Ophthalmology
- Clinical Skills
- Orthopedics
- Surgery Videos
- Laparoscopy
- Pediatrics
- Funny Videos
- Cardiothoracic Surgery
- Nursing Videos
- Plastic Surgery
- Otorhinolaryngology
- Histology and Histopathology
- Neurosurgery
- Dermatology
- Pediatric Surgery
- Urology
- Dentistry
- Oncology and Cancers
- Anatomy Videos
- Health and Fitness
- Radiology
- Anaesthesia
- Physical Therapy
- Pharmacology
- Interventional Radiology
- Cardiology
- Endocrinology
- Gynecology
- Emergency Medicine
- Psychiatry and Psychology
- Childbirth Videos
- General Medical Videos
- Nephrology
- Physiology
- Diet and Food Health
- Diabetes Mellitus
- Neurology
- Women Health
- Osteoporosis
- Gastroenterology
- Pulmonology
- Hematology
- Rheumatology
- Toxicology
- Nuclear Medicine
- Infectious Diseases
- Vascular Disease
- Reproductive Health
- Burns and Wound Healing
- Other
Top videos

A new video illustrating the horizontal breast exam technique whihc is performed by doctors for any breast masses or abnormalities.

Septic arthritis is also known as infectious arthritis, and is usually caused by bacteria, or fungus. The condition is an inflammation of a joint that's caused by infection. Typically, septic arthritis affects one large joint in the body, such as the knee or hip. Less frequently, septic arthritis can affect multiple joints
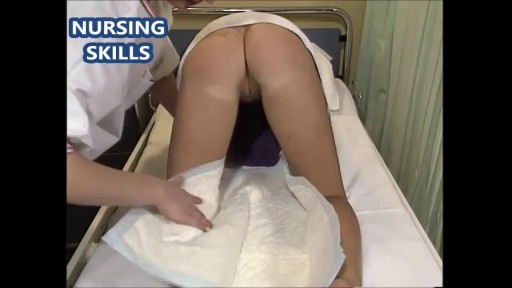
Watch that video to learn How to Insert Enema
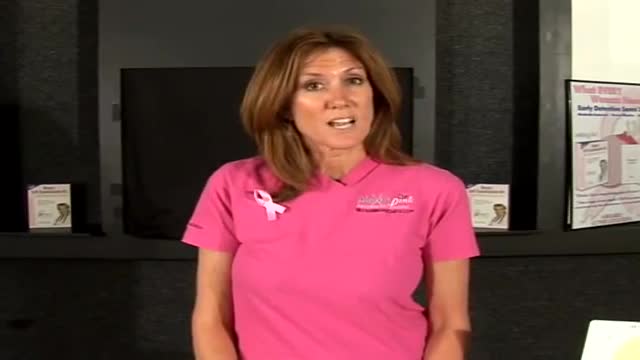
Men need to know that breast cancer is not limited to women. Possible symptoms of breast cancer to watch for include: A lump or swelling, which is usually (but not always) painless Skin dimpling or puckering Nipple retraction (turning inward) Redness or scaling of the nipple or breast skin Discharge from the nipple Sometimes a breast cancer can spread to lymph nodes under the arm or around the collar bone and cause a lump or swelling there, even before the original tumor in the breast tissue is large enough to be felt. These changes aren't always caused by cancer. For example, most breast lumps in men are caused by gynecomastia (a harmless enlargement of breast tissue). Still, if you notice any breast changes, you should see a health care professional as soon as possible.
the video will describe oxyhemoglobin dissociation curve. please see my website for disclaimer.

Near the end of diastole, the ventricles nearly fill with blood, and then the atria contract, adding even more volume to the ventricles. The volume of blood in the ventricles at the end of diastole is referred to as the end-diastolic volume. The other phase of the cardiac cycle is called systole.
As above. Please see disclaimer on my website. www.academyofprofessionals.com
Combination Plastic Surgery Procedure (Face and Body) with Premium Care

some knowledge
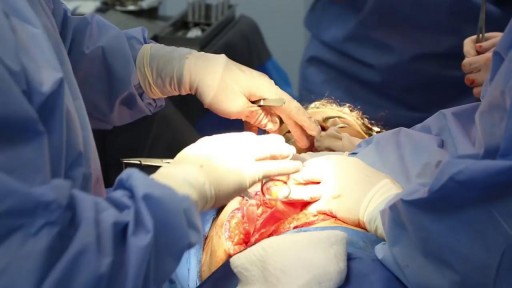
A closure device and method to close the abdomen between surgical procedures and maintain a normal physiologic tension on the fascia to prevent undue retraction. In one embodiment, the closure device includes a “needled carabiner” attached to a rubberband of specific tension. The rubberband mimics the physiologic tension the abdominal wall normally experiences during daily activities and allows the abdominal compartment to expand as needed to maintain a healthy intra-abdominal pressure. The bands contract to maintain the intra-abdominal pressure and slowly pull the abdominal fascia back to the midline to facilitate surgical closure of the abdomen. In one embodiment, the “needled carabiner” includes a hinged surgical needle with a protected cap. The hinged needle is placed outside the normal suture line, thereby limiting the amount of surgical trauma the fascia endures. The strength of the rubberbands may be varied to accommodate differently sized individuals.
Video demonstrating Breast Conservation Surgery with Type 1 Oncoplasty for an Early Breast Cancer.
This is a video of a Gender Reassignment Surgery, watch as surgeons change a male to a female its an extremely interesting procedure

A great video showing the multiple presentations of the baby which the doctor may encounter while delivery like breech presentation..etc
Fake Sonogram

Longest Ingrown Hair Removal
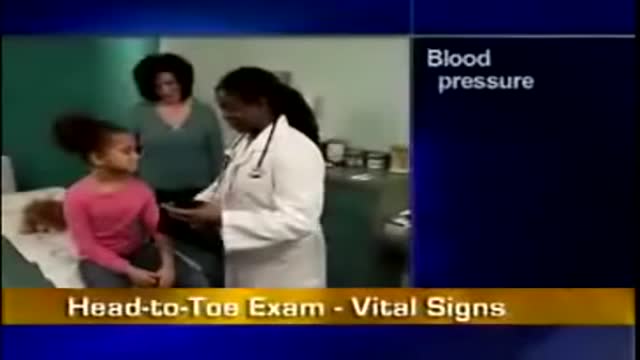
Physical Assessment of a Child
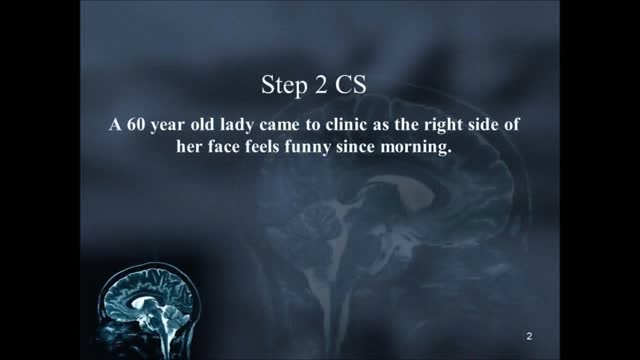
USMLE Step 2 CS - Numbness Weakness This is just preview video. To get full access please visit our website : www.usmletutoring.com
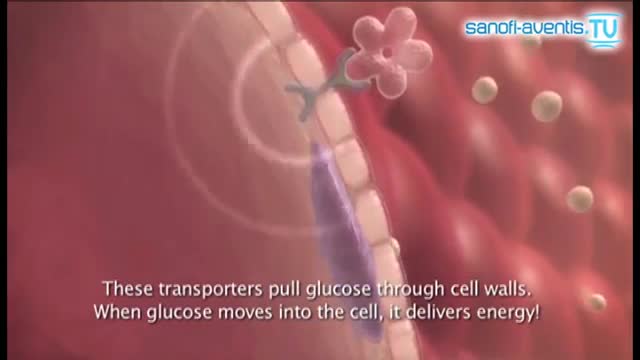
Insulin is a hormone made naturally in the pancreas that helps move sugar into the cells of your body. Your cells use the sugar as fuel to make energy. Without enough insulin, sugar stays in your bloodstream, raising your blood sugar. High blood sugar, or hyperglycemia, can lead to the signs and symptoms of diabetes:
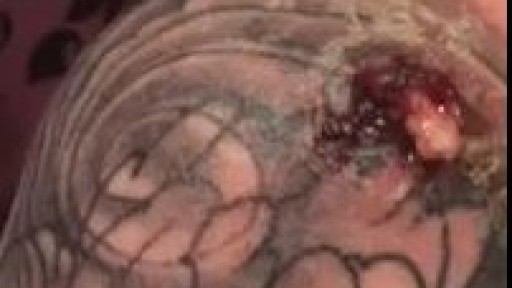
Infected Tattoo Abscess

Part 2. Full Obstetric examination and normal delivery by Egyptian doctor Hussein Sulayman and the video is in English showing: Obstetric Examination Episiotomy Obstetric Forceps Obstetric Instruments
