- Physical Examination
- Surgical Examination
- Ophthalmology
- Clinical Skills
- Orthopedics
- Surgery Videos
- Laparoscopy
- Pediatrics
- Funny Videos
- Cardiothoracic Surgery
- Nursing Videos
- Plastic Surgery
- Otorhinolaryngology
- Histology and Histopathology
- Neurosurgery
- Dermatology
- Pediatric Surgery
- Urology
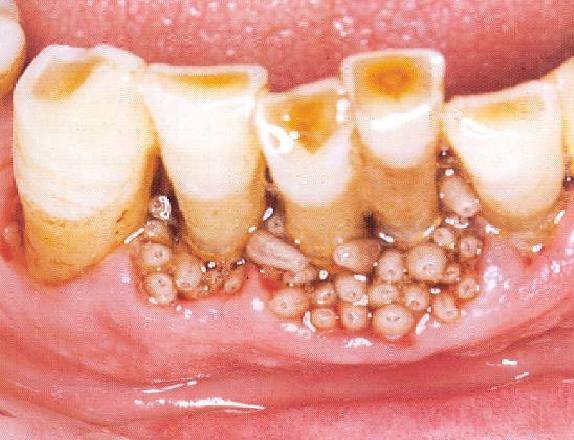
- Dentistry
- Oncology and Cancers
- Anatomy Videos
- Health and Fitness
- Radiology
- Anaesthesia
- Physical Therapy
- Pharmacology
- Interventional Radiology
- Cardiology
- Endocrinology
- Gynecology
- Emergency Medicine
- Psychiatry and Psychology
- Childbirth Videos
- General Medical Videos
- Nephrology
- Physiology
- Diet and Food Health
- Diabetes Mellitus
- Neurology
- Women Health
- Osteoporosis
- Gastroenterology
- Pulmonology
- Hematology
- Rheumatology
- Toxicology
- Nuclear Medicine
- Infectious Diseases
- Vascular Disease
- Reproductive Health
- Burns and Wound Healing
- Other
Top videos
In as many as 80% of cases, doctors don’t find the exact reason for a curved spine. Scoliosis without a known cause is what doctors call “idiopathic.” Some kinds of scoliosis do have clear causes. Doctors divide those curves into two types -- structural and nonstructural. In nonstructural scoliosis, the spine works normally, but looks curved. Why does this happen? There are a number of reasons, such as one leg’s being longer than the other, muscle spasms, and inflammations like appendicitis. When these problems are treated, this type of scoliosis often goes away.
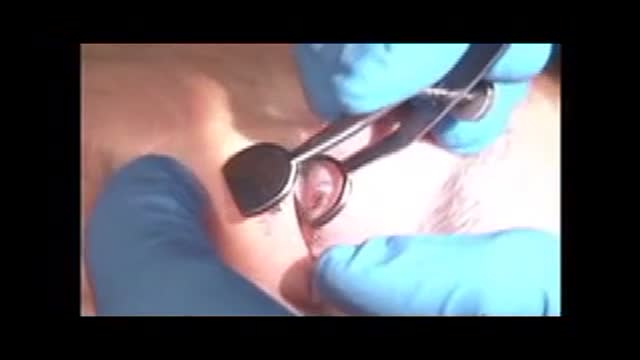
Surgical removal of a Chalazion from the eye lid
This video shows the delivery of the placenta after delivery of the fetus

karnim herbal capsules
Clinical examination of the anterior chest and lungs from the USMLE collection
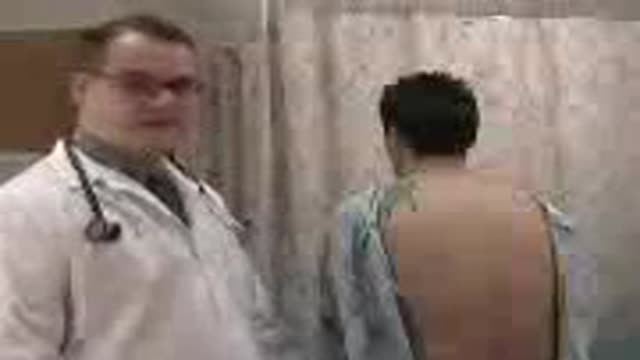
Posterior Chest Examination from the USMLE collection
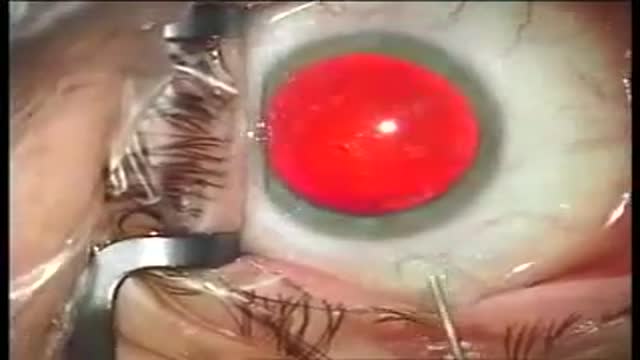
RLE and Alcon Restor IOL Implantation
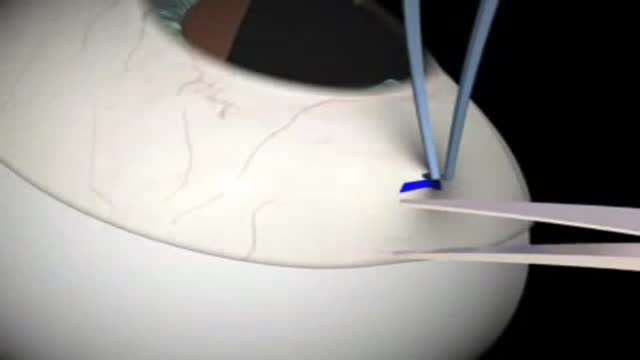
Glaucoma Surgery 3D Animation

Flexor Digitorum Profundus (FDP) Finger Tendon Repair

ThermiVa is a non-surgical vaginal tightening treatment for women who want to reclaim what childbirth or aging may have taken away. Using the same technology that’s used in ThermiTight and ThermiSmooth, radiofrequency energy is sent to the desired area (internally or externally), heating the tissue and stimulating the body’s own collagen. ThermiVa is performed in three treatments over the course of three months.
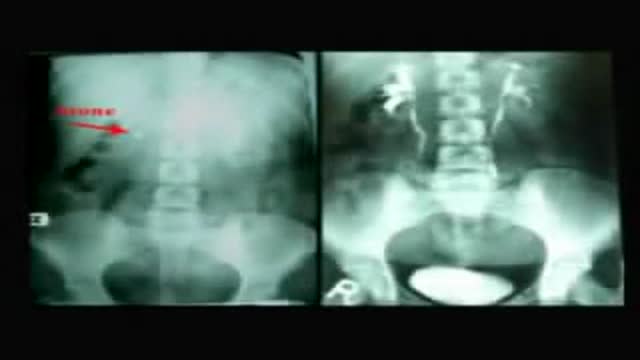
Totally US Guided PCNL in Flank Position
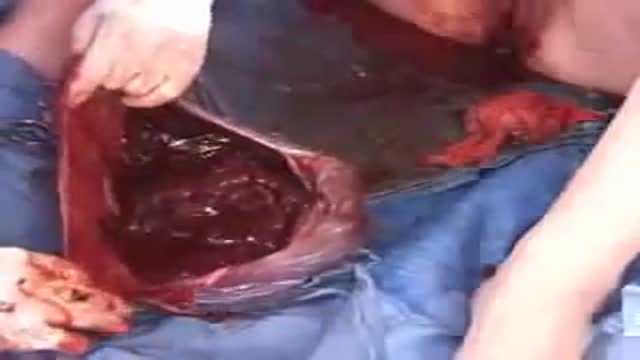
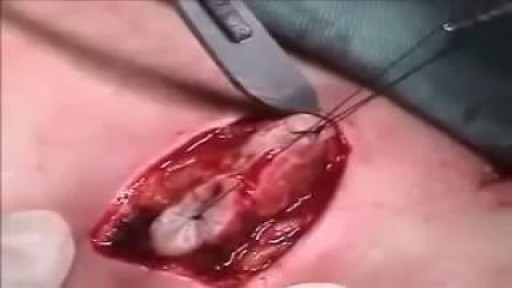
Huge Sebaceous Cyst Removal Medical Video procedure
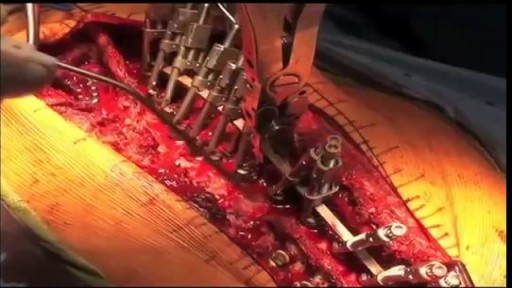
World's first osteotomy for spine deformity
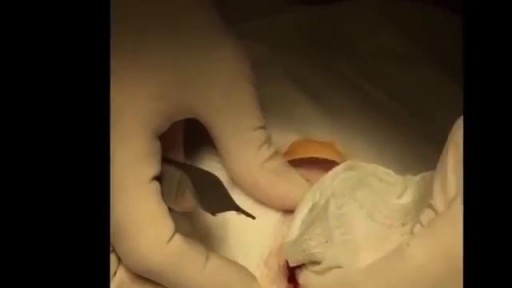
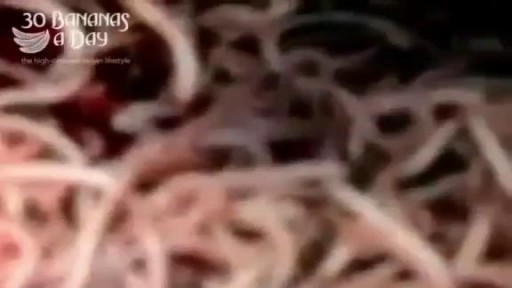
Watch that video of Removing Worms and Parasites From Girl's Mouth
Care must be taken to prevent stenosis at the anastomotic site. If the diameter of the anastomosis is less than 2 cm, the anastomosis should be taken down and resected. A classic end-to-end anastomosis should be performed to ensure adequate diameter to the intestine. If the posterior wall of the colon has been preserved, care should be taken to close the colostomy prior to opening the peritoneal cavity. This will reduce intraperitoneal contamination from the stoma site. Copious irrigation of the wound should be made prior to primary closure. If gross contamination has occurred, delayed closure of the wound should be considered.
: Intrinsic muscles of the back, vertebral, spinal muscle & spinal cord

Watch that video of Amputated Hand Reattachment Surgery
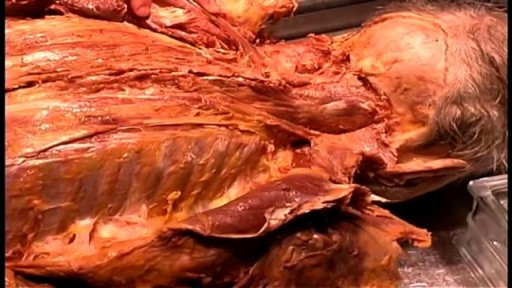
Watch that video of a Bodybuilder's Colon Contains 10 lbs Meat Worms
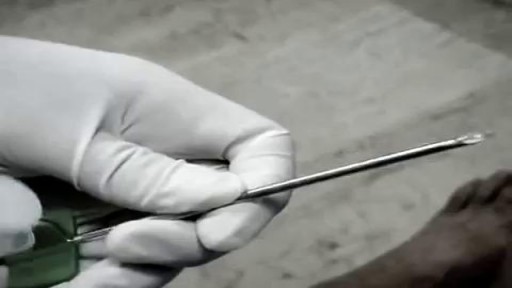
When placement of a urethral catheter is contraindicated or unsuccessful, percutaneous suprapubic urinary bladder catheterization is a commonly performed procedure to relieve urinary retention. [1, 2] This topic describes the Catheter over needle technique. The Seldinger technique is described in the Clinical Procedures topic Suprapubic Aspiration.
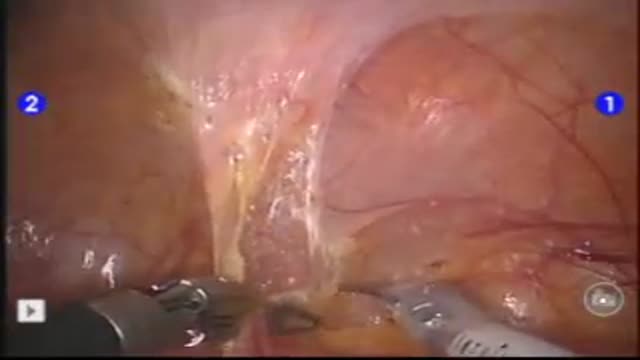
PURPOSE: Laparoscopic partial nephrectomy (LPN) is an alternative modality of treatment for small sized renal cell carcinoma. Robot assisted laparoscopic partial nephrectomy (RLPN) has also been performed with an advantage in repairing resected surface after tumor resection. We compare the periopera...
tive data of patients treated with laparoscopic partial nephrectomy with those of RLPN undertaken patients. MATERIAL AND METHOD: From September 2006 to April 2008, 22 patients were treated with LPN and 22 were RLPN. 3 arms were used for RLPN; camera was inserted through the 12mm, umbilical trocar port. The laparoscopic Bulldog clamp was used for the clamping of renal hilum. We retrospectively compared each group about tumor size, operation time, estimated blood loss, warm ischemic time and hospital stay. RESULT: Operation time of LPN was shorter than that of RLPN (p=0.033). Tumor size, estimated blood loss and hospital stay was not significant different in each group. No case had conversion to open surgery. 1 patient of RLPN group, however, had conversion to radical nephrectomy due to severe bleeding. CONCLUSION: RLPN was safe and feasible in small sized renal cell carcinoma. Warm ischemic time was reasonable and morbidity associated with RLPN was also low. RLPN LPN p-value Tumor Size (cm) 2.5 2.1 0.605 Op time (min) 169.3 140.8 0.033 EBL (ml) 243.2 213.2 0.878 Warm Ischemic Time (min) 29.2 26.4 0.237 Transfusion (%) 4.5 4.5 0.756 Hospital stay (day) 4.4 5.5 0.053
