- Physical Examination
- Surgical Examination
- Ophthalmology
- Clinical Skills
- Orthopedics
- Surgery Videos
- Laparoscopy
- Pediatrics
- Funny Videos
- Cardiothoracic Surgery
- Nursing Videos
- Plastic Surgery
- Otorhinolaryngology
- Histology and Histopathology
- Neurosurgery
- Dermatology
- Pediatric Surgery
- Urology
- Dentistry
- Oncology and Cancers
- Anatomy Videos
- Health and Fitness
- Radiology
- Anaesthesia
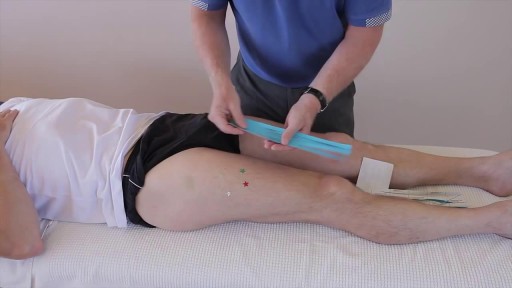
- Physical Therapy
- Pharmacology
- Interventional Radiology
- Cardiology
- Endocrinology
- Gynecology
- Emergency Medicine
- Psychiatry and Psychology
- Childbirth Videos
- General Medical Videos
- Nephrology
- Physiology
- Diet and Food Health
- Diabetes Mellitus
- Neurology
- Women Health
- Osteoporosis
- Gastroenterology
- Pulmonology
- Hematology
- Rheumatology
- Toxicology
- Nuclear Medicine
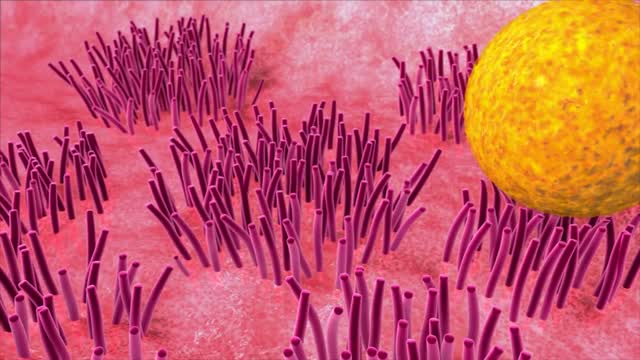
- Infectious Diseases
- Vascular Disease
- Reproductive Health
- Burns and Wound Healing
- Other
Top videos

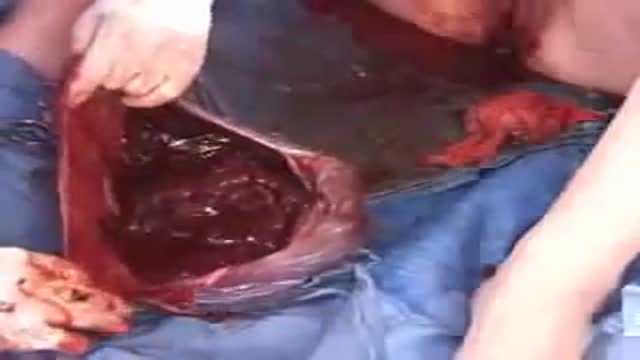
Watch that video of a Bodybuilder's Colon Contains 10 lbs Meat Worms
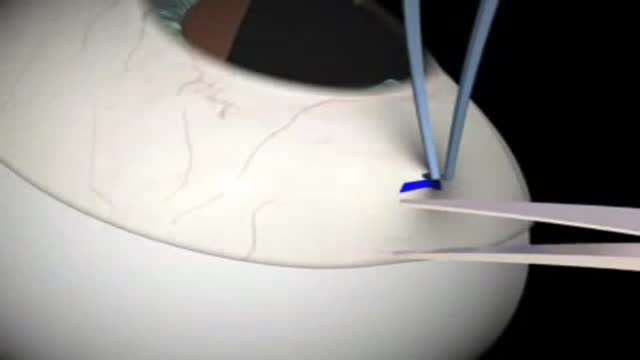
Glaucoma Surgery 3D Animation
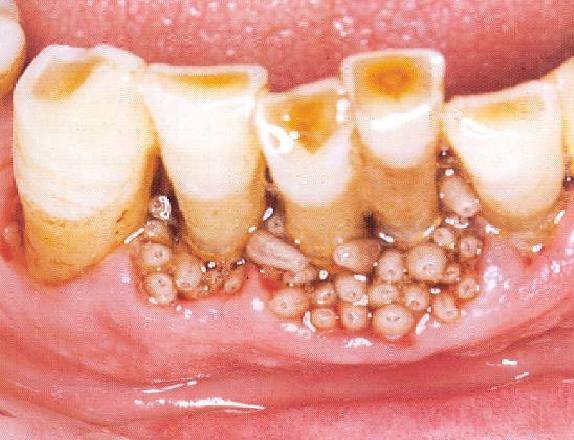
Watch that video of Removing Worms and Parasites From Girl's Mouth
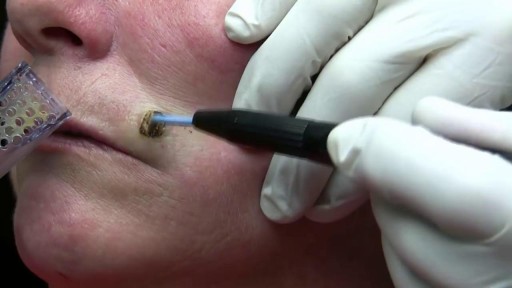
Watch that video of a Very Large Mole Removal Surgery
This video shows the delivery of the placenta after delivery of the fetus
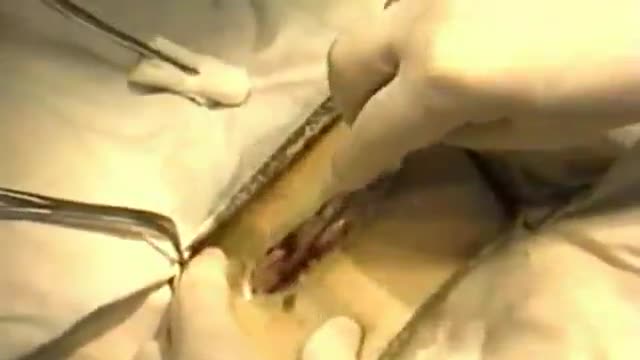
An appendectomy (sometimes called appendisectomy or appendicectomy (British English)) is the surgical removal of the vermiform appendix. This procedure is normally performed as an emergency procedure, when the patient is suffering from acute appendicitis. In the absence of surgical facilities, intravenous antibiotics are used to delay or prevent the onset of sepsis; it is now recognized that many cases will resolve when treated perioperatively. In some cases the appendicitis resolves completely; more often, an inflammatory mass forms around the appendix, causing transruptural flotation. This is a relative contraindication to surgery.
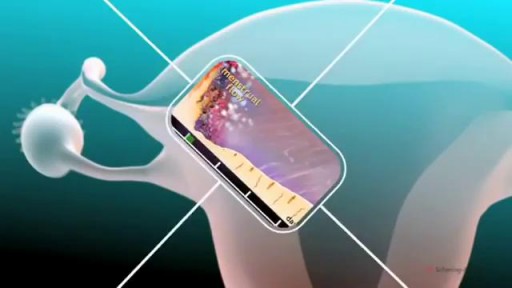
The menstrual cycle is the regular natural change that occurs in the female reproductive system that makes pregnancy possible. The cycle is required for the production of oocytes, and for the preparation of the uterus for pregnancy.
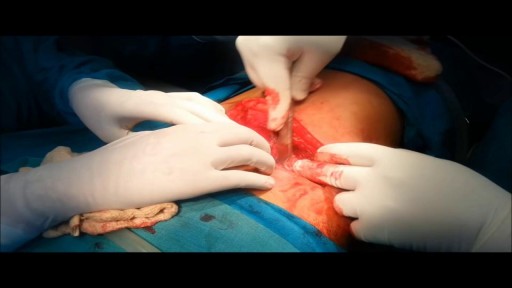
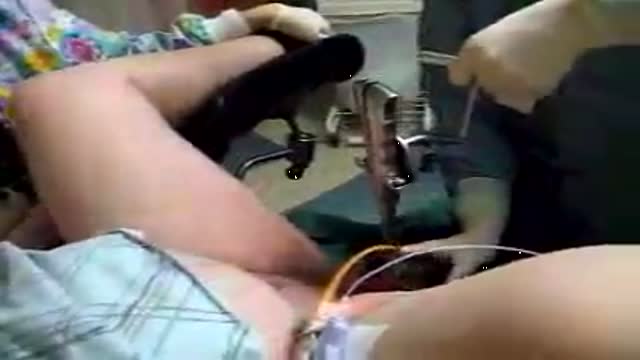
Majority of patients these days prefer PCNL ( Minimal Invasive Telescopic removal of kidney stones broken with lithoclast, removed through a button hole incision ). This patient with a big stone in the pelvis of the kidney wanted it open only so I did an open pyelolithotomy for this patient after a long time as I use to do it in routine in the past. Except for the long incision and scar as compared to PCNL the recovery time was the same and patient went home third day happily walking and eating.
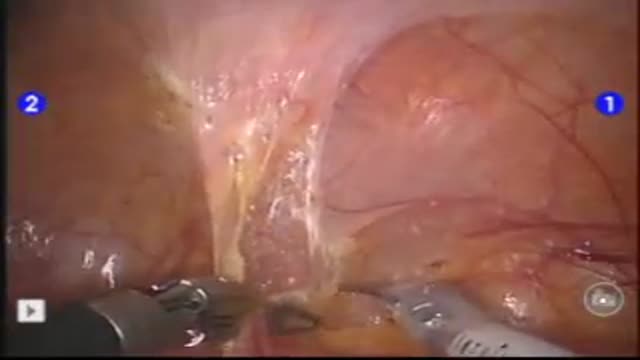
PURPOSE: Laparoscopic partial nephrectomy (LPN) is an alternative modality of treatment for small sized renal cell carcinoma. Robot assisted laparoscopic partial nephrectomy (RLPN) has also been performed with an advantage in repairing resected surface after tumor resection. We compare the periopera...
tive data of patients treated with laparoscopic partial nephrectomy with those of RLPN undertaken patients. MATERIAL AND METHOD: From September 2006 to April 2008, 22 patients were treated with LPN and 22 were RLPN. 3 arms were used for RLPN; camera was inserted through the 12mm, umbilical trocar port. The laparoscopic Bulldog clamp was used for the clamping of renal hilum. We retrospectively compared each group about tumor size, operation time, estimated blood loss, warm ischemic time and hospital stay. RESULT: Operation time of LPN was shorter than that of RLPN (p=0.033). Tumor size, estimated blood loss and hospital stay was not significant different in each group. No case had conversion to open surgery. 1 patient of RLPN group, however, had conversion to radical nephrectomy due to severe bleeding. CONCLUSION: RLPN was safe and feasible in small sized renal cell carcinoma. Warm ischemic time was reasonable and morbidity associated with RLPN was also low. RLPN LPN p-value Tumor Size (cm) 2.5 2.1 0.605 Op time (min) 169.3 140.8 0.033 EBL (ml) 243.2 213.2 0.878 Warm Ischemic Time (min) 29.2 26.4 0.237 Transfusion (%) 4.5 4.5 0.756 Hospital stay (day) 4.4 5.5 0.053
Sperm Meets Egg: Weeks 1 to 3 of Pregnancy. Something magical is about to happen! Watch as the ovulation process occurs, and then millions of sperm swim upstream on a quest to fertilize an egg. ... The egg travels down the fallopian tube, pushed by tiny hairs and awaits the arrival or sperm.

Lack of sunshine causes skin cancer, according to Andreas Moritz. In this video from 2009, he explains why being in the sun is actually good for you and your skin. Find out why your sunscreen is doing more harm than good. Also, you need vitamin D to prevent cancer, and sunscreen may interfere with your exposure to vitamin D from the sun.
Delivery using foreceps
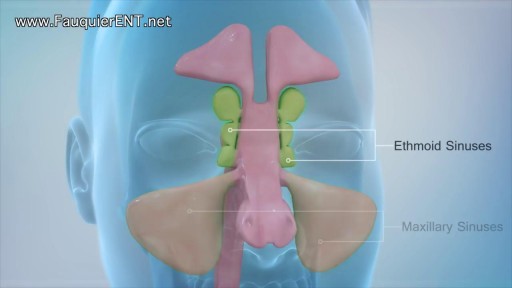
Explained (Balloon Sinuplasty and Endoscopic Sinus Surgery)
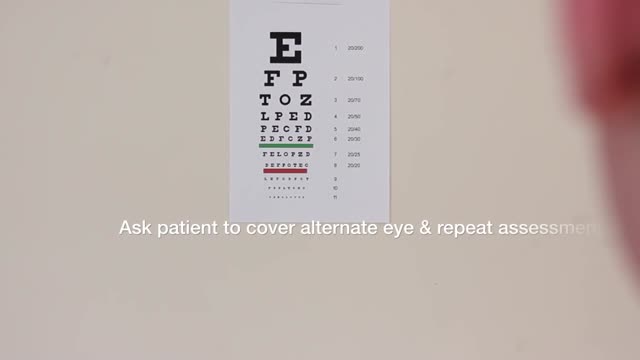
Examination of the Eyes and Vision
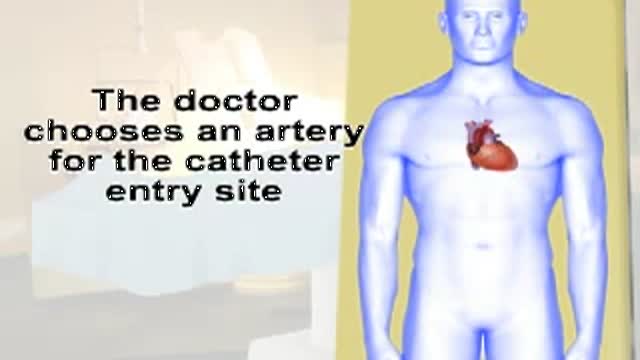
This video gives you an overview of how a cardiac catheterization is performed.
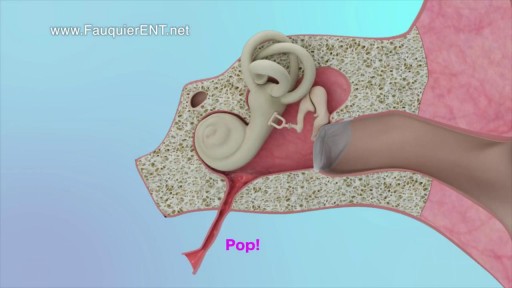
This video demonstrates why ears become clogged and why ear popping helps. The video also explains why ear popping may become difficult resulting in a persistent clogged or muffled ear especially after an ear infection.

Menorrhagia is the medical term for menstrual periods with abnormally heavy or prolonged bleeding. Although heavy menstrual bleeding is a common concern, most women don't experience blood loss severe enough to be defined as menorrhagia. With menorrhagia, you can't maintain your usual activities when you have your period because you have so much blood loss and cramping. If you dread your period because you have such heavy menstrual bleeding, talk with your doctor. There are many effective treatments for menorrhagia. Symptoms Signs and symptoms of menorrhagia may include: Soaking through one or more sanitary pads or tampons every hour for several consecutive hours Needing to use double sanitary protection to control your menstrual flow Needing to wake up to change sanitary protection during the night Bleeding for longer than a week Passing blood clots larger than a quarter Restricting daily activities due to heavy menstrual flow Symptoms of anemia, such as tiredness, fatigue or shortness of breath
Testicle pain (testicular pain) is pain that occurs in or around one or both testicles. Sometimes testicle pain actually originates from somewhere else in the groin or abdomen, and is felt in one or both testicles (referred pain).
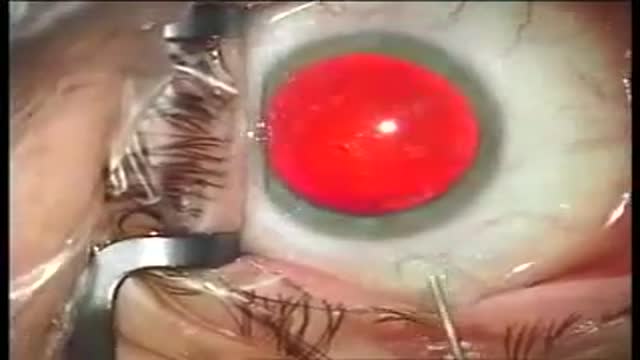
RLE and Alcon Restor IOL Implantation
