Top videos

Thyroid Clinical Examination
Thyroid Clinical Examination samer kareem 19,397 Views • 3 years ago

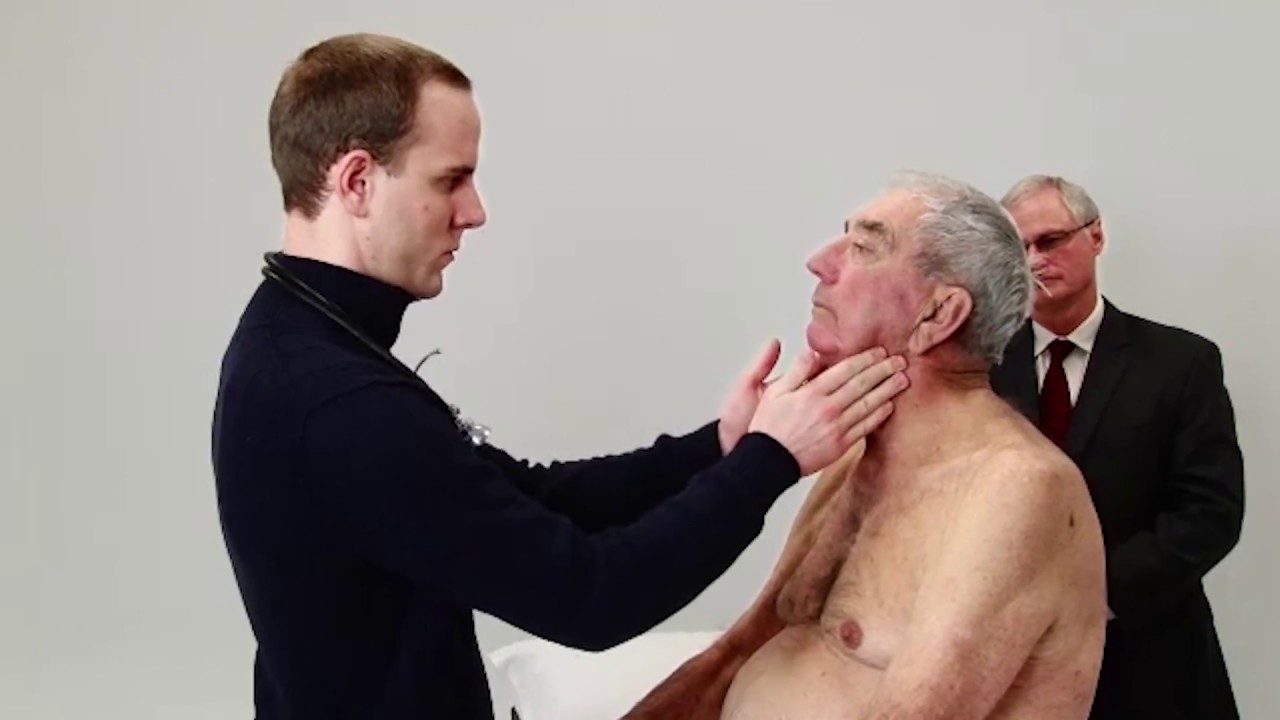
The examination consists of three portions: Inspection, Palpation, and Synthesis of data from these techniques In addition to palpating for size, also note the gland texture, mobility, tenderness and the presence of nodules. Inspection Inspection: Anterior Approach The patient should be seated or standing in a comfortable position with the neck in a neutral or slightly extended position. Cross-lighting increases shadows, improving the detection of masses. To enhance visualization of the thyroid, you can: Extending the neck, which stretches overlying tissues Have the patient swallow a sip of water, watching for the upward movement of the thyroid gland. quicktime video 251KB video demo from Return to the Bedside Inspection: Lateral Approach After completing anterior inspection of the thyroid, observe the neck from the side. Estimate the smooth, straight contour from the cricoid cartilage to the suprasternal notch. Measure any prominence beyond this imagined contour, using a ruler placed in the area of prominence. Palpation Note: There is no data comparing palpation using the anterior approach to the posterior approach so examiners should use the approach that they find most comfortable. Palpation: Anterior Approach placement of hands for palpatation of thyroid in anterior approach The patient is examined in the seated or standing position. Attempt to locate the thyroid isthmus by palpating between the cricoid cartilage and the suprasternal notch. Use one hand to slightly retract the sternocleidomastoid muscle while using the other to palpate the thyroid. Have the patient swallow a sip of water as you palpate, feeling for the upward movement of the thyroid gland. quicktime video 454KB video demo from Return to the Bedside. Palpation: Posterior Approach placement of hands for palpatation of thyroid in posterior approach The patient is examined in the seated or standing position. Standing behind the patient, attempt to locate the thyroid isthmus by palpating between the cricoid cartilage and the suprasternal notch. Move your hands laterally to try to feel under the sternocleidomstoids for the fullness of the thyroid. Have the patient swallow a sip of water as you palpate, feeling for the upward movement of the thyroid gland.

Percutaneous Endoscopic Colostomy
Percutaneous Endoscopic Colostomy DrHouse 13,235 Views • 3 years ago

A video showing insertion of a percutaneous endoscopic colostomy in a frail patient with recurrent sigmoid volvulus.

Testicular biopsy
Testicular biopsy Scott 33,893 Views • 3 years ago

open multi puncture testicular biopsy to retrieve sperm for ICSI (IntaCytoplasmic Sperm Injection)

Cellulite Behandeln, Hilfe Gegen Cellulite, Ultraschall Gegen Cellulite, Cellulite Reduzieren
Cellulite Behandeln, Hilfe Gegen Cellulite, Ultraschall Gegen Cellulite, Cellulite Reduzieren marin vinasco 2,047 Views • 3 years ago

http://tipps-gegen-cellulite.good-info.co --- Cellulite Behandeln, Hilfe Gegen Cellulite, Ultraschall Gegen Cellulite, Cellulite Reduzieren. Was Verursacht Cellulite? Wenn man die ursächlichen Faktoren der Cellulite suchen, findet man viele verschiedene Gründe. Websites geben oft falsche Informationen zu diesem Thema. Sie argumentieren, dass die richtige Ursachen schlechte Durchblutung, Flüssigkeitsretention und spezielle Arten von Fetten, usw. Sind, wenn das wirklich nicht wahr ist. Es gibt keine einzelne Ursache der Cellulite. Ihr Erscheinen kann sich auf verschiedene Faktoren zurückzuführen sein. Cellulite ist wie jede andere Art von Fett, es hat keine Besonderheiten und es ist nicht durch Flüssigkeitsretention oder schlechte Durchblutung verursacht. Wissentschaftliche Tests haben bewiesen, dass es nur gewöhnliche Fett ist. Diese vorstehende Fett ist auf der Bindgewebe unter der Haut und das ist der Grund, warum es wie eine Orangenhaut aussieht. Frauen haben Cellulite da das meiste Fett im unteren Teil des Körpers gespeichert ist, wo die Haut dünner ist. Andererseits Männer speichern die meisten Fett im Bauchbereich, wo die Haut dicker ist. Hormonelle Veränderungen sind einem der wichtigsten Faktoren, die das Erscheinungsbild der Cellulite beeinflussen. Diese treten in der Phase der Schwangerschaft oder Antibabypillen Verbrauch. Das Erste System Mit Allem, Was Notwendig lst, Um Cellulite Definitiv Loszuwerden Klicken Sie hier, um mehr zu erfahren http://tipps-gegen-cellulite.good-info.co

WARNING: Graphic Medical Procedure - Selective Dorsal Rhizotomy Surgery
WARNING: Graphic Medical Procedure - Selective Dorsal Rhizotomy Surgery Surgeon 564 Views • 3 years ago

Dr. Debbie Song at Gillette Children's describes in detail selective rhizotomy surgery.

A selective dorsal rhizotomy is an operation performed to treat spasticity. It is thought that high tone and spasticity arise from abnormal signals that are transmitted through sensory or dorsal nerve roots to the spinal cord. In a selective dorsal rhizotomy we identify and cut portions of the dorsal nerve roots that carry abnormal signals thereby disrupting the mechanisms that lead to spasticity. Potential patients go through a rigorous assessment that includes an in-depth gait and motion analysis as well as a physical therapy evaluation.

They are evaluated by a multidisciplinary team that includes a pediatric rehabilitation doctor, a neurosurgeon, and an orthopedist, Appropriate patient selection is vital. Ideal candidates for selective dorsal rhizotomy are children who are between four and ten years of age, have a history of being born prematurely, and have a diagnosis of diplegia cerebral palsy. These patients usually walk independently or with the assistance of crutches or a walker. They typically function at a level one, two, or three in the gross motor function classification system or gmfcs. A selective dorsal rhizotomy involves the coordinated efforts of the neurosurgery, physiatry, anesthesia and nursing teams. The operation entails making an incision in the lower back that is approximately six to eight inches long. We perform what we call a laminoplasty in which we remove the back part of the spinal elements from the lumbar one or l1 to l5 levels. At the end of the procedure the bone is put back on. We identify and open up the Dural sac that contain the spinal fluid spinal cord and nerve roots. Once the Dural sac is opened ,we expose the lumbar and upper sacral nerve roots that transmit information to and from the muscles of the lower extremities.

At each level we isolate the dorsal nerve root, which in turn is separated into as many as 30 smaller thread light fruitlets.

Each rootlet is then electrically stimulated. Specialized members of the physiatry team look for abnormal responses in the muscles of the legs as each rootless is being stimulated. If an abnormal response is observed then the rootlet is cut.

If a normal response is observed, then the rootlet is not cut. We usually end up cutting approximately 20 to 40 percent of the rootlets. The Dural sac is sutured closed and the l1 through l5 spinal elements are put back into anatomic position, thus restoring normal spinal alignment. The overlying tissues and skin are then closed and the patient is awoken from surgery. The entire operation takes between four and five hours. A crucial component to the success of our rhizotomy program is the extensive rehabilitation course following surgery. With their tone significantly reduced after a rhizotomy, patients relearn how to use their muscles to walk more efficiently through stretching, strengthening, and gait training. Approximately one to two years after a rhizotomy patients undergo repeat gait and motion analysis. The orthopedic surgeons assess the need for interventions to correct bone deformities, muscle contractures, poor motor control, impaired balance, or other problems related to cerebral palsy.

At Gillette we work closely with patients and families to ensure that our selective dorsal rhizotomy program meets their goals for enhancing their function and improving their quality of life.

VISIT https://www.gillettechildrens.org/ to learn more

0:00 Why choose selective dorsal rhizotomy?
0:56 Who is a good candidate for selective dorsal rhizotomy?
1:31 What does a selective dorsal rhizotomy entail?
3:26 What is recovery from selective dorsal rhizotomy like?

abdomen physical examination
abdomen physical examination M_Nabil 163,879 Views • 3 years ago

a video of abdominal physical examination including all the required items:
-Inspection
-Palpation
-Percussion
-Auscultation

fungal infections
fungal infections academyo 19,858 Views • 3 years ago

The video will shed some light on fungal infections. Please see disclaimer on my website.

HEMATOMA EVACUATIONS
HEMATOMA EVACUATIONS samer kareem 1,601 Views • 3 years ago

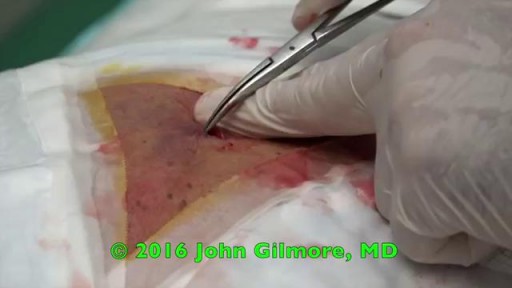
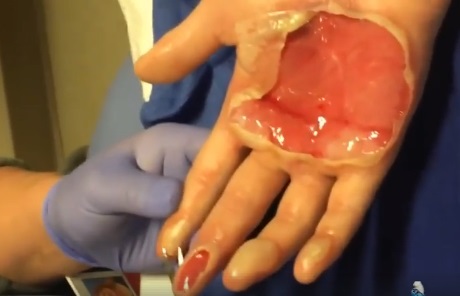
A hematoma is a common complication of surgical procedures. A large, expanding hematoma can result in necrosis of the overlying skin (1,2) or adjacent subcutaneous fat, increased incidence of infection, scarring, skin hyperpigmentation, tissue edema and a prolonged convalescence.

Infected Finger Abscess: Incision and Drainage
Infected Finger Abscess: Incision and Drainage Scott 55,066 Views • 3 years ago

Finger Abscess Incision and Drainage. Digital block with drainage.

Tracheostomy Care and Suctioning - Clinical Nursing Skills |@LevelUpRN​
Tracheostomy Care and Suctioning - Clinical Nursing Skills |@LevelUpRN​ nurse 379 Views • 3 years ago

Ellis demonstrates how to clean a reusable inner cannula, care for a tracheostomy site, and suction a tracheostomy.

Our Critical Nursing Skills video tutorial series is taught by Ellis Parker MSN, RN-BC, CNE, CHS and intended to help RN and PN nursing students study for your nursing school exams, including the ATI, HESI and NCLEX.

#ClinicalSkills #NCLEX #tracheostomy #patientcare #ATI #Kaplan #LVN #PN #RN #nurseeducator #nurse #nursingstudent #murse #clinicals #clinicalnursingskills

00:00 What to expect Tracheostomy Care and Suctioning
0:33 Explaining the process Tracheostomy Care and Suctioning
1:10 Positioning patient for a Tracheostomy Care and Suctioning
1:33 Opening tray
1:46 Pouring saline
1:58 Removing inner cannula
2:14 Removing clean gloves
2:25 Donning sterile gloves
3:16 Showing tray contents
3:53 Removing previous dressing
4:06 Pouring saline
4:27 Cleaning stoma
5:10 Cleaning faceplate
5:20 Drying site
5:30 Cleaning inner cannula
6:00 Drying inner cannula
6:20 Reinserting inner cannula
6:40 Placing new gauze
7:00 Replacing ties
8:00 Replacing oxygen
8:13 Preparing for suction
8:58 Checking suction
9:30 Opening saline
9:42 Opening kit
9:58 Donning sterile gloves
11:04 Setting up saline container
11:20 Pouring saline
11:52 Connecting catheter to suction
12:46 Inserting catheter
13:10 Removing catheter
13:24 Rinsing catheter
13:40 Reoxyginating
14:05 Reinserting catheter
14:17 Removing catheter
14:29 Rinsing catheter
14:44 Reoxyginating
14:55 Cleaning up
15:09 Chatting about sterility
17:00 Checking a tie

🚨 Reminder: shipping deadlines are looming 👀
🎁 Regular Shipping: Order by Friday, December 15
🚀 Expedited Shipping: Order by Monday, December 18
🔍 Still searching for last-minute gifts? Consider a Level Up RN Gift Card! 💌 It’s not only a thoughtful present but also the perfect way to share treasures like Pharmacology Flashcards OR digital treasures like Flashables Digital Nursing Flashcards & the Level Up RN membership. Give the gift of knowledge this holiday season! 🧠⚡️💖 bit.ly/LevelUpRNGC

🚪 Access our Cram Courses, Quizzes and Videos all in one ad free space with Level Up RN Membership https://bit.ly/LevelUpRNMembership

Want more ways to MASTER Clinical Skills? Check out our flashcards & videos!

👇👇👇👇👇👇👇👇👇👇
👉 https://bit.ly/clinicalnursingskills 👈
☝️👆☝️👆☝️👆☝️👆☝️👆

This is your one-stop-shop for materials to help you LEARN & REVIEW so you can PASS Nursing School.

🤔🤔🤔 DO YOU WANT TO PASS your classes, proctored exams and the NCLEX? 🤔🤔🤔 Our resources are the best you can buy. They are built with a single goal: help you pass with no fluff. Everything you need, and nothing you don’t. Don’t take our word for it, though! Check out our hundreds of ⭐️⭐️⭐️⭐️⭐️ reviews from nurses who passed their exams and the NCLEX with Level Up RN.

🗂️ Our Ultimate Nursing School Survival kit is your number 1 resource to get through nursing school and to pass the NCLEX. Whether you're just starting school or you’re already prepping for the NCLEX, this bundle of flashcards is the best you can buy. It covers all the information you need to know to pass all your exams and it has FREE shipping!
➡️ https://bit.ly/TUNSSK ⬅️

L👀king for EVEN MORE resources to survive Nursing School? Make your Nursing School experience your own! Life’s difficult enough—learning shouldn’t be.
🪅 Games https://nursesquad.com
💻 Digital resources https://bit.ly/NursingStudyCourses
📅 Organizational tools https://bit.ly/OrganizingSchool

✨Want perks? Join our channel!
https://youtube.com/leveluprn/join

🏷 Head to https://leveluprn.com/specials for all our latest deals!🥳️

📧 LOOKING FOR FREE RESOURCES TO HELP WITH YOUR EXAMS? Get exclusive tips, latest video releases and more delivered to your email!
➡️ https://leveluprn.com/signup ⬅️

⚕ 👩 LEVEL UP NURSE SQUAD 👩⚕️
All of the nurses at Level Up RN are here to help! Cathy Parkes started helping her fellow classmates back when she was in nursing school, tutoring so they could pass their exams and graduate. After she got her BSN and started working as an RN at Scripps Encinitas Hospital, she started this YouTube channel to help nursing students around the world. Since then she has built a team of top-notch dedicated nurses and nurse educators who are focused on improving nursing education and supporting career advancement for nurses everywhere. With flashcards, videos, courses, organizational tools and more, we are singularly focused on helping students and nurses Level Up on their exams and nursing careers.

Vulvar and Vaginal Disease
Vulvar and Vaginal Disease samer kareem 2,491 Views • 3 years ago

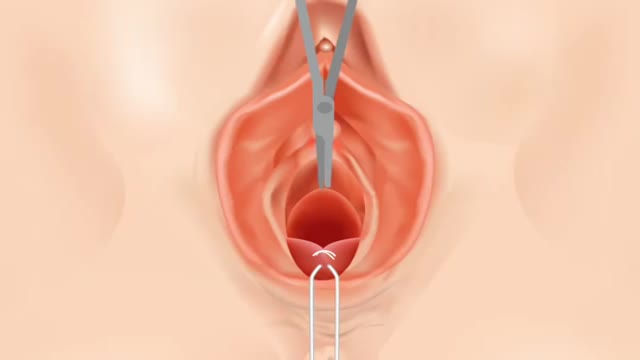
The vulvar vaginal diseases service sees referrals to help women with short--and long--term problems of the outer genital area (vulva), vagina and pelvic floor muscles including: Vulvar vaginal burning, itching, irritation and pain Vulvar Vestibulitis Pain with intercourse Discharge Yeast infections Bacterial vaginosis Pelvic floor muscle dysfunction A patient must be referred by her local health care provider. Services include: Skin care education Examinations-Your healthcare provider will examine you and talk with you about recommendations for treatment and/or management of your symptoms. Some vulvar diseases require a biopsy to diagnose the condition. Referrals-Your healthcare team may refer you to other specialists, including physical therapists or health psychologists. Separate insurance authorization is necessary for these services. The clinic staff provides general education and support to help women cope with these very personal health problems. Following a clinic visit, a letter is promptly sent to your local health care provider. The letter provides the results of your exam and the plan of care.

How to Start an IV | IV Catheter Insertion & Flush Technique in Hand | Nursing Skill
How to Start an IV | IV Catheter Insertion & Flush Technique in Hand | Nursing Skill nurse 418 Views • 3 years ago

How to start a peripheral IV in the dorsum of the hand: clinical nursing skill technique.

Starting an IV (intravenous catheter) can be an intimidating experience for nurses, especially nursing students and new nurses. However, nurses will perform IV insertions often, so this is an important nursing skill to learn.

Before starting an IV, always follow the protocols of your facility, as well as manufacturer's instructions for any supplies used.

In this video, Nurse Sarah demonstrates how to start a peripheral IV in the dorsum of the hand. Prior to inserting the IV, you'll want to do the following:

-Gather supplies
-Perform hand hygiene
-Prepare supplies (including priming the saline flush, removing air from extension tubing, opening packages, completing labels, and any other steps required by your facility.
-Locate a suitable vein
-Perform hand hygiene
-Don gloves


If the patient has a lot of hair, you might want to use clippers to trim the hairs prior to starting the IV. You may also apply a tourniquet to help veins move near the surface of the skin.


Next, you'll want to clean the site using the cleaner that came in the IV start kit, such as ChloraPrep.


Once the site has dried completely, you can insert the IV. Stabilize the vein with your non-dominant hand, and insert the IV's needle into the vein, watching carefully for blood return (or a blood flash) in the chamber. Advance the IV around 2mm more to ensure the plastic cannula is in the vein, then thread the cannula into the vein and press the needle safety button.

Notes: https://www.registerednursern.....com/how-to-start-an-
IV Video Series: https://www.youtube.com/watch?v=MbG_1-_mnoo&list=PLQrdx7rRsKfXr6kruqEpIovf66sxo0gxh


This video also demonstrates how to flush the IV using the push-pause method, how to secure the IV using the Tegaderm dressing that came with the IV start kit, considerations of the different cap types and the clamp sequence, and more.


For more information, watch the complete tutorial.

#nurse #nursing #iv #startiv #ivtherapy


Website: https://www.registerednursern.com/
More Videos: https://www.youtube.com/watch?v=R2XMro13dD0&list=UUPyMN8DzkFl2__xnTEiGZ1w
Nursing Gear: https://teespring.com/stores/registerednursern
Instagram: https://www.instagram.com/registerednursern_com/
Facebook: https://www.facebook.com/RegisteredNurseRNs
Twitter: https://twitter.com/NursesRN


Popular Playlists:

NCLEX Reviews: https://www.youtube.com/playli....st?list=PLQrdx7rRsKf
Fluid & Electrolytes: https://www.youtube.com/playli....st?list=PLQrdx7rRsKf
Nursing Skills: https://www.youtube.com/playli....st?list=PLQrdx7rRsKf

No Scalpel Vasectomy
No Scalpel Vasectomy Scott 98,824 Views • 3 years ago

No Scalpel Vasectomy

Colonoscopy
Colonoscopy Mohamed 101,514 Views • 3 years ago

A video describing the procedure of colonoscopy or flexible fibre-optic examination of the colon.

Angioplasty Procedure Animation Video.
Angioplasty Procedure Animation Video. Scott 362 Views • 3 years ago

Angioplasty Procedure Animation Video

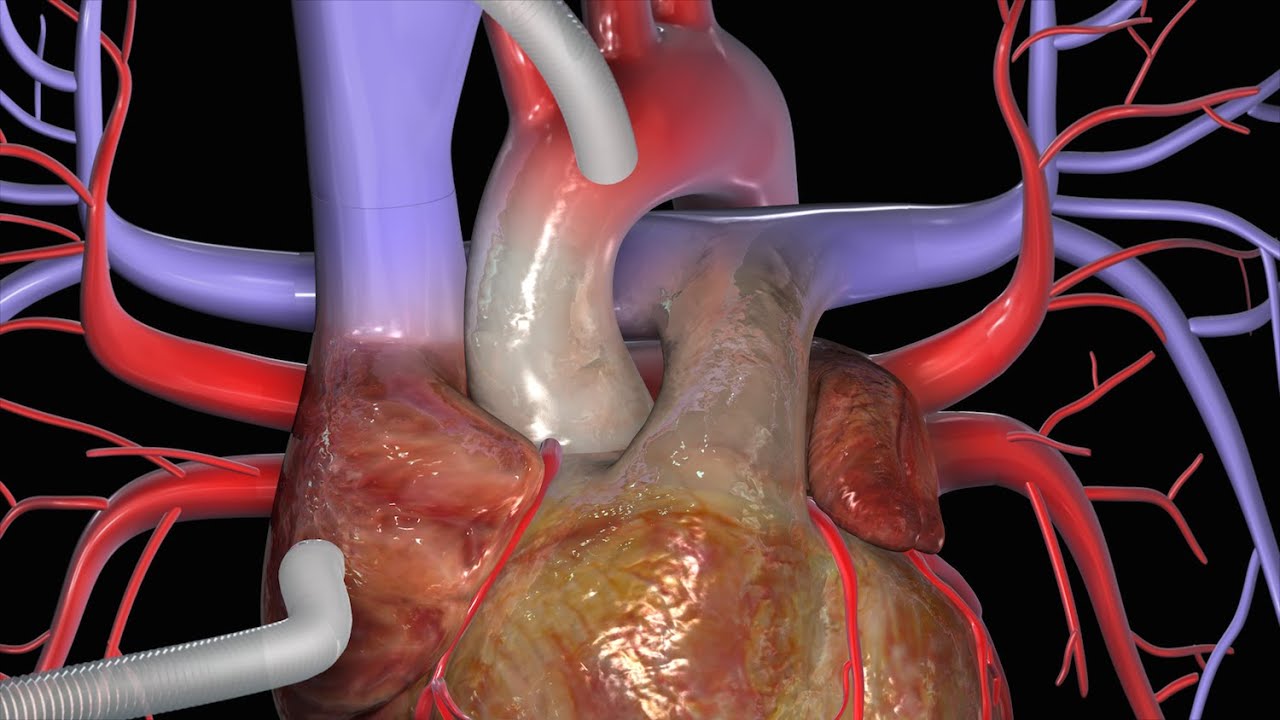
Emergency angioplasty is an operation that is performed directly after a heart attack, on admission to the hospital. It involves the insertion of a catheter into the blocked blood vessel that caused the heart attack. This opens it up and allows blood to flow again, thus minimizing damage to the heart.
If one or more arteries become clogged, it may result in a heart attack. This normally presents with chest pain, sweating and a feeling of anxiety, among other symptoms. Urgent medical assistance should be sought. A heart attack is a medical emergency requiring intervention as soon as possible.

Know more: http://www.emergencyangioplasty.com/

Laparoscopic Orchidopexy
Laparoscopic Orchidopexy Scott 12,676 Views • 3 years ago

Laparoscopic fixation of intraabdominal testis into the scrotum in a case of undescended testis.

Ultrasound guided internal jugular vein
Ultrasound guided internal jugular vein samer kareem 9,036 Views • 3 years ago

Wow! Ultrasound guided internal jugular vein cannulation (long axis approach)

Penile Implants
Penile Implants samer kareem 4,879 Views • 3 years ago

A penile prosthesis is another treatment option for men with erectile dysfunction (ED). These devices are either malleable or inflatable. The simplest type of prosthesis consists of a pair of malleable (bendable) rods surgically implanted within the erection chambers of the penis. With this type of implant the penis is always semi-rigid and merely needs to be lifted or adjusted into the erect position to initiate sex. Today, many men choose a hydraulic, inflatable prosthesis, which allows a man to have an erection whenever he chooses and is much easier to conceal. It is also more natural.

Examination of Lungs and respiration
Examination of Lungs and respiration Mohamed Ibrahim 70,833 Views • 3 years ago

examination of the lungs and respiration of newborn and children

Histology of GastroEsophageal Junction
Histology of GastroEsophageal Junction Histology 5,323 Views • 3 years ago

Histology of GastroEsophageal Junction

Showing 14 out of 270