
Лучшие видеоролики


This is an educational medical video for Medical Students showing how to examine a hernia swelling
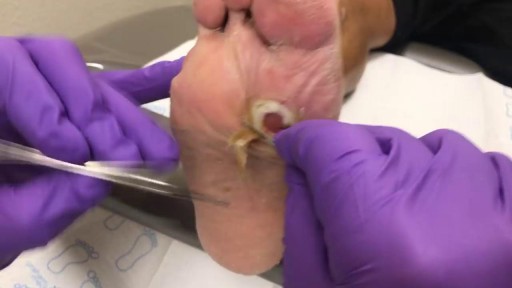

This is a diabetic foot ulcer. The patient reportedly went on vacation and noticed this ulcer upon their return. Debridement (removal of damaged tissue) to the level of healthy bleeding tissue is medically necessary as damaged tissue acts an impediment to wound healing. Due to their diabetic neuropathy, they did not feel any pain or indication that a wound was forming. This ulcer appeared to have penetrated to the level of subcutaneous tissue or even fascia, but turned out to be much deeper than that. These are serious wounds and are the beginnings of what lead to foot and leg amputations if they are not treated promptly by your healthcare provider, AKA Podiatrist.
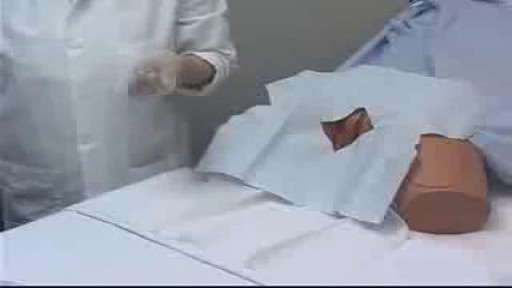
Female Catheter Insertion

Real Story: Youngest Mother In History (5 years old) Pregnant FIVE YEAR OLD! Youngest Mother In The World, Lina Medina's True Story!
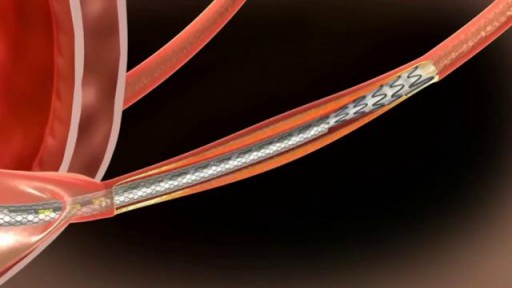
he Allium Ureteral Stents are intended for temporary long or short-term use in malignant or benign chronic Ureteral Stenosis. Allium Ureteral Stents are mounted on a ready to use 8 or 10Fr delivery system. By using the appropriate delivery system their deployment procedure can be performed either retrogradely or percutaneously. Indicated for all chronic ureteral stricturesLarge caliber for intra-lumenal flowLong dwelling timeAntegrade or retrograde insertionEasy insertion and stent positioningExcellent patient comfortNo tissue in-growthAnti-reflux designEasy removal of the device
A breech birth is the birth of a baby from a breech presentation. In the breech presentation the baby enters the birth canal with the buttocks or feet first as opposed to the normal head first presentation.
There are either three or four main categories of breech births, depending upon the source:
* Frank breech - the baby's bottom comes first, and his or her legs are flexed at the hip and extended at the knees (with feet near the ears). 65-70% of breech babies are in the frank breech position.
* Complete breech - the baby's hips and knees are flexed so that the baby is sitting crosslegged, with feet beside the bottom.
* Footling breech - one or both feet come first, with the bottom at a higher position. This is rare at term but relatively common with premature fetuses.
* Kneeling breech - the baby is in a kneeling position, with one or both legs extended at the hips and flexed at the knees. This is extremely rare, and is excluded from many classifications.
As in labour with a baby in a normal head-down position, uterine contractions typically occur at regular intervals and gradually cause the cervix to become thinner and to open. In the more common breech presentations, the baby’s bottom (rather than feet or knees) is what is first to descend through the maternal pelvis and emerge from the vagina.
At the beginning of labour, the baby is generally in an oblique position, facing either the right or left side of the mother's back. As the baby's bottom is the same size in the term baby as the baby's head. Descent is thus as for the presenting fetal head and delay in descent is a cardinal sign of possible problems with the delivery of the head.
In order to begin the birth, internal rotation needs to occur. This happens when the mother's pelvic floor muscles cause the baby to turn so that it can be born with one hip directly in front of the other. At this point the baby is facing one of the mother's inner thighs. Then, the shoulders follow the same path as the hips did. At this time the baby usually turns to face the mother's back. Next occurs external rotation, which is when the shoulders emerge as the baby’s head enters the maternal pelvis. The combination of maternal muscle tone and uterine contractions cause the baby’s head to flex, chin to chest. Then the back of the baby's head emerges and finally the face.
Due to the increased pressure during labour and birth, it is normal for the baby's leading hip to be bruised and genitalia to be swollen. Babies who assumed the frank breech position in utero may continue to hold their legs in this position for some days after birth.
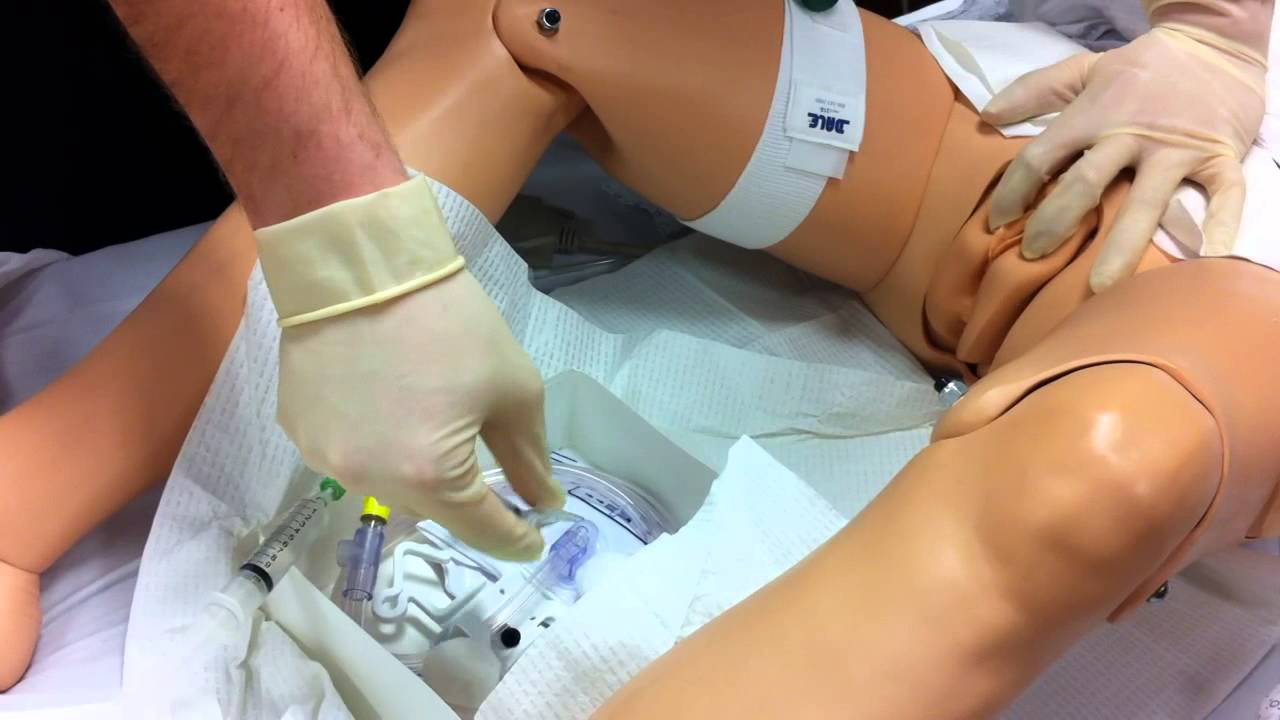
Watch that Female Foley Genital Catheter Insertion Procedure
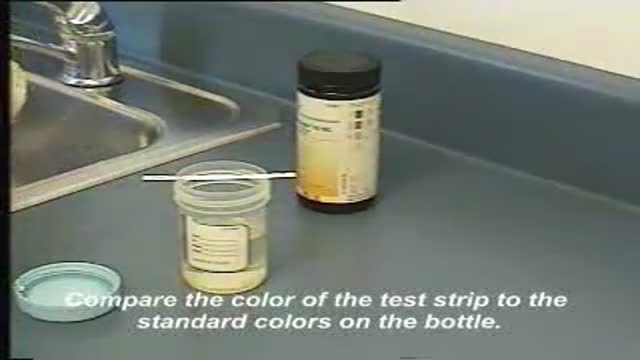
This video demonstrates how use a commercially-prepared "dip-stick" to test a random urine specimen for the presence of protein or glucose.
A Medical Video showing an overview of the endocrine and gland system of the human body
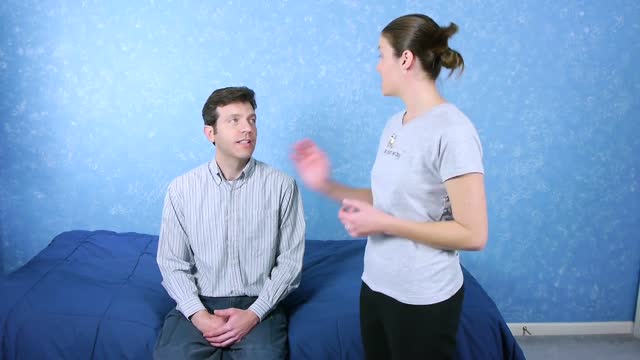
The Epley Maneuver for Vertigo can be very effective at relieving vertigo symptoms, but it’s a procedure that should be performed by a physical therapist or other health care professional. This video is for demonstration purposes only. See Doctor Jo’s blog post about the Epley
A video showing the examination of femoral hernia.
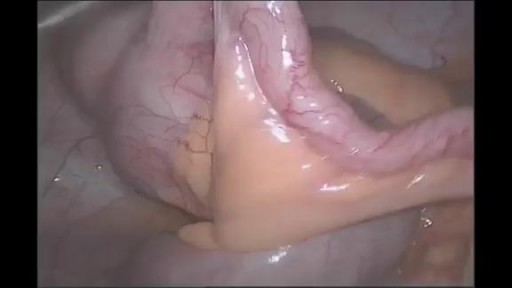
What is the Appendix? The appendix is a long narrow tube (a few inches in length) that attaches to the first part of the colon. It is usually located in the lower right quadrant of the abdominal cavity. The appendix produces a bacteria destroying protein called immunoglobulins, which help fight infection in the body. Its function, however, is not essential. People who have had appendectomies do not have an increased risk toward infection. Other organs in the body take over this function once the appendix has been removed. What is a Laparoscopic Appendectomy? Appendicitis is one of the most common surgical problems. One out of every 2,000 people has an appendectomy sometime during their lifetime. Treatment requires an operation to remove the infected appendix. Traditionally, the appendix is removed through an incision in the right lower abdominal wall. In most laparoscopic appendectomies, surgeons operate through 3 small incisions (each ¼ to ½ inch) while watching an enlarged image of the patient’s internal organs on a television monitor. In some cases, one of the small openings may be lengthened to complete the procedure. Advantages of Laparoscopic Appendectomy Results may vary depending upon the type of procedure and patient’s overall condition. Common advantages are: Less postoperative pain May shorten hospital stay May result in a quicker return to bowel function Quicker return to normal activity Better cosmetic results Are You a Candidate for Laparoscopic Appendectomy? Although laparoscopic appendectomy has many benefits, it may not be appropriate for some patients. Early, non-ruptured appendicitis usually can be removed laparoscopically. Laparoscopic appendectomy is more difficult to perform if there is advanced infection or the appendix has ruptured. A traditional, open procedure using a larger incision may be required to safely remove the infected appendix in these patients.

Ellis will be demonstrating how to complete an occupied bed change. It would be appropriate to wear gloves during this skill to avoid contact with bodily fluids.
Our Critical Nursing Skills video tutorial series is taught by Ellis Parker MSN, RN-BC, CNE, CHS and intended to help RN and PN nursing students study for your nursing school exams, including the ATI, HESI and NCLEX.
#NCLEX #ClinicalSkills #HESI #Kaplan #ATI #NursingSchool #NursingStudent #Nurse #RN #PN #Education #LVN #LPN #bedmaking #nurseeducator
00:00 What to expect
00:53 Initial patient position
1:50 Tucking soiled linens
2:20 Placing initial clean linen
3:30 Rolling patient
3:40 Removing soiled linen
4:05 Completing bottom layer
4:33 Changing pillow case
4:50 Top sheet and blanket
7:23 Mitered corner
🚨 Reminder: shipping deadlines are looming 👀
🎁 Regular Shipping: Order by Friday, December 15
🚀 Expedited Shipping: Order by Monday, December 18
🔍 Still searching for last-minute gifts? Consider a Level Up RN Gift Card! 💌 It’s not only a thoughtful present but also the perfect way to share treasures like Pharmacology Flashcards OR digital treasures like Flashables Digital Nursing Flashcards & the Level Up RN membership. Give the gift of knowledge this holiday season! 🧠⚡️💖 bit.ly/LevelUpRNGC
🚪 Access our Cram Courses, Quizzes and Videos all in one ad free space with Level Up RN Membership https://bit.ly/LevelUpRNMembership
Want more ways to MASTER Clinical Skills? Check out our flashcards & videos!
👇👇👇👇👇👇👇👇👇👇
👉 https://bit.ly/clinicalnursingskills 👈
☝️👆☝️👆☝️👆☝️👆☝️👆
This is your one-stop-shop for materials to help you LEARN & REVIEW so you can PASS Nursing School.
🤔🤔🤔 DO YOU WANT TO PASS your classes, proctored exams and the NCLEX? 🤔🤔🤔 Our resources are the best you can buy. They are built with a single goal: help you pass with no fluff. Everything you need, and nothing you don’t. Don’t take our word for it, though! Check out our hundreds of ⭐️⭐️⭐️⭐️⭐️ reviews from nurses who passed their exams and the NCLEX with Level Up RN.
🗂️ Our Ultimate Nursing School Survival kit is your number 1 resource to get through nursing school and to pass the NCLEX. Whether you're just starting school or you’re already prepping for the NCLEX, this bundle of flashcards is the best you can buy. It covers all the information you need to know to pass all your exams and it has FREE shipping!
➡️ https://bit.ly/TUNSSK ⬅️
L👀king for EVEN MORE resources to survive Nursing School? Make your Nursing School experience your own! Life’s difficult enough—learning shouldn’t be.
🪅 Games https://nursesquad.com
💻 Digital resources https://bit.ly/NursingStudyCourses
📅 Organizational tools https://bit.ly/OrganizingSchool
✨Want perks? Join our channel!
https://youtube.com/leveluprn/join
🏷 Head to https://leveluprn.com/specials for all our latest deals!🥳️
📧 LOOKING FOR FREE RESOURCES TO HELP WITH YOUR EXAMS? Get exclusive tips, latest video releases and more delivered to your email!
➡️ https://leveluprn.com/signup ⬅️
⚕ 👩 LEVEL UP NURSE SQUAD 👩⚕️
All of the nurses at Level Up RN are here to help! Cathy Parkes started helping her fellow classmates back when she was in nursing school, tutoring so they could pass their exams and graduate. After she got her BSN and started working as an RN at Scripps Encinitas Hospital, she started this YouTube channel to help nursing students around the world. Since then she has built a team of top-notch dedicated nurses and nurse educators who are focused on improving nursing education and supporting career advancement for nurses everywhere. With flashcards, videos, courses, organizational tools and more, we are singularly focused on helping students and nurses Level Up on their exams and nursing careers.

A brain surgery called a craniectomy is performed to remove a part of your skull in order to relieve pressure in an area when your brain swells from a traumatic brain injury. It is also performed to treat medical conditions that cause your brain to swell or bleed that can be caused by an aneurysm, brain tumor or other cancer.
This 3d animation shows how the surgical procedure decreases intracranial pressure (ICP), intracranial hypertension (ICHT), or heavy bleeding (also called hemorrhaging) inside your skull. If left untreated, pressure or bleeding can compress your brain and push it down onto the brain stem. This can be fatal or cause permanent brain damage.
Brain surgery is a very serious procedure under any circumstances, but a craniectomy is done when there is an immediate risk to the brain and neurological function due to severe brain injury or stroke.
For more information about custom 3D animation depicting surgery, please visit https://www.amerra.com/.
Watch additional medical animations:
Accessing an implantable port training - 3D animation: https://youtu.be/xSTpxjyv4O4
Open Suctioning with a Tracheostomy Tube - 3D animation: https://youtu.be/wamB7jpWCiQ
Ventriculostomy Brain Surgery - 3d animation: https://youtu.be/pUy0YDzVNzs
Suctioning the endotracheal tube - medical animation: https://youtu.be/pN6-EYoeh3g
Functional endoscopic sinus surgery (FESS) - 3D animation: https://youtu.be/qKTRyowwaLA
How to insert a nasogastric tube for NG intubation - 3d animation: https://youtu.be/Abf3Gd6AaZQ
Oral airway insertion - oropharyngeal airway technique - 3D animation: https://youtu.be/caxUdNwjt34
Nasotracheal suctioning (NTS) - 3D animation: https://youtu.be/979jWMsF62c
Learn about hemorrhoids with #3d #animation: https://youtu.be/R6NqlMpsiiY
LASIK eye surgery - 3D animation: https://youtu.be/Bb8bnjnEM00
CPR cardiopulmonary resuscitation - 3D animation: https://youtu.be/G87knTZnhks
What are warts (HPV)? - 3D animation: https://youtu.be/guJ1J7rRs1w
How Macular Degeneration Affects Your Vision - 3D animation: https://youtu.be/ozZQIZ_52YY
NeoGraft hair transplant procedure – animation: https://youtu.be/C-eTdH2UPXI
Watch that video of Brain Removal During Autopsy
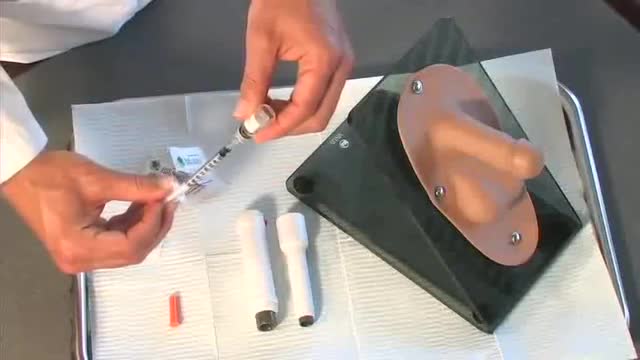
Penile Injection Therapy
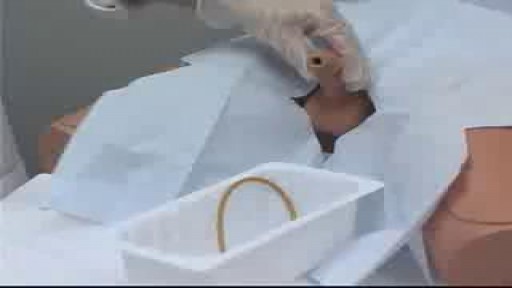
Inserteing a foley catheter in the male's urethra
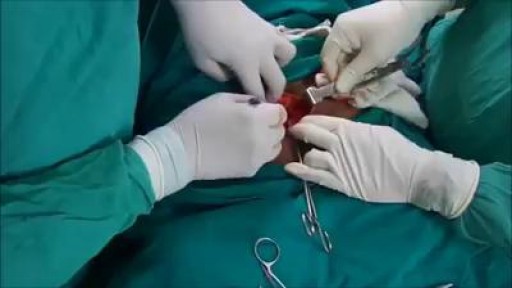
A Pfannenstiel incision /ˈfɑːnᵻnʃtiːl/ is a type of abdominal surgical incision that allows access to the abdomen. It is used for gynecologic and orthopedics surgeries, and it is the most common method for performing Caesarian sections today.
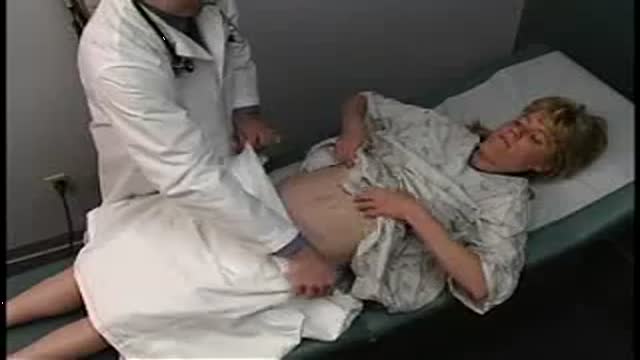
Inspection, auscultation, percussion, palpation — this educational video demonstrates the complete abdominal examination in the order clinicians perform it. It is a core clinical-skills resource for medical students learning physical examination. Educational only — not medical advice.
Lung Sounds - Rales, Rhonchi, Wheezes