- Physical Examination
- Surgical Examination
- Ophthalmology
- Clinical Skills
- Orthopedics
- Surgery Videos
- Laparoscopy
- Pediatrics
- Funny Videos
- Cardiothoracic Surgery
- Nursing Videos
- Plastic Surgery
- Otorhinolaryngology
- Histology and Histopathology
- Neurosurgery
- Dermatology
- Pediatric Surgery
- Urology
- Dentistry
- Oncology and Cancers
- Anatomy Videos
- Health and Fitness
- Radiology
- Anaesthesia
- Physical Therapy
- Pharmacology
- Interventional Radiology
- Cardiology
- Endocrinology
- Gynecology
- Emergency Medicine
- Psychiatry and Psychology
- Childbirth Videos
- General Medical Videos
- Nephrology
- Physiology
- Diet and Food Health
- Diabetes Mellitus
- Neurology
- Women Health
- Osteoporosis
- Gastroenterology
- Pulmonology
- Hematology
- Rheumatology
- Toxicology
- Nuclear Medicine
- Infectious Diseases
- Vascular Disease
- Reproductive Health
- Burns and Wound Healing
- Other
Top videos
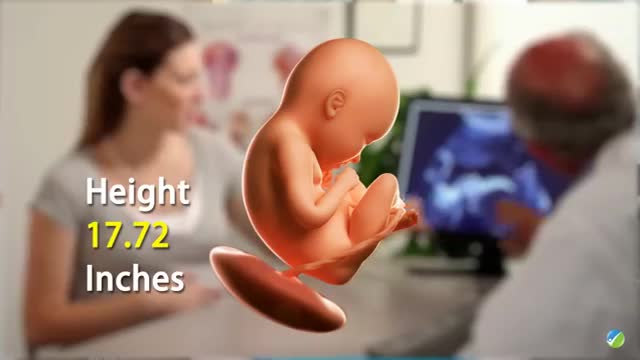
During 34 week of pregnancy, the baby is getting ready for delivery, you may feel less wriggling and kicking. Watch out this video to learn more about being 34 weeks pregnant.

It may be reassuring to know spotting or bleeding after sex is common and can come from the vagina, cervix, or urinary tract. It occurs most commonly in women 20 to 40 years old. Cervical Cancer: A very rare cause of spotting. ... Vaginal Dryness: Often caused by inadequate foreplay or vaginal lubrication.
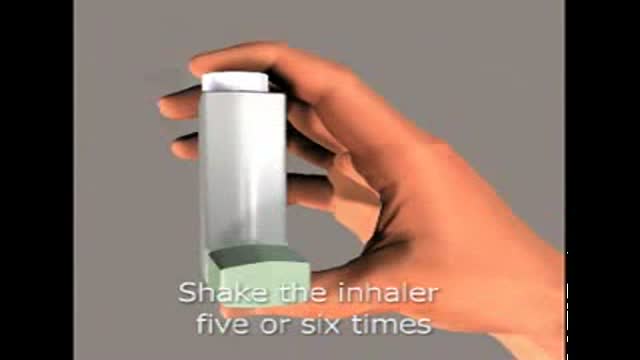
show your patients how to use an inhaler
STOP VIOLENCE AGAINST DOCTORs
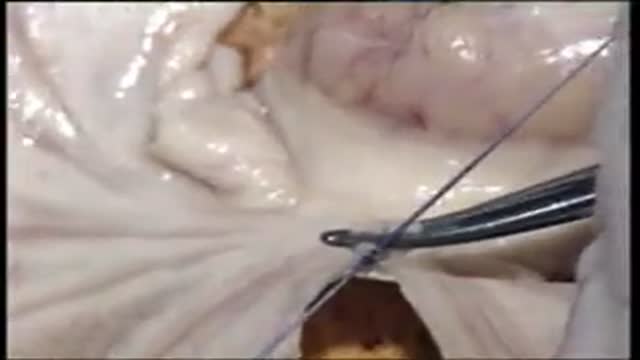
Mesenteric Vessel Ligation
Simple or Total Mastectomy. The entire breast is removed, but no lymph nodes are taken in this procedure. Simple mastectomy is most frequently used for further cancer prevention or when the cancer has not spread to the lymph nodes.Oct 29, 2014
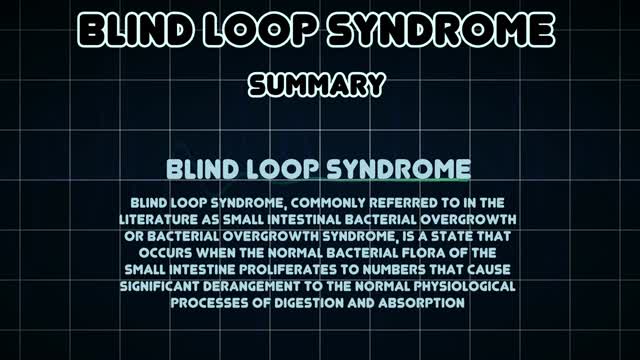
Blind loop syndrome (BLS), commonly referred to in the literature as small intestinal bacterial overgrowth (SIBO) or bacterial overgrowth syndrome (BOS), is a state that occurs when the normal bacterial flora of the small intestine proliferates to numbers that cause significant derangement to the normal physiological ...
Sialadenitis is an infection of the salivary glands. It is usually caused by a virus or bacteria . The parotid (in front of the ear) and submandibular (under the chin) glands are most commonly affected. Sialadenitis may be associated with pain, tenderness, redness, and gradual, localized swelling of the affected area.
wide resection of giant cell tumor ,then strut grafting using free fibula graft,knowles pinning of the graft.
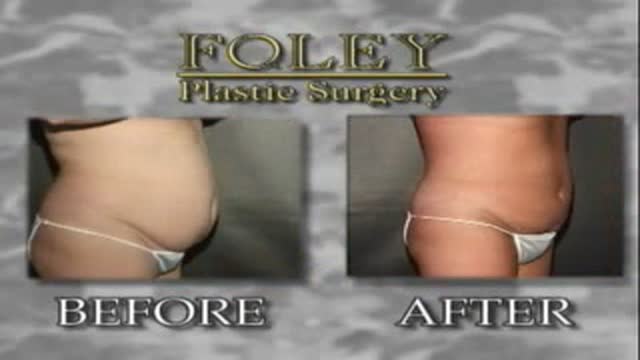
This is an Abdominal Liposuction surgery performed by Dr. Art Foley. Liposuction is a procedure that can help sculpt the body by removing unwanted fat from specific areas including the abdomen, hips, buttocks, thighs, knees, upper arms and neck. Although no type of liposuction is a substitute for dieting and exercise, liposuction can remove stubborn areas of fat that don't respond to traditional weight loss methods.
In PRK the epithelium (top layer of the cornea) is scraped off and then the laser treatment is applied. A contact lens is used as a "bandage" to decrease discomfort. The epithelium then grows back over the bare area during the next few days.
In LASEK the epithelium is exposed to 20% alcohol which helps separate epithelium from the cornea. The epithelium is pushed to one side and laser treatment applied. The epithelial layer is replaced back onto the eye and held in place with a contact lens. The contact lens is then removed a few days later. LASEK is hence a "no knife"/flap operation.
Epi-Lasik is a similar procedure that uses a keratome like that used for Lasik, but engineered to only separate the epithelium. The epithelium is left on a hinge, laser treatment applied and flap replaced.

Female Catheter Insertion
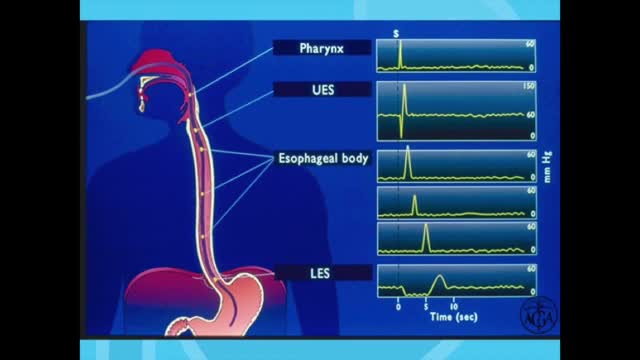
Esophageal manometry is a test used to measure the function of the lower esophageal sphincter (the valve that prevents reflux of gastric acid into the esophagus) and the muscles of the esophagus (see diagram). This test will tell your doctor if your esophagus is able to move food to your stomach normally.
Everything You Need To Know about injections
About Us Contact Disclaimer Get Published! Follow Us Epomedicine Medical Students Clinical Discussion Cases Emergencies Blog Medical Mnemonics Clinical Skills Search Subjects Clinical examination Gastrointestinal system Internal medicine Updated on January 31, 2017 Percussion of Spleen Traube’s semilunar space Borders: Superiorly: Left 6th rib superiorly Laterally: Left midaxillary line or Left anterior axillary line Inferiorly: Left costal margin Method: Patient’s position: supine with left arm slightly abducted. Percuss: from medial to lateral Interpretation: Resonance (Normal) and Dullness (Splenomegaly) Also: Pleural effusion or mass in stomach may cause dullness in Traube’s space.
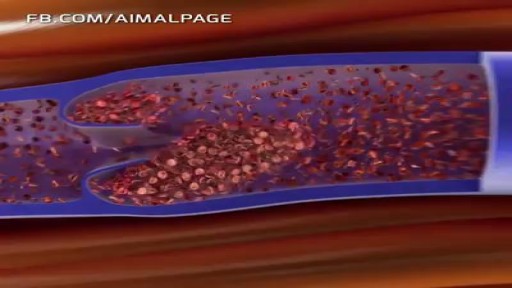
In Deep Vein Thrombosis, blood clot is able to reach the heart and from there it transport to the arteries of the lungs, where it may stuck in the...
An arthroscopic meniscectomy is a procedure to remove some or all of a meniscus from the tibio-femoral joint of the knee using arthroscopic (aka 'keyhole') surgery. In a complete meniscectomy the meniscus including the meniscal rim is removed. A partial meniscectomy involves partial removal of the meniscus. This may vary from minor trimming of a frayed edge to anything short of removing the rim. This is a minimally invasive procedure often done as day suas an outpatient in a one-day clinic [1] This procedure is performed when a meniscal tear is too large to be corrected by a surgical meniscal repair.[1] When non-operative therapy provides some degree of symptom relief over the long-term, these benefits may wane with continued meniscal degeneration. In such patients, arthroscopic partial meniscectomy can be effective in improving patient quality of life.

Removing a hump from the bridge is one of the most common things people want addressed during their rhinoplasty. Nasal humps can range widely in size. Perhaps you just have a small bump that you'd like refined? Or maybe you have more of a Roman Nose with a more dominating, distracting large hump? No matter if your nose falls on one of these extremes or somewhere in between rhinoplasty surgery can be used to reshape your nose. For anyone considering having a rhinoplasty to reduce a hump on their bridge there are several things to consider before having surgery.
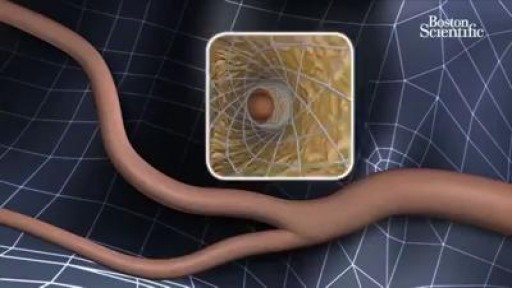
It involves placing a small, expandable tube called a stent in the narrowed artery. This procedure is also called carotid angioplasty and stenting. There are two carotid arteries-one on each side of the neck-that supply blood to the brain. These arteries can be narrowed and damaged by fatty deposits called plaque.
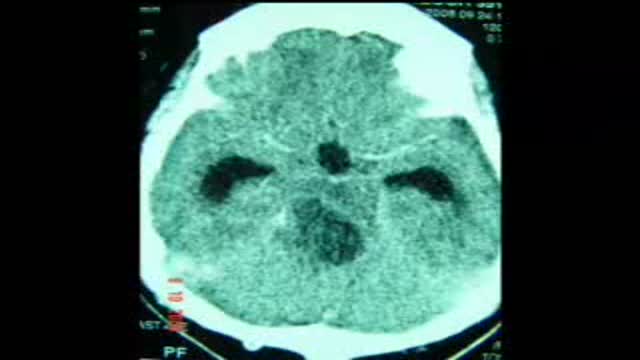
Brain Stem Tumor Operation
