- Physical Examination
- Surgical Examination
- Ophthalmology
- Clinical Skills
- Orthopedics
- Surgery Videos
- Laparoscopy
- Pediatrics
- Funny Videos
- Cardiothoracic Surgery
- Nursing Videos
- Plastic Surgery
- Otorhinolaryngology
- Histology and Histopathology
- Neurosurgery
- Dermatology
- Pediatric Surgery
- Urology
- Dentistry
- Oncology and Cancers
- Anatomy Videos
- Health and Fitness
- Radiology
- Anaesthesia
- Physical Therapy
- Pharmacology
- Interventional Radiology
- Cardiology
- Endocrinology
- Gynecology
- Emergency Medicine
- Psychiatry and Psychology
- Childbirth Videos
- General Medical Videos
- Nephrology
- Physiology
- Diet and Food Health
- Diabetes Mellitus
- Neurology
- Women Health
- Osteoporosis
- Gastroenterology
- Pulmonology
- Hematology
- Rheumatology
- Toxicology
- Nuclear Medicine
- Infectious Diseases
- Vascular Disease
- Reproductive Health
- Burns and Wound Healing
- Other
Top videos

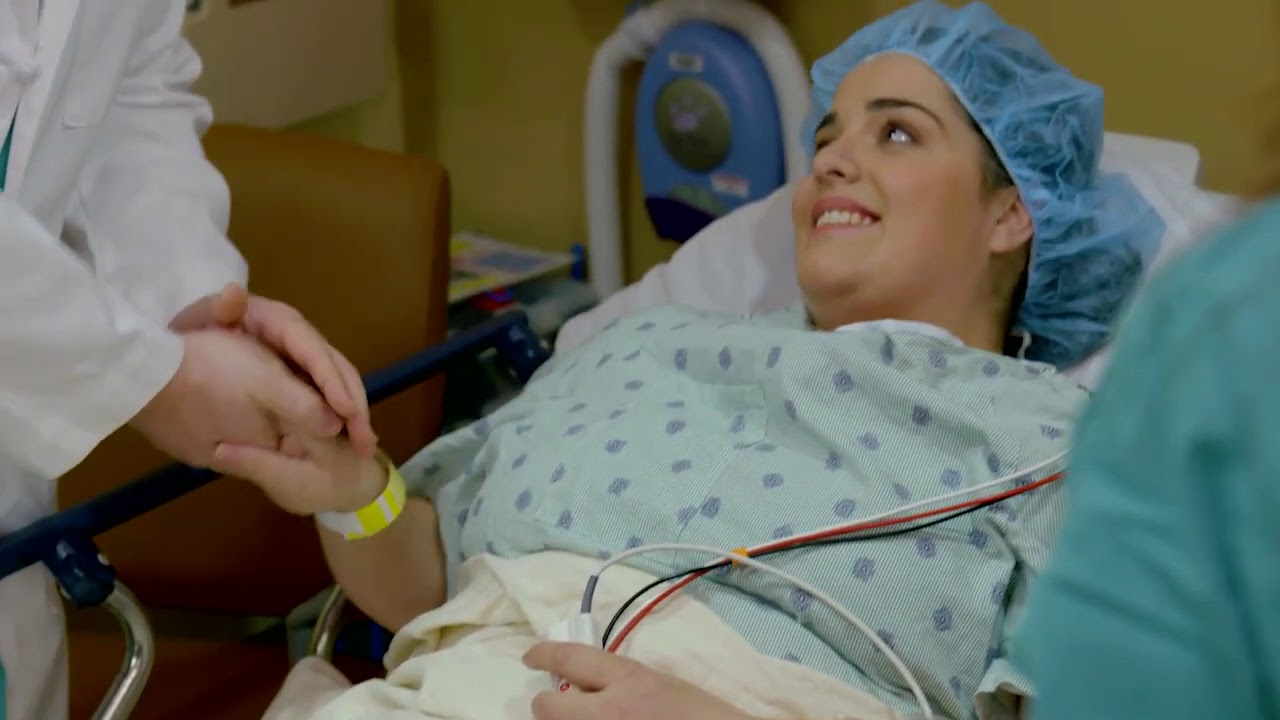
At one time, women who had delivered by cesarean section in the past would usually have another cesarean section for any future pregnancies. The rationale was that if allowed to labor, many of these women with a scar in their uterus would rupture the uterus along the weakness of the old scar. Over time, a number of observations have become apparent: Most women with a previous cesarean section can labor and deliver vaginally without rupturing their uterus. Some women who try this will, in fact, rupture their uterus. When the uterus ruptures, the rupture may have consequences ranging from near trivial to disastrous. It can be very difficult to diagnose a uterine rupture prior to observing fetal effects (eg, bradycardia). Once fetal effects are demonstrated, even a very fast reaction and nearly immediate delivery may not lead to a good outcome. The more cesarean sections the patient has, the greater the risk of subsequent rupture during labor. The greatest risk occurs following a “classical” cesarean section (in which the uterine incision extends up into the fundus.) The least risk of rupture is among women who had a low cervical transverse incision. Low vertical incisions probably increase the risk of rupture some, but usually not as much as a classical incision. Many studies have found the use of oxytocin to be associated with an increased risk of rupture, either because of the oxytocin itself, or perhaps because of the clinical circumstances under which it would be contemplated. Pain medication, including epidural anesthetic, has not resulted greater adverse outcome because of the theoretical risk of decreasing the attendant’s ability to detect rupture early. The greatest risk of rupture occurs during labor, but some of the ruptures occur prior to the onset of labor. This is particularly true of the classical incisions. Overall successful vaginal delivery rates following previous cesarean section are in the neighborhood of 70 This means that about 30of women undergoing a vaginal trial of labor will end up requiring a cesarean section. Those who undergo cesarean section (failed VBAC) after a lengthy labor will frequently have a longer recovery and greater risk of infection than had they undergone a scheduled cesarean section without labor. Women whose first cesarean was for failure to progress in labor are only somewhat less likely to be succesful in their quest for a VBAC than those with presumably non-recurring reasons for cesarean section. For these reasons, women with a prior cesarean section are counseled about their options for delivery with a subsequent pregnancy: Repeat Cesarean Section, or Vaginal Trial of Labor. They are usually advised of the approximate 70successful VBAC rate (modified for individual risk factors). They are counseled about the risk of uterine rupture (approximately 1in most series), and that while the majority of those ruptures do not lead to bad outcome, some of them do, including fetal brain damage and death, and maternal loss of future childbearing. They are advised of the usual surgical risks of infection, bleeding, anesthesia complications and surgical injury to adjacent structures. After counseling, many obstetricians leave the decision for a repeat cesarean or VBAC to the patient. Both approaches have risks and benefits, but they are different risks and different benefits. Fortunately, most repeat cesarean sections and most vaginal trials of labor go well, without any serious complications. For those choosing a trial of labor, close monitoring of mother and baby, with early detection of labor abnormalities and preparation for

Demonstrates some of the procedures of the Cardio Vascular / Peripheral Vascular exam.

Watch that video to know the Types of Female Genital discharge


An inguinal hernia occurs when tissue, such as part of the intestine, protrudes through a weak spot in the abdominal muscles. The resulting bulge can be painful, especially when you cough, bend over or lift a heavy object. However, many hernias do not cause pain.
An inguinal hernia isn't necessarily dangerous. It doesn't improve on its own, however, and can lead to life-threatening complications. Your doctor is likely to recommend surgery to fix an inguinal hernia that's painful or enlarging. Inguinal hernia repair is a common surgical procedure.
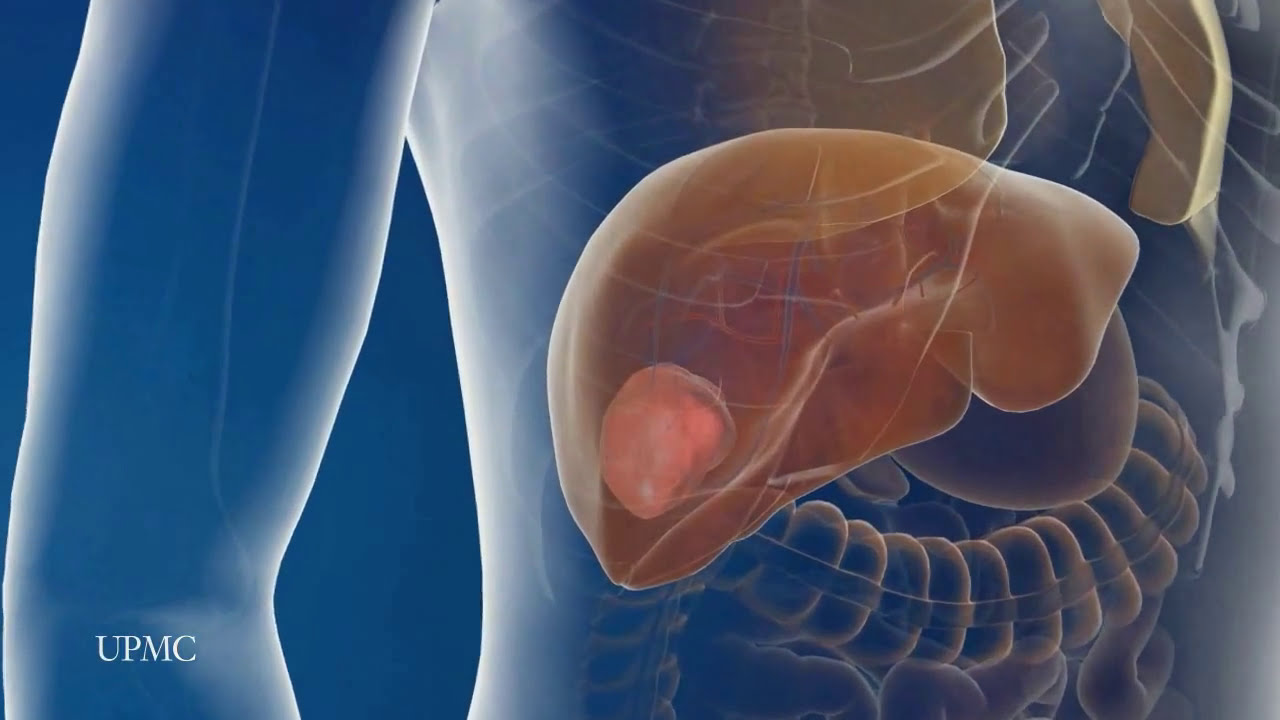
UPMC liver surgeons are among the most experienced in the world in performing minimally invasive liver surgery. Most patients benefit from less trauma and pain, minimal scarring, a shorter hospital stay, and faster recovery than from traditional surgery.
To learn more, please visit https://www.upmc.com/services/....liver-cancer/treatme

Circumcision Video 3D
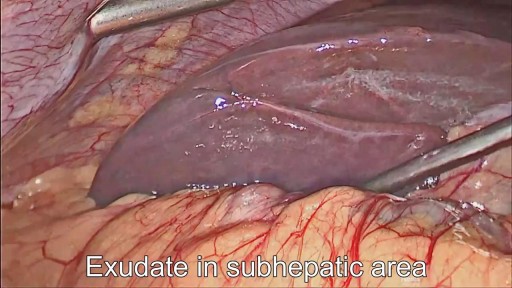
28 years old gentleman presented with huge liver abscess in the right lobe, with repeated attempts of percutaneous aspirations in the past. He was evaluated and subjected to Laparoscopic drainage. This video depicts feasibility of laparoscopy in deep seated liver abscesses. Video created by: Dr. Juneed M. Lanker Fellow Minimal Access Surgery Apollo Hospitals Chennai.
Infected Hernia Mesh Repair Surgery Video
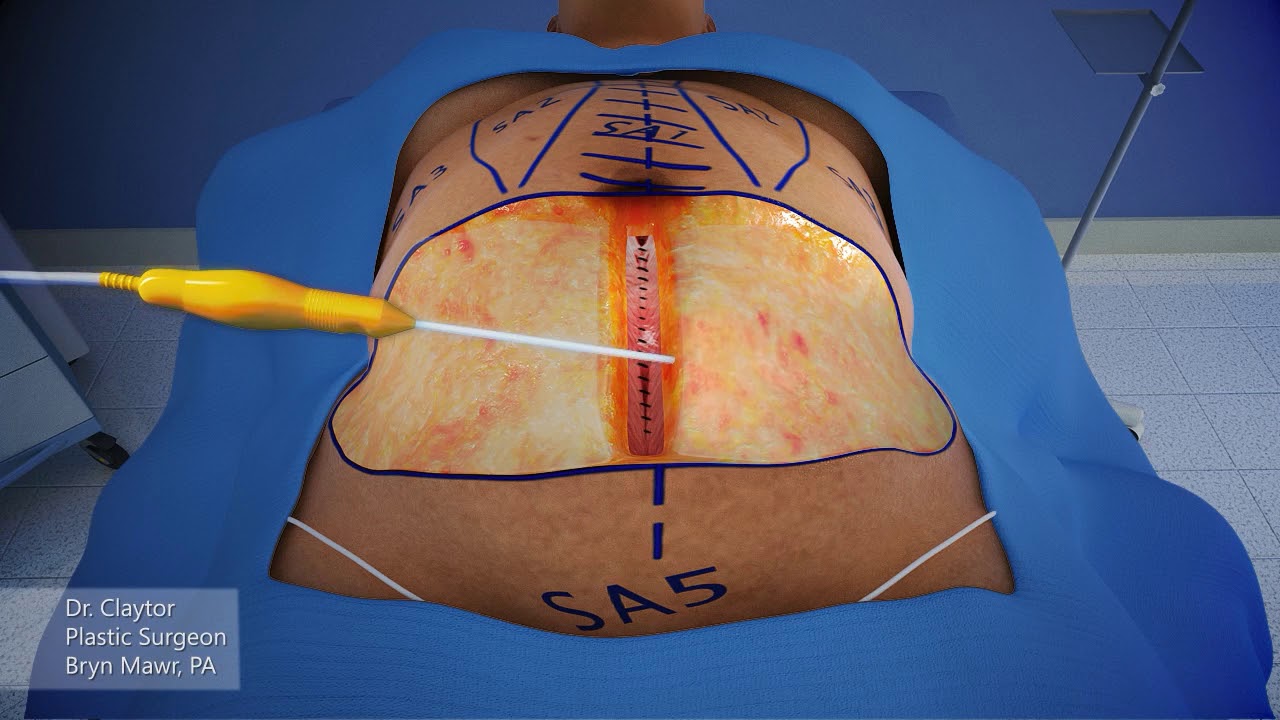
Dr. Claytor uses a 3-D animation to demonstrate how a drainless tummy tuck combined with liposuction can effectively reduce excess skin and fat on the abdomen WITHOUT the need for drains during post-op recovery!
Learn more about Dr. Claytor’s drainless tummy tucks here: https://www.cnplasticsurgery.c....om/procedures/body/t
R. Brannon Claytor, MD, FACS is a renowned double board-certified plastic surgeon and director of Claytor Noone Plastic Surgery, a premium plastic surgery practice in Bryn Mawr, PA that proudly serves the Philadelphia, Main Line, and surrounding areas. Dr. Claytor’s superb skill and results have been recognized for over a decade, earning him numerous awards in both local and national publications, including Philadelphia Magazine, Main Line Today, and Newsweek.
Together, Dr. Claytor and his experienced aesthetics team provide a variety of surgical and non-surgical procedures for the face, breasts, and body to help you look and feel your best. To learn more about how Dr. Claytor and our entire staff can help you reach your goals, please visit our website or give us a call at 610-527-4833.
About Dr. Claytor: https://www.cnplasticsurgery.c....om/our-practice/dr-r
Claytor Noone Plastic Surgery: https://www.cnplasticsurgery.com/
Essential guide to plastic surgery (procedures, costs, planning and more): https://www.cnplasticsurgery.c....om/our-practice/esse
Questions? Contact us online: https://www.cnplasticsurgery.com/contact-us/

Ellis demonstrates how to clean a reusable inner cannula, care for a tracheostomy site, and suction a tracheostomy.
Our Critical Nursing Skills video tutorial series is taught by Ellis Parker MSN, RN-BC, CNE, CHS and intended to help RN and PN nursing students study for your nursing school exams, including the ATI, HESI and NCLEX.
#ClinicalSkills #NCLEX #tracheostomy #patientcare #ATI #Kaplan #LVN #PN #RN #nurseeducator #nurse #nursingstudent #murse #clinicals #clinicalnursingskills
00:00 What to expect Tracheostomy Care and Suctioning
0:33 Explaining the process Tracheostomy Care and Suctioning
1:10 Positioning patient for a Tracheostomy Care and Suctioning
1:33 Opening tray
1:46 Pouring saline
1:58 Removing inner cannula
2:14 Removing clean gloves
2:25 Donning sterile gloves
3:16 Showing tray contents
3:53 Removing previous dressing
4:06 Pouring saline
4:27 Cleaning stoma
5:10 Cleaning faceplate
5:20 Drying site
5:30 Cleaning inner cannula
6:00 Drying inner cannula
6:20 Reinserting inner cannula
6:40 Placing new gauze
7:00 Replacing ties
8:00 Replacing oxygen
8:13 Preparing for suction
8:58 Checking suction
9:30 Opening saline
9:42 Opening kit
9:58 Donning sterile gloves
11:04 Setting up saline container
11:20 Pouring saline
11:52 Connecting catheter to suction
12:46 Inserting catheter
13:10 Removing catheter
13:24 Rinsing catheter
13:40 Reoxyginating
14:05 Reinserting catheter
14:17 Removing catheter
14:29 Rinsing catheter
14:44 Reoxyginating
14:55 Cleaning up
15:09 Chatting about sterility
17:00 Checking a tie
🚨 Reminder: shipping deadlines are looming 👀
🎁 Regular Shipping: Order by Friday, December 15
🚀 Expedited Shipping: Order by Monday, December 18
🔍 Still searching for last-minute gifts? Consider a Level Up RN Gift Card! 💌 It’s not only a thoughtful present but also the perfect way to share treasures like Pharmacology Flashcards OR digital treasures like Flashables Digital Nursing Flashcards & the Level Up RN membership. Give the gift of knowledge this holiday season! 🧠⚡️💖 bit.ly/LevelUpRNGC
🚪 Access our Cram Courses, Quizzes and Videos all in one ad free space with Level Up RN Membership https://bit.ly/LevelUpRNMembership
Want more ways to MASTER Clinical Skills? Check out our flashcards & videos!
👇👇👇👇👇👇👇👇👇👇
👉 https://bit.ly/clinicalnursingskills 👈
☝️👆☝️👆☝️👆☝️👆☝️👆
This is your one-stop-shop for materials to help you LEARN & REVIEW so you can PASS Nursing School.
🤔🤔🤔 DO YOU WANT TO PASS your classes, proctored exams and the NCLEX? 🤔🤔🤔 Our resources are the best you can buy. They are built with a single goal: help you pass with no fluff. Everything you need, and nothing you don’t. Don’t take our word for it, though! Check out our hundreds of ⭐️⭐️⭐️⭐️⭐️ reviews from nurses who passed their exams and the NCLEX with Level Up RN.
🗂️ Our Ultimate Nursing School Survival kit is your number 1 resource to get through nursing school and to pass the NCLEX. Whether you're just starting school or you’re already prepping for the NCLEX, this bundle of flashcards is the best you can buy. It covers all the information you need to know to pass all your exams and it has FREE shipping!
➡️ https://bit.ly/TUNSSK ⬅️
L👀king for EVEN MORE resources to survive Nursing School? Make your Nursing School experience your own! Life’s difficult enough—learning shouldn’t be.
🪅 Games https://nursesquad.com
💻 Digital resources https://bit.ly/NursingStudyCourses
📅 Organizational tools https://bit.ly/OrganizingSchool
✨Want perks? Join our channel!
https://youtube.com/leveluprn/join
🏷 Head to https://leveluprn.com/specials for all our latest deals!🥳️
📧 LOOKING FOR FREE RESOURCES TO HELP WITH YOUR EXAMS? Get exclusive tips, latest video releases and more delivered to your email!
➡️ https://leveluprn.com/signup ⬅️
⚕ 👩 LEVEL UP NURSE SQUAD 👩⚕️
All of the nurses at Level Up RN are here to help! Cathy Parkes started helping her fellow classmates back when she was in nursing school, tutoring so they could pass their exams and graduate. After she got her BSN and started working as an RN at Scripps Encinitas Hospital, she started this YouTube channel to help nursing students around the world. Since then she has built a team of top-notch dedicated nurses and nurse educators who are focused on improving nursing education and supporting career advancement for nurses everywhere. With flashcards, videos, courses, organizational tools and more, we are singularly focused on helping students and nurses Level Up on their exams and nursing careers.
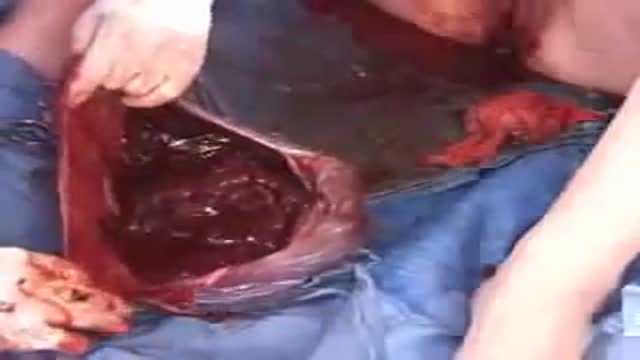
This video shows the delivery of the placenta after delivery of the fetus
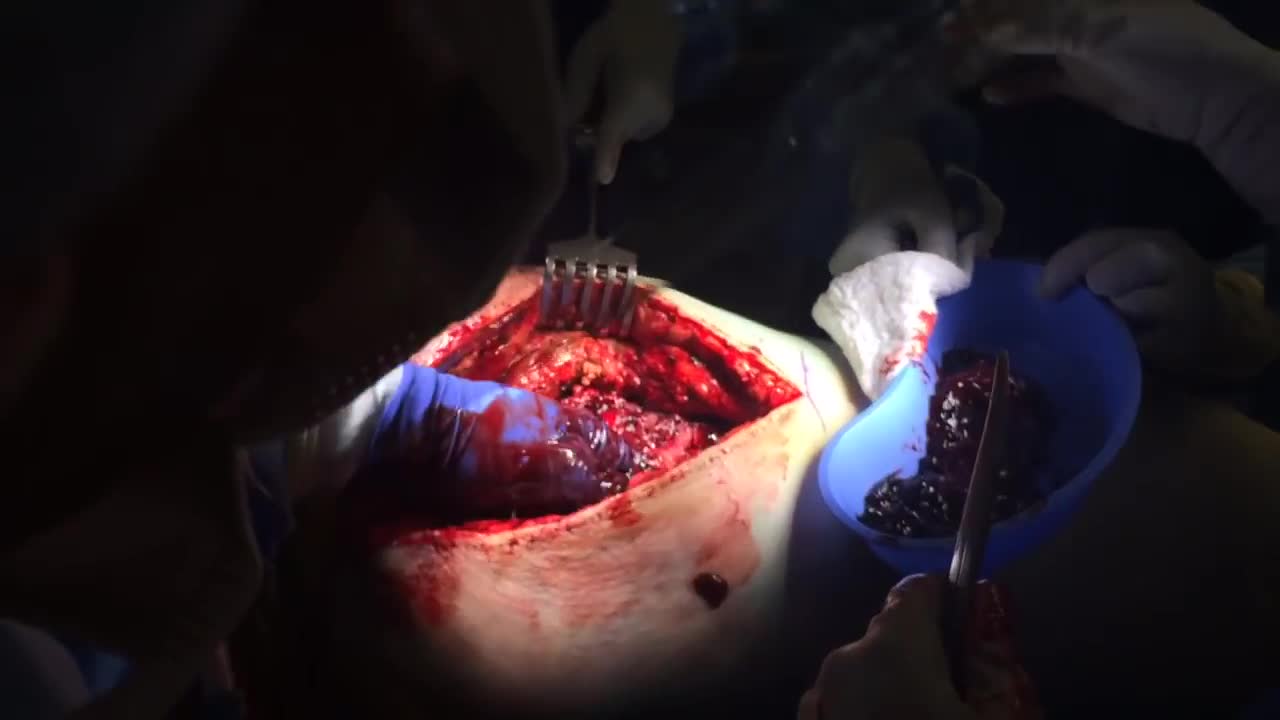
A hematoma is a common complication of surgical procedures. A large, expanding hematoma can result in necrosis of the overlying skin (1,2) or adjacent subcutaneous fat, increased incidence of infection, scarring, skin hyperpigmentation, tissue edema and a prolonged convalescence.
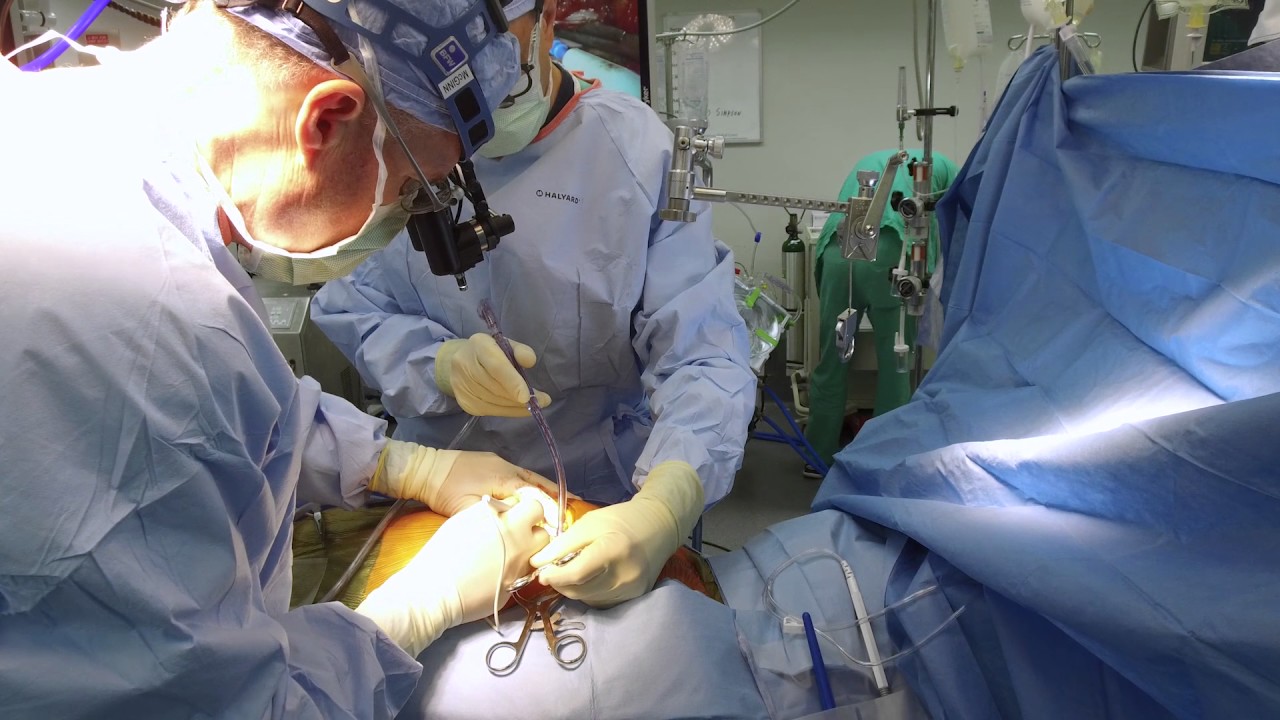
Dr. Joseph McGinn explains minimally invasive bypass, the procedure he pioneered as an alternative to open heart surgery.

.
Chapters
0:00 Introduction
1:04 Why do doctors perform laparoscopy?
2:11 How is laparoscopy performed?
3:22 Result
3:47 Risk of laparoscopy
Laparoscopy (from Ancient Greek λαπάρα (lapára) 'flank, side', and σκοπέω (skopéō) 'to see') is an operation performed in the abdomen or pelvis using small incisions (usually 0.5–1.5 cm) with the aid of a camera. The laparoscope aids diagnosis or therapeutic interventions with a few small cuts in the abdomen.[1]
Laparoscopic surgery, also called minimally invasive procedure, bandaid surgery, or keyhole surgery, is a modern surgical technique. There are a number of advantages to the patient with laparoscopic surgery versus an exploratory laparotomy. These include reduced pain due to smaller incisions, reduced hemorrhaging, and shorter recovery time. The key element is the use of a laparoscope, a long fiber optic cable system that allows viewing of the affected area by snaking the cable from a more distant, but more easily accessible location.
Laparoscopic surgery includes operations within the abdominal or pelvic cavities, whereas keyhole surgery performed on the thoracic or chest cavity is called thoracoscopic surgery. Specific surgical instruments used in laparoscopic surgery include obstetrical forceps, scissors, probes, dissectors, hooks, and retractors. Laparoscopic and thoracoscopic surgery belong to the broader field of endoscopy. The first laparoscopic procedure was performed by German surgeon Georg Kelling in 1901. There are two types of laparoscope:[2]
A telescopic rod lens system, usually connected to a video camera (single-chip or three-chip)
A digital laparoscope where a miniature digital video camera is placed at the end of the laparoscope, eliminating the rod lens system
The mechanism mentioned in the second type is mainly used to improve the image quality of flexible endoscopes, replacing conventional fiberscopes. Nevertheless, laparoscopes are rigid endoscopes. Rigidity is required in clinical practice. The rod-lens-based laparoscopes dominate overwhelmingly in practice, due to their fine optical resolution (50 µm typically, dependent on the aperture size used in the objective lens), and the image quality can be better than that of the digital camera if necessary. The second type of laparoscope is very rare in the laparoscope market and in hospitals.[citation needed]
Also attached is a fiber optic cable system connected to a "cold" light source (halogen or xenon) to illuminate the operative field, which is inserted through a 5 mm or 10 mm cannula or trocar. The abdomen is usually insufflated with carbon dioxide gas. This elevates the abdominal wall above the internal organs to create a working and viewing space. CO2 is used because it is common to the human body and can be absorbed by tissue and removed by the respiratory system. It is also non-flammable, which is important because electrosurgical devices are commonly used in laparoscopic procedures.[3]
Procedures
Surgeons perform laparoscopic stomach surgery.
Patient position
During the laparoscopic procedure, the position of the patient is either in Trendelenburg position or in reverse Trendelenburg. These positions have an effect on cardiopulmonary function. In Trendelenburg's position, there is an increased preload due to an increase in the venous return from lower extremities. This position results in cephalic shifting of the viscera, which accentuates the pressure on the diaphragm. In the case of reverse Trendelenburg position, pulmonary function tends to improve as there is a caudal shifting of viscera, which improves tidal volume by a decrease in the pressure on the diaphragm. This position also decreases the preload on the heart and causes a decrease in the venous return leading to hypotension. The pooling of blood in the lower extremities increases the stasis and predisposes the patient to develop deep vein thrombosis (DVT).[4]
Gallbladder
Rather than a minimum 20 cm incision as in traditional (open) cholecystectomy, four incisions of 0.5–1.0 cm, or more recently, a single incision of 1.5–2.0 cm,[5] will be sufficient to perform a laparoscopic removal of a gallbladder. Since the gallbladder is similar to a small balloon that stores and releases bile, it can usually be removed from the abdomen by suctioning out the bile and then removing the deflated gallbladder through the 1 cm incision at the patient's navel. The length of postoperative stay in the hospital is minimal, and same-day discharges are possible in cases of early morning procedures.[citation needed]
Colon and kidney

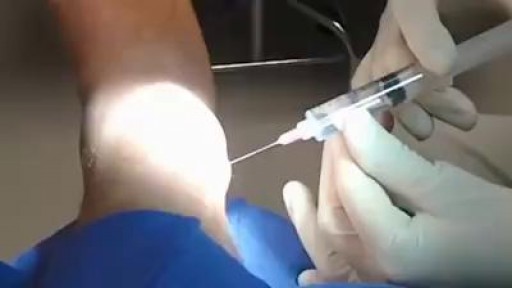
Injection in buttocks

Watch that video to know What is Vaginal Discharge and How To Get Rid of It
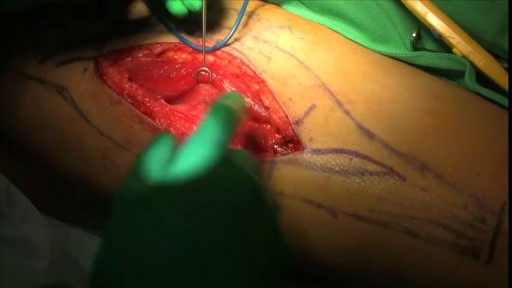
Hardware removals are among the most commonly performed surgical procedures worldwide. Current literature offers little data concerning postoperative patient satisfaction. The purpose of our study was to evaluate the patients’ point of view on implant removal. watch to learn more.
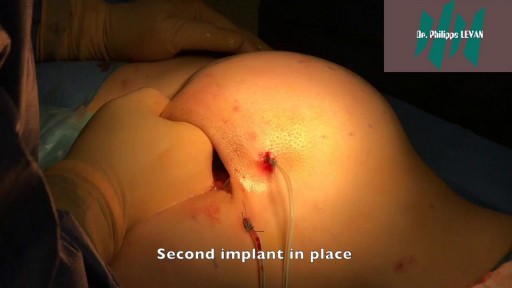
Butt implants are a popular plastic surgery procedure among those who wish to enhance the appearance, shape, and size of their rear ends. Buttock augmentation involves the surgical insertion of artificial body implants into a patient’s buttocks to create a larger, shapelier, and more sensuous rear end. Patients who have underdeveloped buttocks can achieve a more proportionate figure with butt implants. Women who wish to achieve an “hour glass” figure or are unhappy with the size of their buttocks can benefit from female butt implants. Men with flat or poorly developed buttocks can enhance the shape of the area to their liking with male butt implants. Many buttock augmentation patients say that their clothes fit better, they feel more attractive, and their confidence levels have improved.
