
- Physical Examination
- Surgical Examination
- Ophthalmology
- Clinical Skills
- Orthopedics
- Surgery Videos
- Laparoscopy
- Pediatrics
- Funny Videos
- Cardiothoracic Surgery
- Nursing Videos
- Plastic Surgery
- Otorhinolaryngology
- Histology and Histopathology
- Neurosurgery
- Dermatology
- Pediatric Surgery
- Urology
- Dentistry
- Oncology and Cancers
- Anatomy Videos
- Health and Fitness
- Radiology
- Anaesthesia
- Physical Therapy
- Pharmacology
- Interventional Radiology
- Cardiology
- Endocrinology
- Gynecology
- Emergency Medicine
- Psychiatry and Psychology
- Childbirth Videos
- General Medical Videos
- Nephrology
- Physiology
- Diet and Food Health
- Diabetes Mellitus
- Neurology
- Women Health
- Osteoporosis
- Gastroenterology
- Pulmonology
- Hematology
- Rheumatology
- Toxicology
- Nuclear Medicine
- Infectious Diseases
- Vascular Disease
- Reproductive Health
- Burns and Wound Healing
- Kidney Zone Podcast
- Other
Top videos
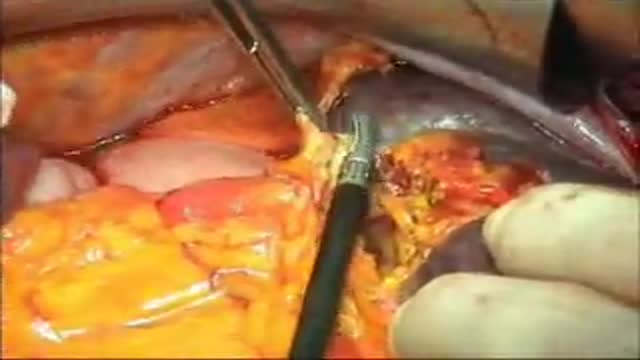

Splenectomy for a giant spleen
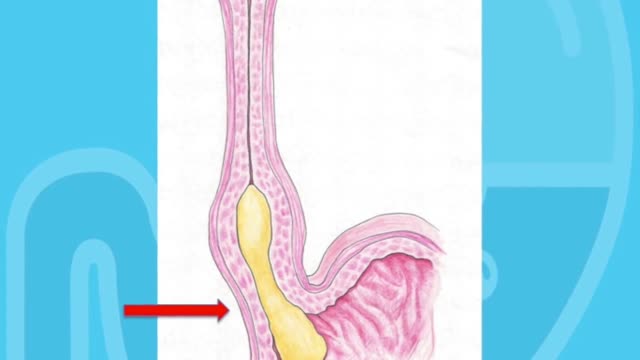
Achalasia is a neurogenic esophageal motility disorder characterized by impaired esophageal peristalsis and a lack of lower esophageal sphincter relaxation during swallowing. Symptoms are slowly progressive dysphagia, usually to both liquids and solids, and regurgitation of undigested food. Evaluation typically includes manometry, barium swallow, and endoscopy. Treatments include dilation, chemical denervation, surgical myotomy, and peroral endoscopic myotomy.

Hip Resurfacing Surgery Videos Welcome to the website of the Asian Regional Center for Hip Resurfacing (ARCH) is a specialized surgical center in Apollo Speciality Hospital Chennai. More than 1350 Hip Resurfacing Surgeries have been performed so far. Asian Regional Center for Hip Resurfacing is the first specialized resurfacing center in Asia. Patients with arthritis and hip pain travel from all over the world travel to ARCH for hip surgery. Hip Resurfacing Surgery has revolutionized hip arthroplasty especially for younger and active patients. Unlike conventional Total Hip Replacement (THR) the hip resurfacing conserves the bone in the hip which would be crucial in younger patients. No restrictions are imposed on the resurfaced hip and the patient can participate in any professional or recreational activity after the surgery.
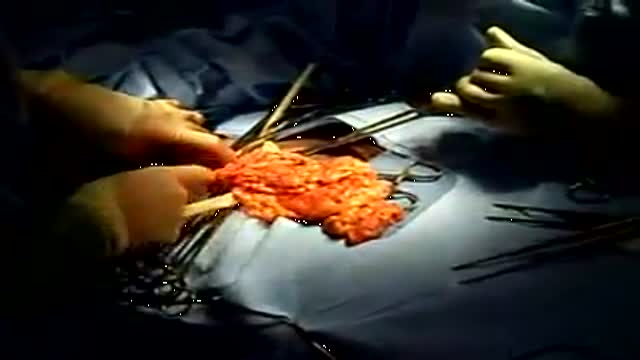
Repair of the umbilical hernia, and placing the omentum back in

Veryyyyy funny!
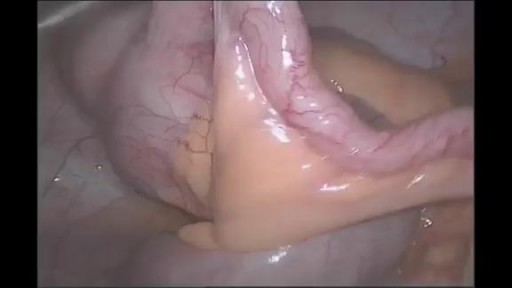

What is the Appendix? The appendix is a long narrow tube (a few inches in length) that attaches to the first part of the colon. It is usually located in the lower right quadrant of the abdominal cavity. The appendix produces a bacteria destroying protein called immunoglobulins, which help fight infection in the body. Its function, however, is not essential. People who have had appendectomies do not have an increased risk toward infection. Other organs in the body take over this function once the appendix has been removed. What is a Laparoscopic Appendectomy? Appendicitis is one of the most common surgical problems. One out of every 2,000 people has an appendectomy sometime during their lifetime. Treatment requires an operation to remove the infected appendix. Traditionally, the appendix is removed through an incision in the right lower abdominal wall. In most laparoscopic appendectomies, surgeons operate through 3 small incisions (each ¼ to ½ inch) while watching an enlarged image of the patient’s internal organs on a television monitor. In some cases, one of the small openings may be lengthened to complete the procedure. Advantages of Laparoscopic Appendectomy Results may vary depending upon the type of procedure and patient’s overall condition. Common advantages are: Less postoperative pain May shorten hospital stay May result in a quicker return to bowel function Quicker return to normal activity Better cosmetic results Are You a Candidate for Laparoscopic Appendectomy? Although laparoscopic appendectomy has many benefits, it may not be appropriate for some patients. Early, non-ruptured appendicitis usually can be removed laparoscopically. Laparoscopic appendectomy is more difficult to perform if there is advanced infection or the appendix has ruptured. A traditional, open procedure using a larger incision may be required to safely remove the infected appendix in these patients.

Watch this video to learn how and when to change a dressing for a child with a hemodialysis catheter. You should change your child's dressing if it becomes soiled with water or blood or if it comes off at home. Keeping a clean dressing on your child will limit risk of infection.
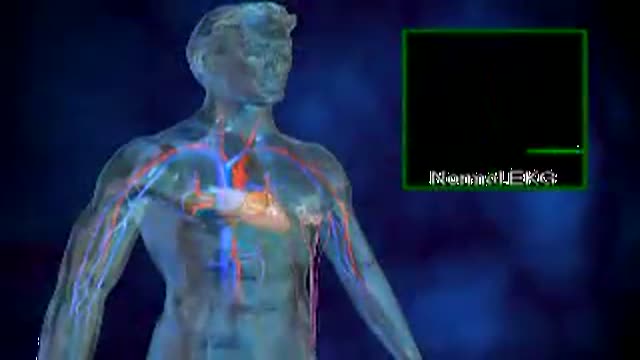
Atrial Fibrillation is the most common heart rythmn abnormatlity and is very common as you age. Atrial fibrillation is a condition in which the top chambers of the heart, the Atrium are fibrillating, rather than having a regular synchronized contraction. One of the worst complications of Atrial Fibrillation can be Stroke. There are very good treatments of Atrial Fibrillation. This animated video is an overview of Atrial Fibrillation.
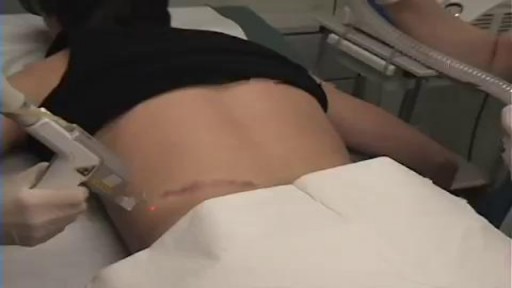
aser treatment for scars reduces the appearance of scars. It uses focused light therapy to either remove the outer layer of the skin’s surface or stimulate the production of new skin cells to cover damaged skin cells. Laser treatment for scars can reduce the appearance of warts, skin wrinkles, age spots, scars, and keloids. It doesn’t completely remove a scar.
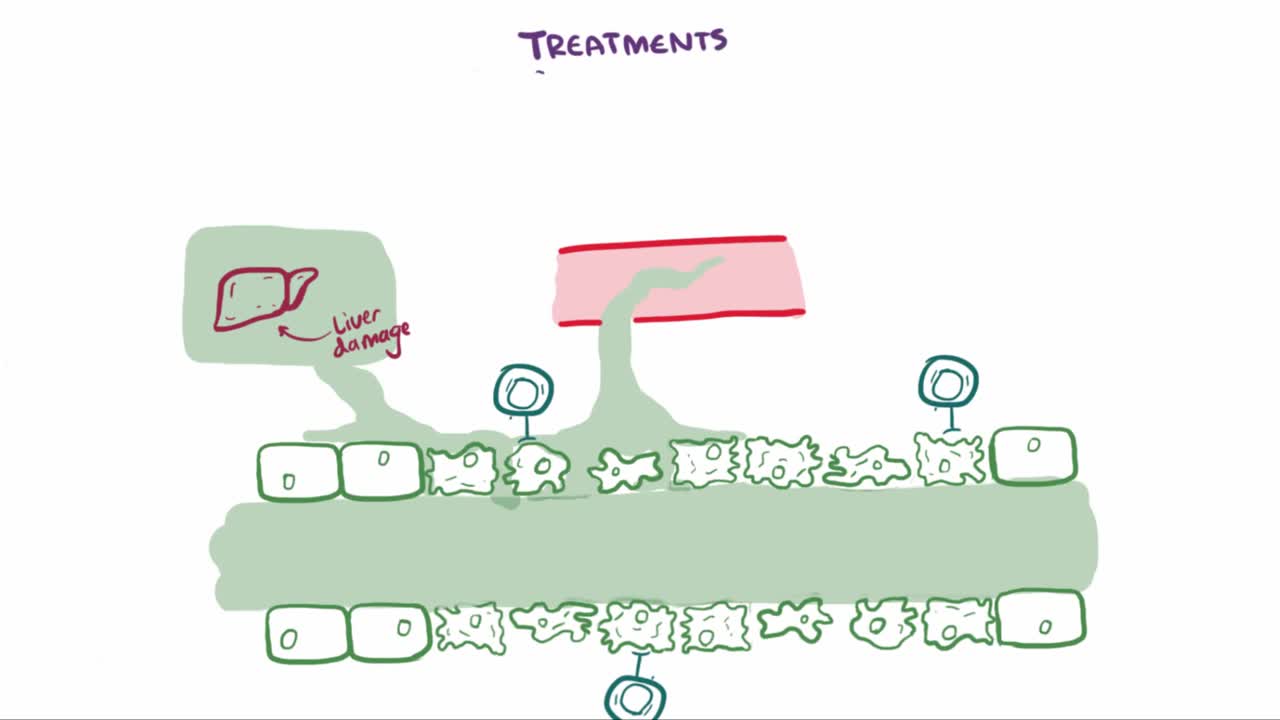
Primary biliary cholangitis (PBC), formerly known as primary biliary cirrhosis, is a chronic liver disease resulting from progressive destruction of the bile ducts in the liver – called the intrahepatic bile ducts. Bile produced in your liver travels via these ducts to your small intestine where it aids in the digestion of fat and fat-soluble vitamins (A, D, E and K). When the ducts are destroyed, bile builds up in the liver contributing to inflammation and scarring (fibrosis). Eventually this can lead to cirrhosis and its associated complications, as scar tissue replaces healthy liver tissue and liver function becomes increasingly impaired.

Renal artery stenosis is the narrowing of one or more arteries that carry blood to your kidneys (renal arteries). Narrowing of the arteries prevents normal amounts of oxygen-rich blood from reaching your kidneys. Your kidneys need adequate blood flow to help filter waste products and remove excess fluids. Reduced blood flow may increase blood pressure in your whole body (systemic blood pressure) and injure kidney tissue.

Eric's Home Dialysis

Genes are the building blocks of heredity. They are passed from parent to child. They hold DNA, the instructions for making proteins. Proteins do most of the work in cells. They move molecules from one place to another, build structures, break down toxins, and do many other maintenance jobs. Sometimes there is a mutation, a change in a gene or genes. The mutation changes the gene's instructions for making a protein, so the protein does not work properly or is missing entirely. This can cause a medical condition called a genetic disorder. You can inherit a gene mutation from one or both parents. A mutation can also happen during your lifetime.
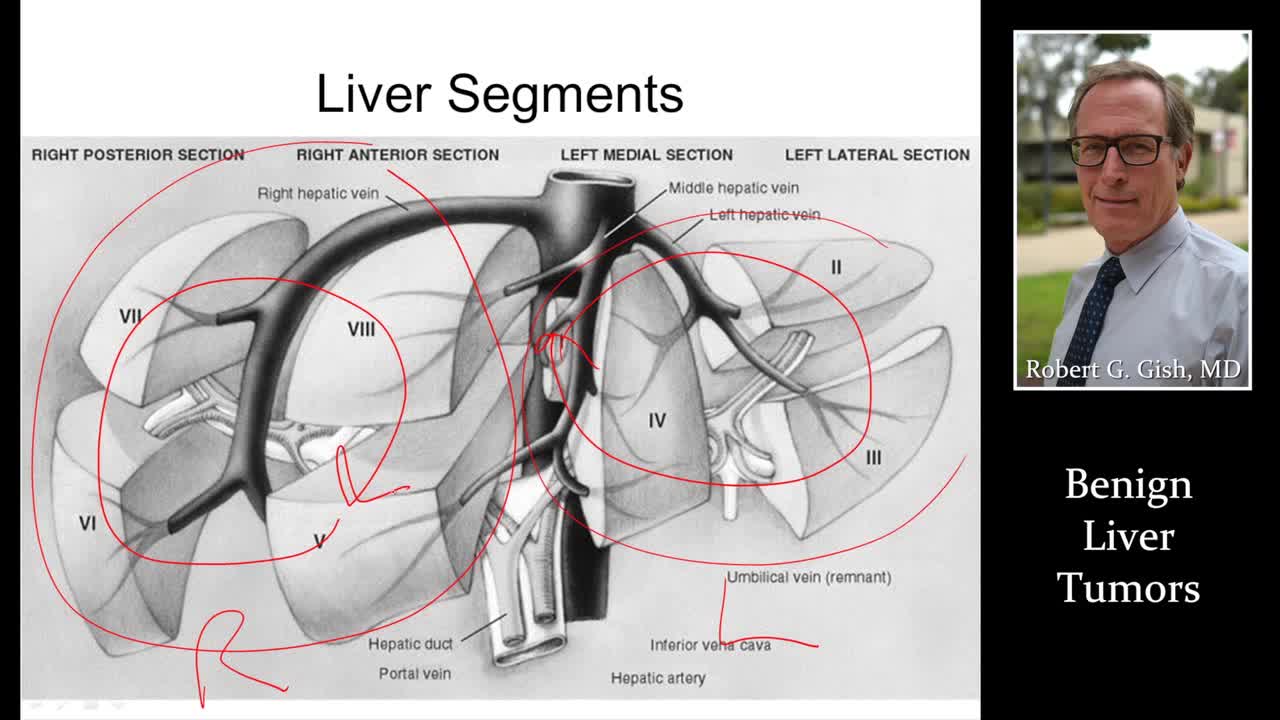
This form of liver cancer is called primary liver cancer. Noncancerous, or benign, liver tumors are common. They do not spread to other areas of the body, and they usually do not pose a serious health risk. In most cases, benign liver tumors are not detected because they cause no symptoms.
Pharyngitis is caused by swelling in the back of the throat (pharynx) between the tonsils and the voice box (larynx). Most sore throats are caused by colds, the flu, coxsackie virus or mono (mononucleosis). Bacteria that can cause pharyngitis in some cases: Strep throat is caused by group A streptococcus.
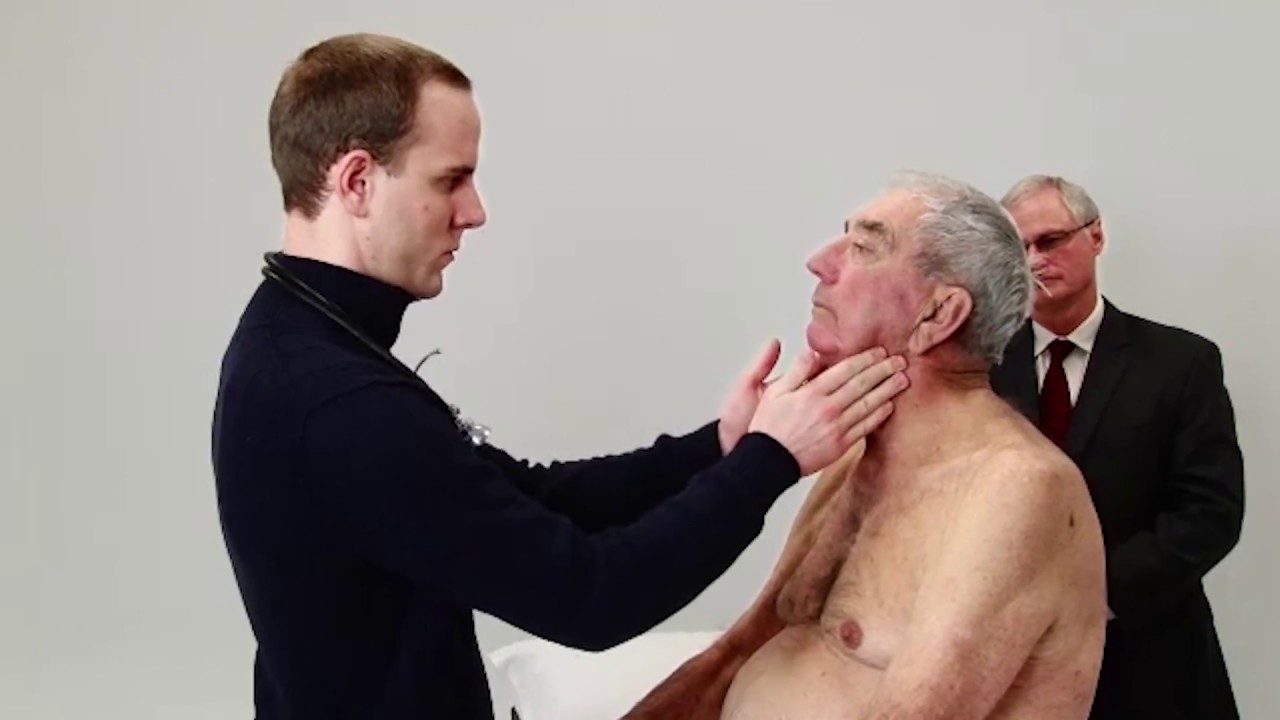
Talley + O'Connor's essential video guide to Abdominal Examination is here! Brush up on your skills and be sure to ace your OSCEs!
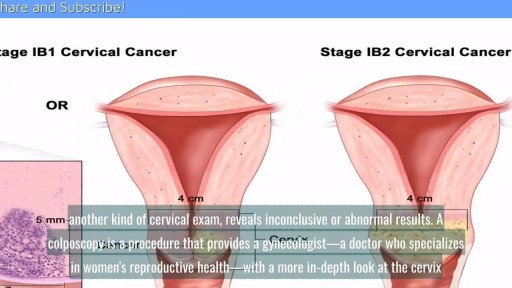
A cervical biopsy is a procedure that is sometimes done on women during an exam called a colposcopy to remove cervical tissue for examination. It is also called a punch biopsy. It is usually performed when a Pap smear result is either inconclusive or abnormal and a doctor wants to screen further for any cervical dysplasia or cervical cancer.
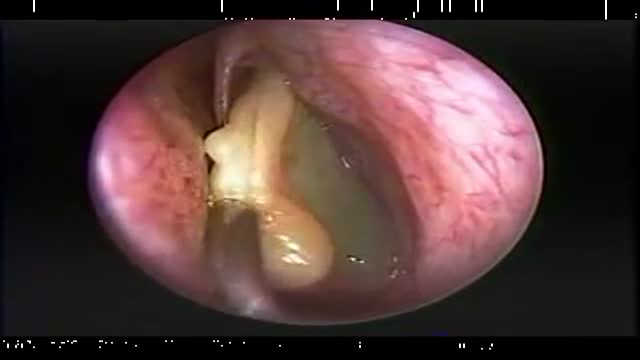
Endoscopic Nasal Polypectomy
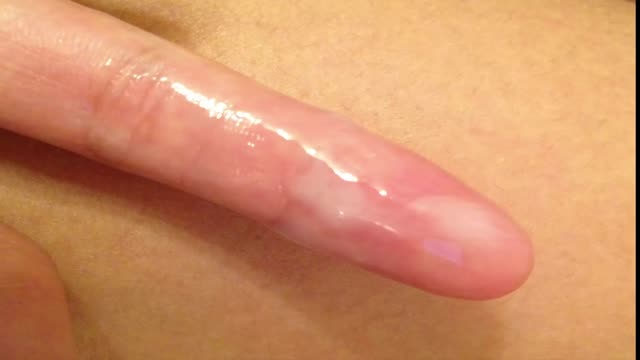
Most women have vaginal discharge at many different times throughout their cycle. During ovulation, white and watery discharge is common and accepted as normal. But, discharge after ovulation is widely believed to be a sign of pregnancy.