- Physical Examination
- Surgical Examination
- Ophthalmology
- Clinical Skills
- Orthopedics
- Surgery Videos
- Laparoscopy
- Pediatrics
- Funny Videos
- Cardiothoracic Surgery
- Nursing Videos
- Plastic Surgery
- Otorhinolaryngology
- Histology and Histopathology
- Neurosurgery
- Dermatology
- Pediatric Surgery
- Urology
- Dentistry
- Oncology and Cancers
- Anatomy Videos
- Health and Fitness
- Radiology
- Anaesthesia
- Physical Therapy
- Pharmacology
- Interventional Radiology
- Cardiology
- Endocrinology
- Gynecology
- Emergency Medicine
- Psychiatry and Psychology
- Childbirth Videos
- General Medical Videos
- Nephrology
- Physiology
- Diet and Food Health
- Diabetes Mellitus
- Neurology
- Women Health
- Osteoporosis
- Gastroenterology
- Pulmonology
- Hematology
- Rheumatology
- Toxicology
- Nuclear Medicine
- Infectious Diseases
- Vascular Disease
- Reproductive Health
- Burns and Wound Healing
- Other
Top videos
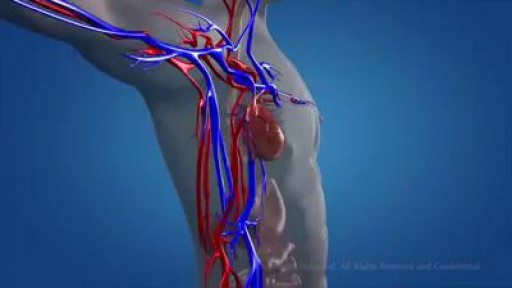
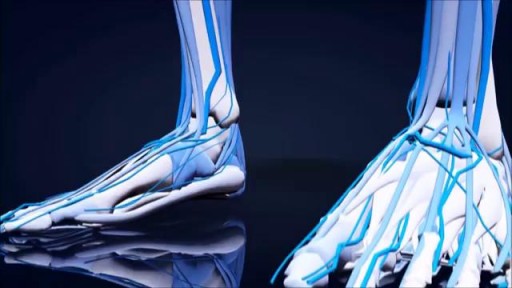
The circulatory system consists of three independent systems that work together: the heart (cardiovascular), lungs (pulmonary), and arteries, veins, coronary and portal vessels (systemic). The system is responsible for the flow of blood, nutrients, oxygen and other gases, and as well as hormones to and from cells


Clinical case discussion for exams.
Useful for medical students and others.

ABGs Made Easy | Arterial Blood Gas | Acid Base Balance: Everything You Need To Know!

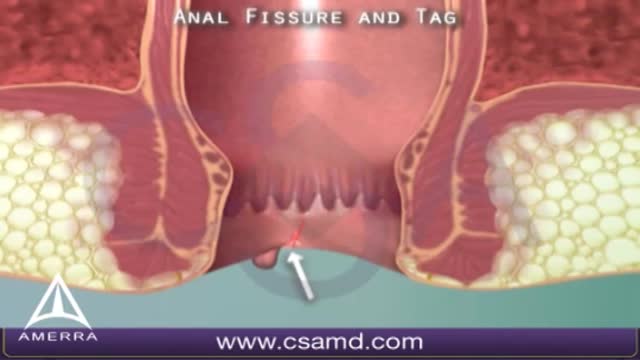
An anal fissure is a small tear in the thin, moist tissue (mucosa) that lines the anus. An anal fissure may occur when you pass hard or large stools during a bowel movement. Anal fissures typically cause pain and bleeding with bowel movements. You also may experience spasms in the ring of muscle at the end of your anus (anal sphincter). Anal fissures are very common in young infants but can affect people of any age. Most anal fissures get better with simple treatments, such as increased fiber intake or sitz baths. Some people with anal fissures may need medication or, occasionally, surgery.

At Hologic, we are committed to delivering innovative educational tools and programming that empower you to deliver life-changing care. Learn more about us at Hologic.com.
Laparoscopic Vaginal Top Closure
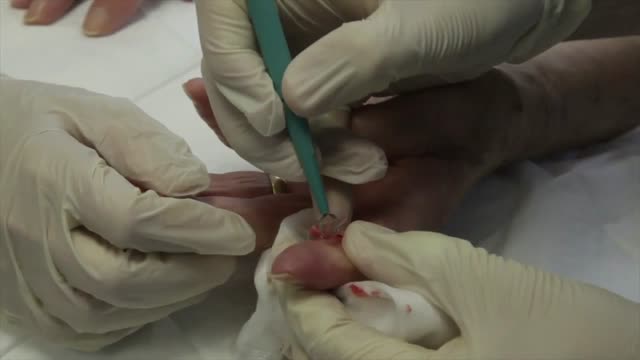
Pyogenic granuloma (lobular capillary hemangioma[1] ) is a relatively common benign vascular lesion of the skin and mucosa whose exact cause is unknown. Also see the Medscape Reference article Oral Pyogenic Granuloma. Pyogenic granulomas are misnamed; they are neither infectious nor granulomatous. The lesion usually occurs in children and young adults as a solitary, glistening red papule or nodule that is prone to bleeding and ulceration. Pyogenic granulomas typically evolve rapidly over a period of a few weeks, most often on the head, neck, extremities, and upper trunk. Pyogenic granuloma often arises in pregnancy (or rarely with oral contraceptive usage), particularly on the gingiva or elsewhere in the oral mucosa, and then is termed the "pregnancy tumor." Other pyogenic granuloma variants that have been well documented include the disseminated, subcutaneous, intravenous, and medication-induced (for example, retinoid, antiretroviral, and oncologic agent) subtypes. Removal of pyogenic granuloma is indicated to alleviate any bleeding, discomfort, cosmetic distress, and diagnostic uncertainty. A number of malignant tumors may clinically mimic pyogenic granuloma, making histopathologic confirmation important if the presentation is atypical. Aside from cutaneous and oral lesions, pyogenic granuloma has been reported throughout the gastrointestinal tract and upper airway, at various ocular locations, the central nervous system, the bladder, and the internal vasculature. This article discusses only cutaneous and oral involvement.
High definition video showing laparoscopic appendectomy operation
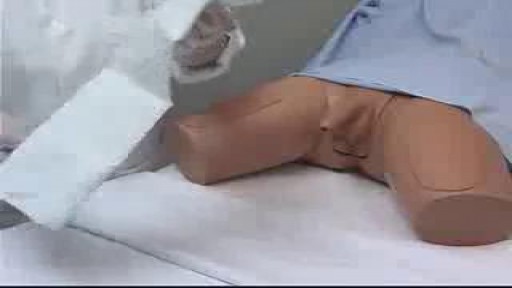
Male Foley Catheter Insertion
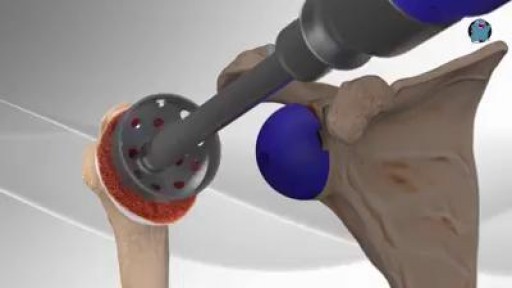
Every year, thousands of conventional total shoulder replacements are successfully done in the United States for patients with shoulder arthritis. This type of surgery, however, is not as beneficial for patients with large rotator cuff tears who have developed a complex type of shoulder arthritis called "cuff tear arthropathy." For these patients, conventional total shoulder replacement may result in pain and limited motion, and reverse total shoulder replacement is a better option.
Tongue Lipoma Removal

An excerpt from the award-winning documentary “Exposure: Environmental Links to Breast Cancer” about the effects of radiation. Featuring Olivia Newton-John, Dr. Rosalie Bertell and Dr. Susan Love.
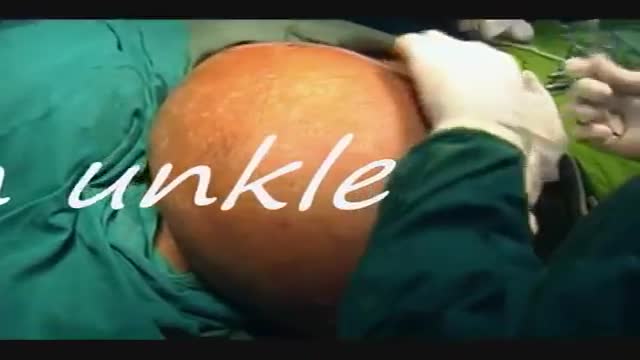
Lipomas are slow-growing soft tissue tumours that rarely reach a size larger than 2 cm. Lesions larger than 5 cm, so-called giant lipomas, can occur anywhere in the body but are seldom found in the upper extremities. The authors present their experiences with eight patients having giant lipomas of the upper extremity. In addition, a review of the literature, and a discussion of the appropriate evaluation and management are included.

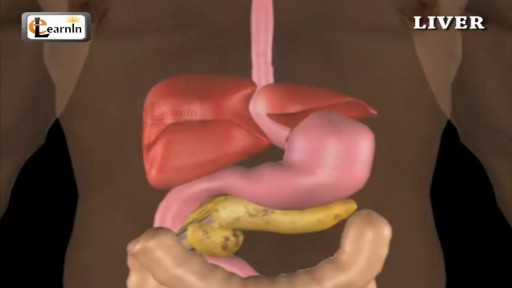
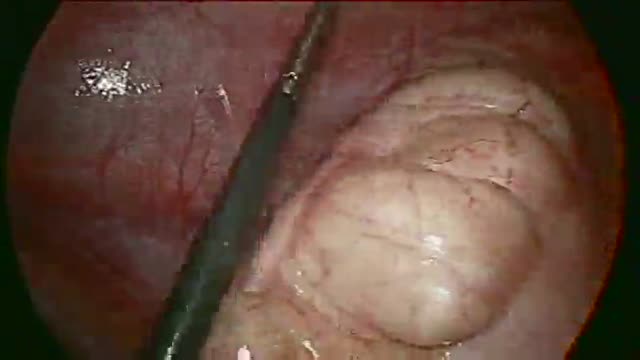
The liver regulates most chemical levels in the blood and excretes a product called bile. ... Production of bile, which helps carry away waste and break down fats in the small intestine during digestion. Production of certain proteins for blood plasma.

Thoracic Epidural Placement Paramedian Approach
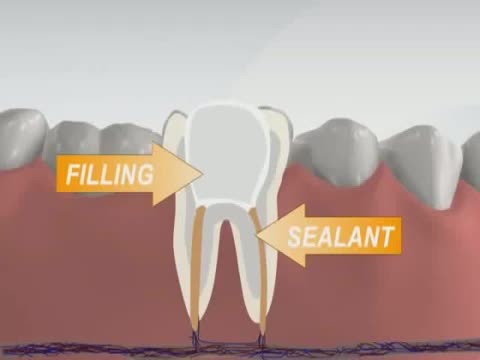
Has your dentist or endodontist told you that you need root canal treatment? If so, you're not alone. Millions of teeth are treated and saved each year with root canal, or endodontic, treatment. Remember, root canal treatment doesn't cause pain, it relieves it. Watch our videos below to learn more! Inside the tooth, under the white enamel and a hard layer called the dentin, is a soft tissue called the pulp. The pulp contains blood vessels, nerves and connective tissue, and helps to grow the root of your tooth during development. In a fully developed tooth, the tooth can survive without the pulp because the tooth continues to be nourished by the tissues surrounding it.
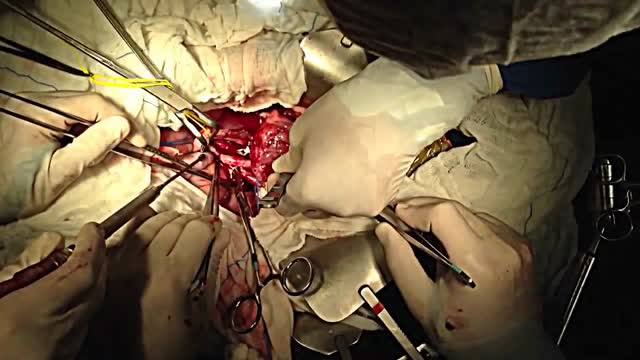
A pancreas transplant is a surgical procedure to place a healthy pancreas from a deceased donor into a person whose pancreas no longer functions properly. Your pancreas is an organ that lies behind the lower part of your stomach. One of its main functions is to make insulin, a hormone that regulates the absorption of sugar (glucose) into your cells. If your pancreas doesn't make enough insulin, blood sugar levels can rise to unhealthy levels, resulting in type 1 diabetes. Most pancreas transplants are done to treat type 1 diabetes. A pancreas transplant offers a potential cure for this condition. But it is typically reserved for those with serious diabetes complications, because the side effects of a pancreas transplant are significant. In some cases, pancreas transplants may also treat type 2 diabetes. Rarely, pancreas transplants may be used in the treatment of pancreatic, bile duct or other cancers. A pancreas transplant is often done in conjunction with a kidney transplant in people whose kidneys have been damaged by diabetes.
